Peanut Butter and Oat Snack Bars

I've been on a search for some time now for my perfect go-to granola/snack bar. I do have a fantastic  already on this site, a recipe that is far and away the most popular recipe I've ever posted. While I love these granola bars, and have made them many, many times, I'm on the hunt for something different. I want a bar I can feel good about eating any time, day or night, one that has a modest amount of sugar and fat, and comes together easily using ingredients I will always have on hand. I also want bars that really hold together well. Something I can just throw into a bag in the morning and take with me that won't fall to pieces, or crumble everywhere, making a mess when I want to eat it. 

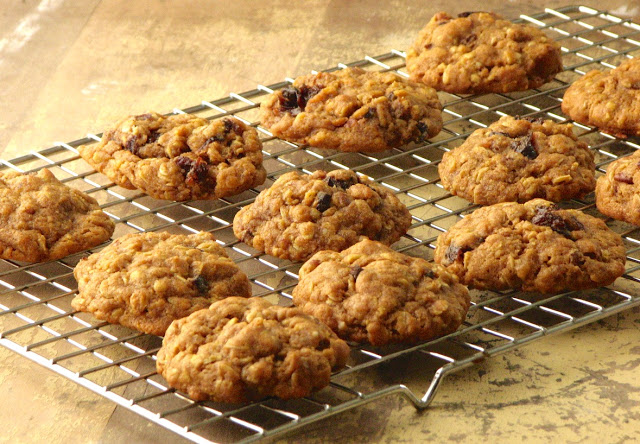
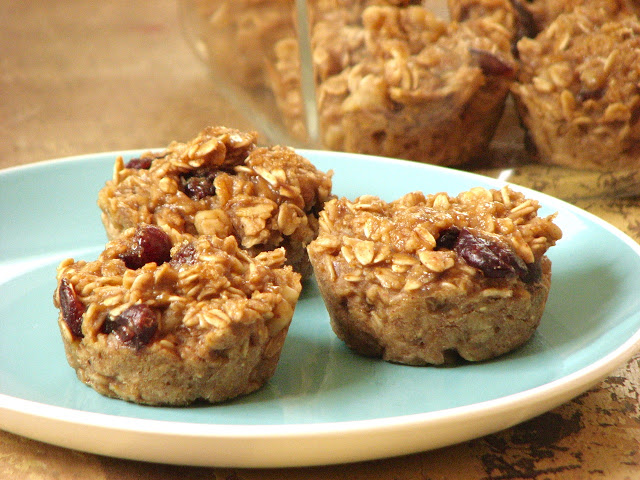
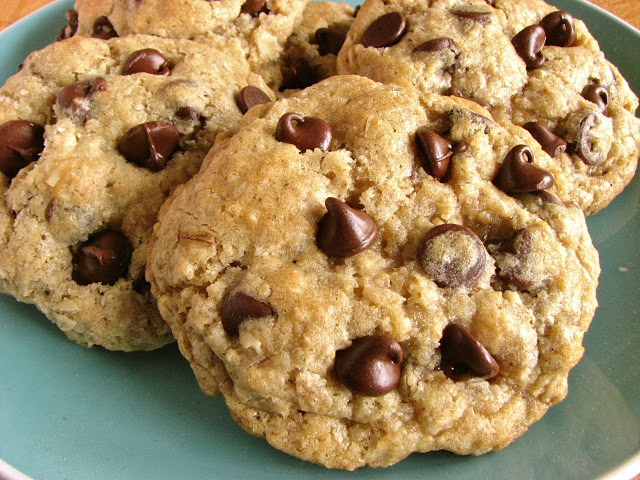
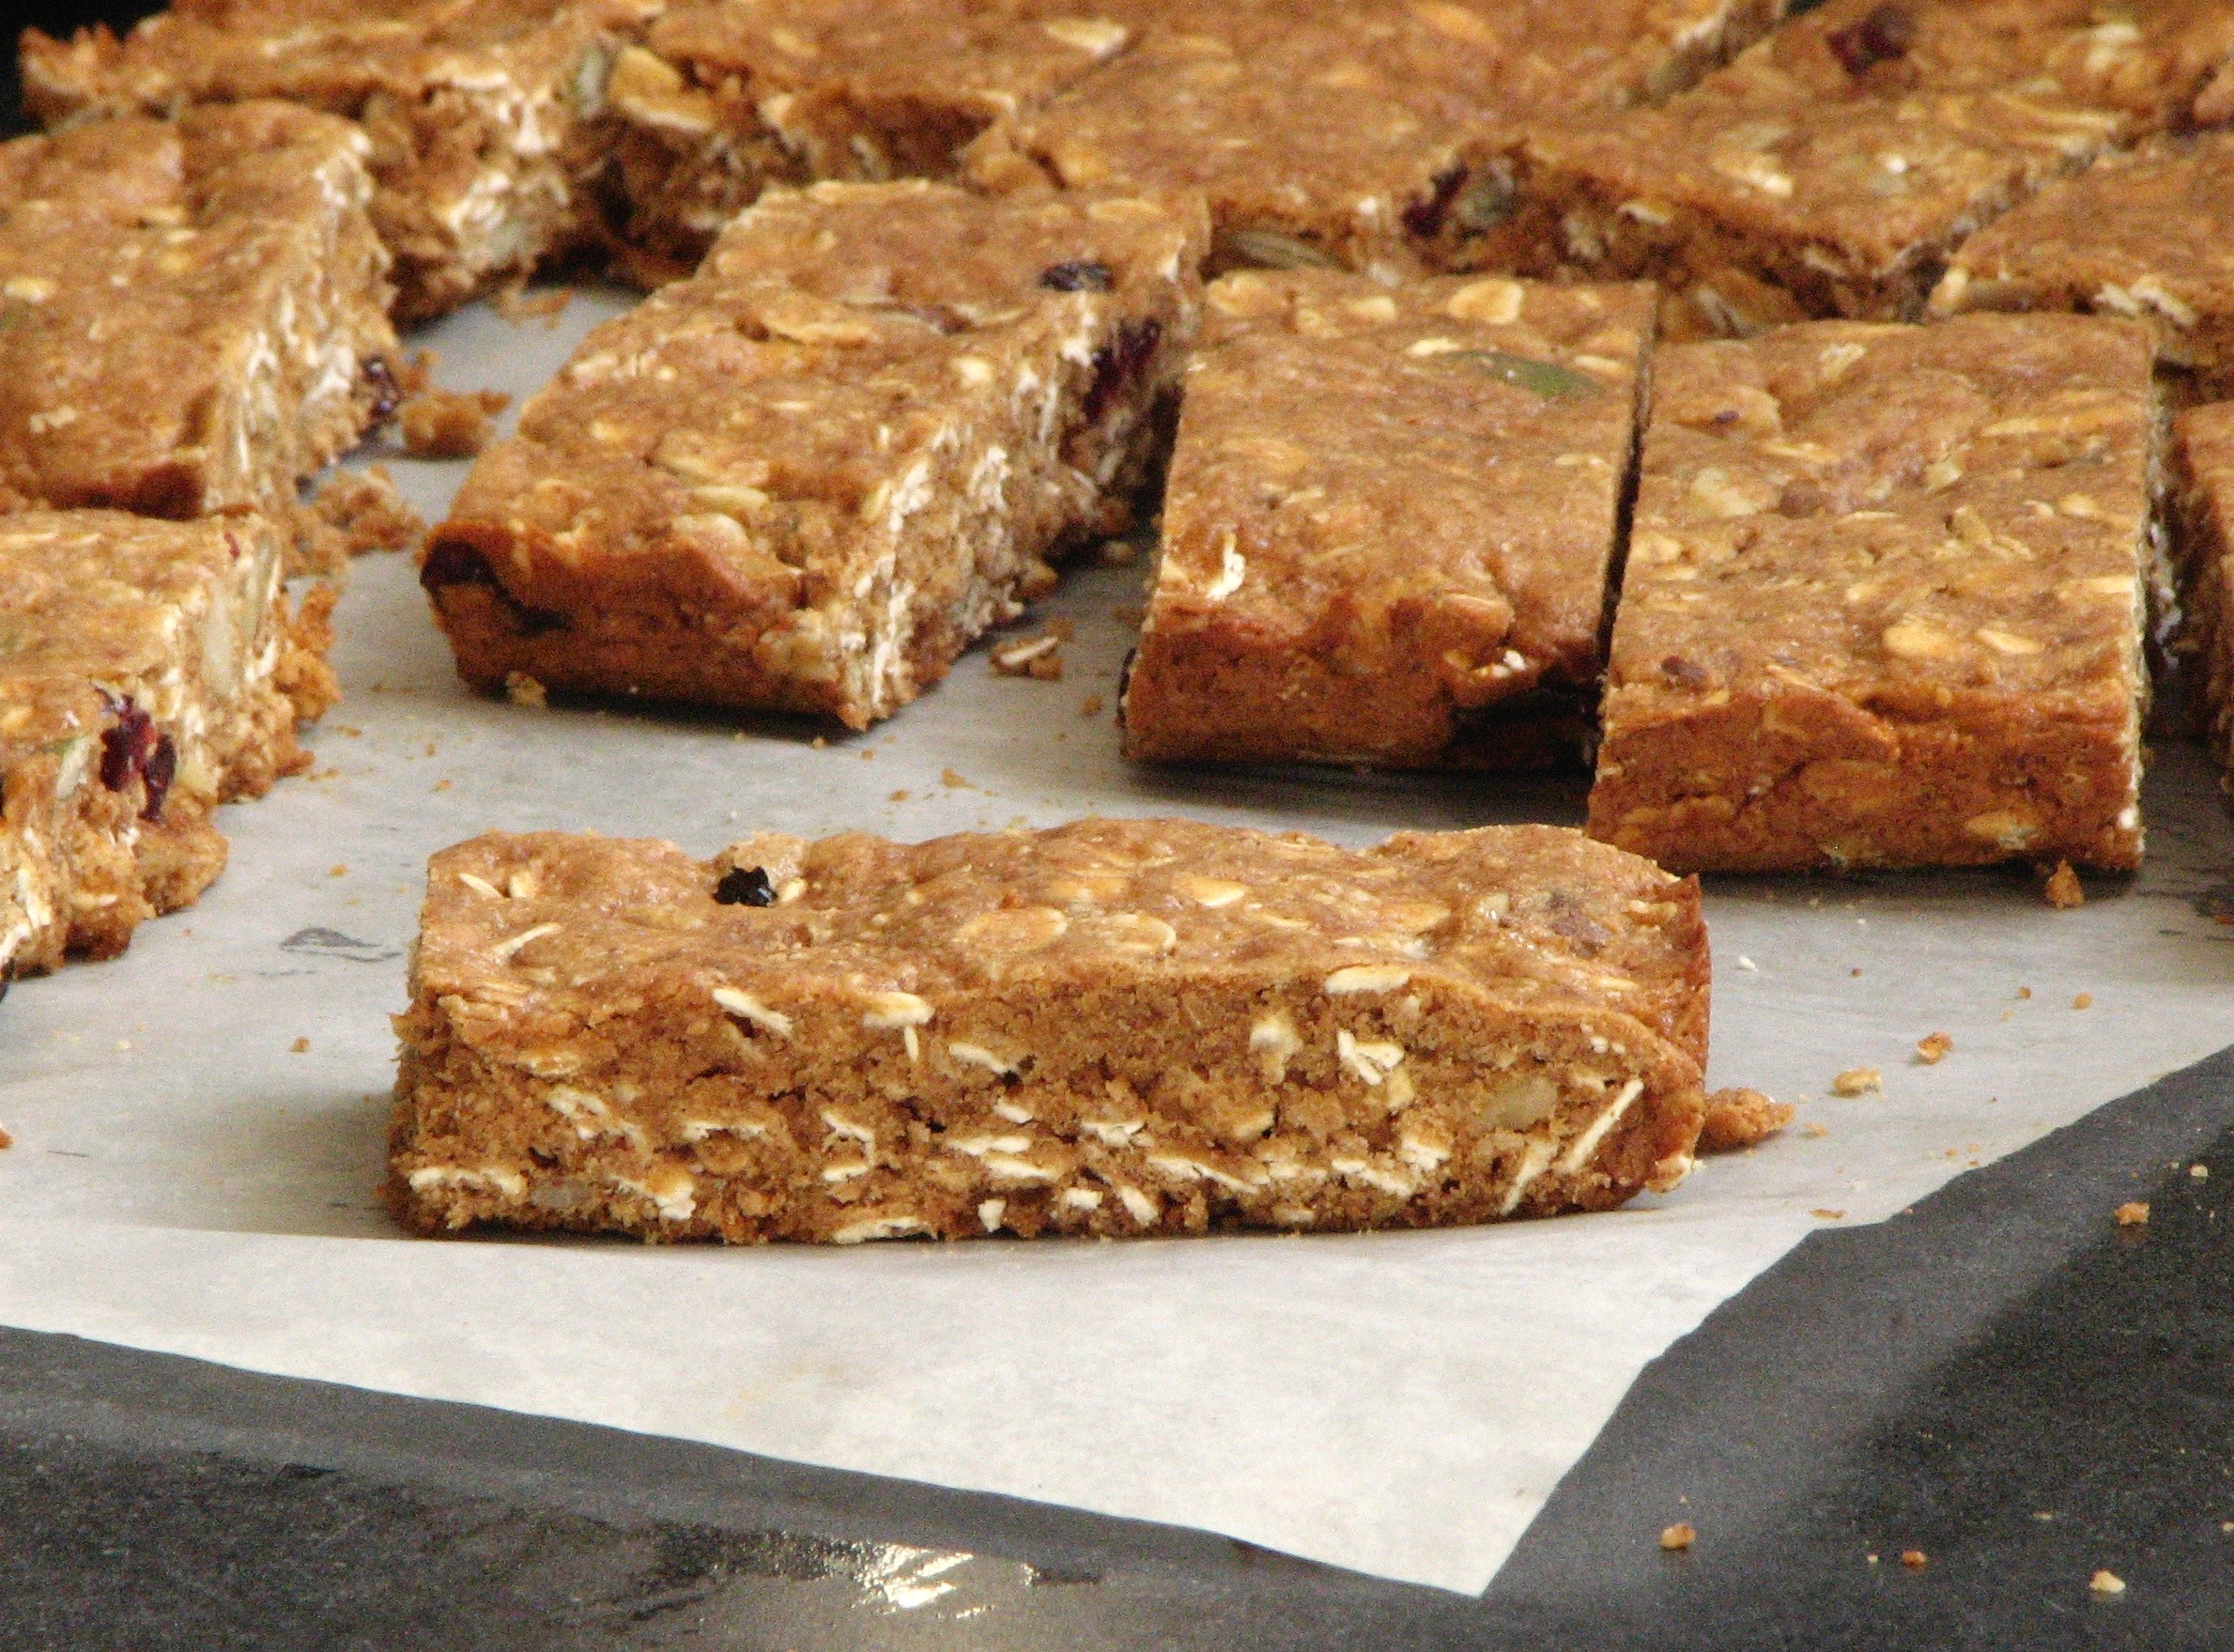
Throughout the last few months I've been looking at tons of different recipes and trying some out here and there. Part of my problem is that since I live alone, I find it difficult to eat what I make quickly, so this has been a slow process, but a fun one still. I want to share one of the bars I made recently. While it wasn't exactly what I was looking for, it turned out to be a wonderful recipe that hit almost all my requirements. I started with a fairly healthy cookie recipe and adapted it to bars. They baked up beautifully! The end result was a very sturdy, pretty nutritious, tasty bar that will be wonderful for a quick breakfast or satisfying mid-afternoon snack. 

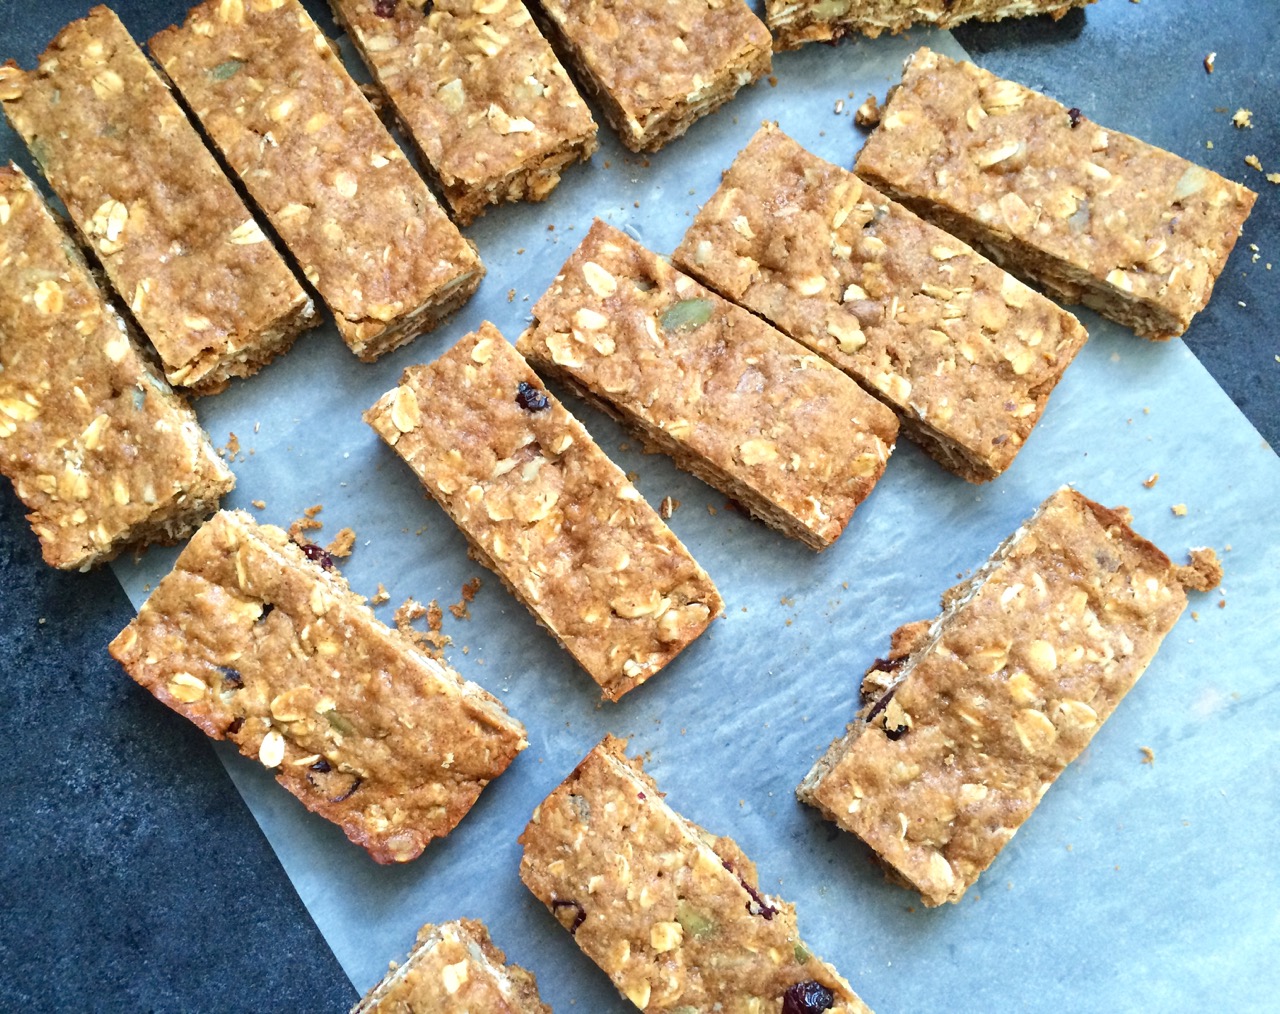
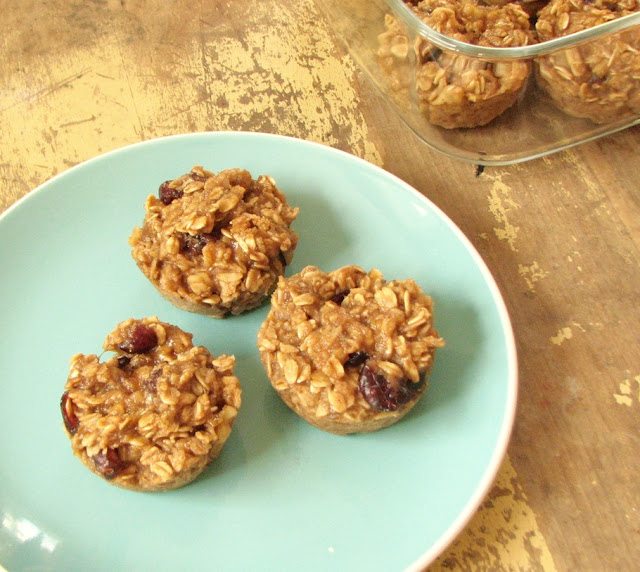
You may wonder why they were not exactly what I was looking for. Really the only thing I would like to be slightly different is the texture of the bar. Because they do have 1/2 cup of flour in them, they turned out a little cakier than I would like. The flour did help them hold together very well, but it also made them feel a little more cookie-bar-like than granola-bar-like. Regardless, this is a great recipe that I will definitely keep in the rotation.  

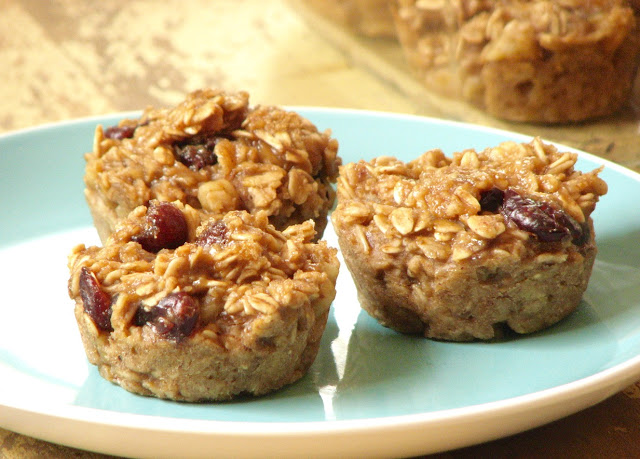
The flavor of these bars is very nice. Just enough sweetness to make them delicious without making them feel like dessert, and the peanut flavor really shines through, nice and toasty. Lots of good oaty chew helps create a nice, hearty texture. This is a versatile recipe that you can certainly adapt to your preference. If you don't like or can't have peanut butter, use almond butter or another favorite nut or seed butter, and you can throw in whatever mix-ins you like. Any dried fruit, nut, seed or chocolate would be wonderful. 


Peanut Butter and Oat Snack Bars
Adapted from The Kitchn
Ingredients

  • 1/2 cup (128 grams) natural peanut butter
  • 1/3 cup (112 grams) honey
  • 1/2 teaspoon cinnamon
  • 1/2 teaspoon salt
  • 1 teaspoon vanilla
  • 1 egg
  • 1 1/4 cup (100 grams) old fashioned oats
  • 1/2 cup (64 grams) whole wheat flour
  • 1/2 teaspoon baking powder
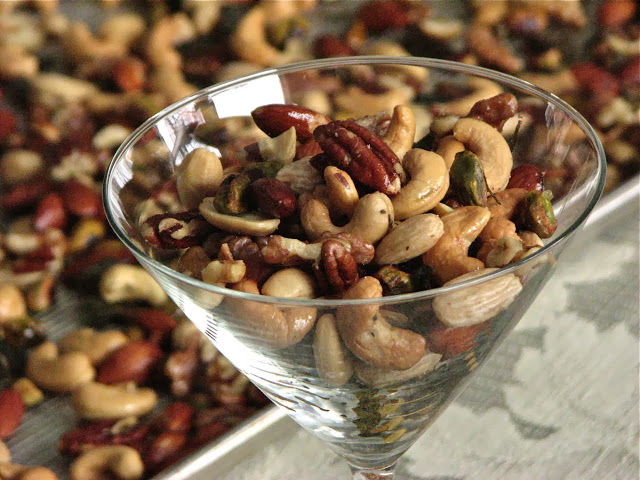
  • 1/2 cup mix-ins (I used 10 grams pumpkin seeds, 10 grams sunflower seeds, 20 grams raw walnuts, 20 grams dried cranberries)

Directions
Preheat the oven to 325°F and line a baking 8x12 or similar sized pan with parchment paper that you spray with cooking spray.

In a medium pot over medium heat, melt together the nut butter and honey until smooth. Remove from heat and use a wooden spoon to stir in the cinnamon, salt and vanilla. 

Once the mixture has cooled a little, add in the egg and mix well. 

Add the oats, flour, baking powder and mix-ins to the pot and stir together until combined. The mixture will be quite thick. Transfer dough to prepared pan, spreading evenly all the way to the edges, pressing down to firmly. 

Place pan in oven and bake until golden brown on the edges, 20-25 minutes. Cool completely before removing from pan and cutting into bars. 

Yields: 14 bars
Nutrition: Approximately 150 calories each

Pumpkin Oat Cookies

The other week I grabbed a large can of pumpkin while at the grocery store with no specific purpose in mind. It's fall, so I knew I would have no problem finding something to do with it. One of my favorite things to do with canned pumpkin, which I have been doing all week, is to throw it in my morning breakfast smoothie. Add a couple shakes of cinnamon and nutmeg and it's pumpkin pie for breakfast - but healthy! I love added vegetables to my breakfast and not even noticing. 

As soon as I got home with the pumpkin though, the baking bug hit. I just needed to bake something pumpkin-y! After a little browsing I finally decided on this pumpkin oat cookie recipe. The oats with the pumpkin seemed like the perfect combination. I added in some pecans and dried fruit and the whole thing came together to create a soft and buttery treat, the perfect afternoon pick-me-up or after dinner snack. 

The original recipe for these cookies was described as being crisp on the outside and chewy in the middle. I actually did not find this to be the case. However, that's is not necessarily a bad thing. My cookies ended up being very soft all the way through. I did like that they didn't spread too much while baking, ending up quite puffy and beautiful. 

Had I had the choice, I would have added chocolate chips to the cookies as the original recipe called for, but since I didn't have any chocolate in the house I had to go a different route. I threw in some chopped pecans and dried fruit which did not disappoint either. I loved how the nuttiness of the pecans mixed with the toasty oats. Dried fruit for sweetness helped finish them off. A comforting fall cookie for any occasion. 

Pumpkin Oat Cookies
Adapted from Chelsea's Messy Apron
Ingredients

  • 6 tablespoons butter
  • 1/2 cup (3.5 ounces) brown sugar
  • 1/4 cup (1.75 ounces) granulated sugar
  • 1/4 cup + 1 tablespoon (3 ounces) canned pumpkin
  • 1/2 teaspoon vanilla
  • 3/4 cup (3.5 ounces) flour
  • 3/4 cup (60 grams) old fashioned rolled oats
  • 1/2 teaspoon cinnamon
  • 1/4 teaspoon nutmeg
  • 1/2 teaspoon baking soda
  • 1/4 teaspoon baking powder
  • 1/4 teaspoon salt
  • 1/2-1 cup of add-ins (chocolate, nuts, dried fruit, etc)

Directions
In the bowl of a stand mixer beat together the butter with the brown sugar and white sugar. Beat in the pumpkin, and vanilla.

In another bowl stir together the flour, oats, cinnamon, nutmeg, baking soda, baking powder, and salt.

Add the dry to the wet and mix until just combined. The mixture should pull away from the edges once all the flour is added. Stir in whatever add-ins you are using. Cover the dough and place in the fridge for at least 1 hour, preferable overnight.

On the day of baking, preheat the oven to 350 degrees. Bake for 14-16 minutes or until very lightly browned at the bottom/sides.

Remove from the oven and allow to set for another 5 minutes on the baking sheet before removing them to a wire cooling rack.

Yields: about 1 dozen cookies (I got 13)

Peanut Butter and Banana Baked Oatmeal Cups

I've been busy on my current rotation, it's been good, just some long days. Because of this, these oatmeal cups have been the perfect solution. They are super simple to whip together, and easy for a grab and go breakfast when I don't have much time to make anything else, or much time to spend eating breakfast. Having these in the freezer keep me from being tempted to waste my money on something less than nutritious at the hospital cafeteria, or buying something processed from the grocery store that is never as healthy as something I can make on my own. They freeze up so well so you can bake up a big batch and always have them on hand for busy mornings. They're definitely something you can feel good about eating. 

These baked oatmeal cups are hearty and healthy, full of nutritious whole grains and naturally sweetened with bananas. They are also super easy to adapt to your personal preferences. This time I added cranberries and walnuts, but I've also done chocolate chips, as well as other dried fruits or nuts. You can add whatever you want, which is so nice! I personally love oatmeal, but it's not exactly the easiest thing to eat on the run. These baked oatmeal cups are the perfect solution to the conundrum. You get all the deliciousness and health benefits of oatmeal with the convenience of a portable breakfast. 

Peanut Butter and Banana Baked Oatmeal Cups
Adapted From Celebrating Sweets
Ingredients

  • 2 bananas (approximately 8 ounces total), mashed
  • 1/4 cup (64 grams) peanut butter
  • 3 tablespoons (45 grams) maple syrup (optional, depending on your desired sweetness)
  • 1 teaspoon vanilla extract
  • 3 tablespoons (50 grams) milk
  • 2 cups (160 grams) old fashioned rolled oats
  • 1/4 teaspoon cinnamon
  • 1/8 teaspoon salt
  • 3/4 ounce raw walnuts
  • 3/4 ounce dried cranberries

Directions
Preheat the oven to 350 degrees. Lightly oil 8 muffin cups, set aside.

In a large bowl combine the bananas, peanut butter, maple syrup, vanilla and milk. Add oats, cinnamon and salt, stir to combine. Add walnuts and cranberries and mix until evenly incorporated.

Divide the mixture evenly between the prepared pan. Bake for 15-20 minutes.

Nutrition: each cup is approximately 200 calories.

Cinnamon Chocolate Chip Biscotti

I'm always looking for new ways to repurpose some of my favorite recipes. They're favorites for a reason, and wonderful as originally written, but it's still fun to try out new twists to see if you can come up with something even better. These biscotti fall into this category. The base recipe is one of my favorites from King Arthur Flour that I've posted about before, but I felt like changing it up a little this time. I've really been liking the cinnamon chocolate combo recently so decided to give it a go with some biscotti. The combination of a hint of warm cinnamon with the sweetness of mini chocolate chips was a winner in this recipe. Another favorite for the archives!

I took the original recipe and halved it because I didn't need to make a huge batch of biscotti. I also cut down on the sugar just a little bit. This didn't effect the flavor or texture at all that I noticed, but I believe it contributed to these cookies hardly spreading at all while baking. As you can see, I made some really tiny biscotti and that was partly due to the fact that they didn't spread like I expected them to during baking. But that was okay with me, they are still delicious, and I think they're cute this way!

For the cinnamon, I added just 1/4 teaspoon because I didn't want they to be overpoweringly cinnamon-y. I finished them with just a couple of tablespoons of the mini chocolate chips. It's not a ton of chocolate, but once again I didn't want them to be too chocolate-y either. I wanted a nice combination of a little cinnamon and a little chocolate. But if you'd like a little more chocolate, or a little more cinnamon for that matter, go ahead and add a little more. It won't be bad!

Cinnamon Chocolate Chip Biscotti

Adapted from King Arthur Flour

Ingredients

  • 3 tablespoons (1.5 ounces) butter

  • 1/4 cup (1.75 ounces) brown sugar

  • 1/4 teaspoon salt

  • 1 teaspoon vanilla extract

  • 1/4 teaspoon cinnamon

  • 3/4 teaspoon baking powder

  • 1 large egg

  • 2-3 tablespoons (about 1/8 of a cup, or 1 ounce) mini chocolate chips

  • 1 cup all-purpose flour or a combo of all purpose and whole wheat

Directions

Preheat the oven to 350°F. Lightly grease (or line with parchment) one large (about 18" x 13") baking sheet.

In a medium-sized bowl, beat the butter, sugar, salt, vanilla, cinnamon, and baking powder until the mixture is smooth and creamy.

Beat in the egg; the batter may look slightly curdled. At low speed of your mixer, add the flour, stirring until smooth; the dough will be a little sticky. Near the end of mixing, throw in the chocolate chips and mix until combined. 

Transfer the dough onto the prepared baking sheet and roughly shape it into  9 1/2" x 2" logs, about 3/4" tall. Straighten the logs, and smooth their tops and sides; a wet spatula or wet bowl scraper works well here. Sprinkle with some more brown sugar sugar, if desired, pressing it in gently.

Bake the dough for 25 minutes, turning the baking sheet halfway through. Remove from the oven and reduce the oven temperature to 325°F.

Wait at least 5 minutes, then use a sharp chef's knife or serrated knife to cut the log crosswise into 1/2" to 3/4" slices. Or cut the biscotti on the diagonal, for fewer, longer biscotti. As you're slicing, be sure to cut straight up and down, perpendicular to the pan; if you cut unevenly, biscotti may be thicker at the top than the bottom, and they'll topple over during their second bake.

Set the biscotti on edge on the prepared baking sheet. Return the biscotti to the oven, and bake them for 25 to 30 minutes, until are beginning to turn golden (if they are browning too fast, reduce the temperature to 300 degrees after 15 minutes). They'll still feel a tiny bit moist in the very center, if you break off a piece; but they'll continue to dry out as they cool.

Remove the biscotti from the oven, and transfer them to a rack to cool. Store airtight at room temperature; they'll stay good for weeks.

Yield: 15 small biscotti

Nutrition Info: approximately 82 calories each

Almond Cornmeal Biscotti

Sitting down on a lazy afternoon with a cup of coffee doesn't feel complete without a little sweet treat to go along with it. Biscotti is one of my favorite coffee time snacks. It's fun to make, and it lasts forever in an airtight container. I've tried many different biscotti recipes over the last several years, some are better than others, but none have been bad. This one ranks near the top of the list. What I really like about it is the addition of a little cornmeal to the dough. This cornmeal adds just enough crunch to make things interesting, it just livens the cookie right up! The almonds also add to the crunch factor, a perfect combination. I actually made this recipe twice in less than a week the first time I made it, it was that good. And it will definitely be a regular in the coffee time cookie rotation from now on!

The original recipe is for almond anise biscotti, but I'm not a huge fan of anise flavor. I just omitted it and added in a little almond extract to amp up that almond flavoring instead. It turned out great! I love crunchy, almond-y, buttery cookies, especially with a delicious cup of coffee!

Almond Cornmeal Biscotti

Adapted from Martha Stewart's Baking Handbook

Ingredients 

  • 1-1 1/2 cups (4.75-7.5 oz) almonds
  • 2 1/2 cups all purpose flour
  • 1/2 cup yellow corn meal
  • 2 teaspoons baking powder
  • 1/2 teaspoon salt
  • 4 tablespoons butter, room temperature
  • 1 cup sugar
  • 1 teaspoon vanilla extract
  • 1/4 teaspoon almond extract
  • 3 eggs, plus 1 egg, lightly beaten
  • coarse sugar, for sprinkling (optional)

Directions

Preheat the oven to 375 F. Line a large baking sheet with parchment paper; set aside. Spread the almonds in a single layer on a rimmed baking sheet. Toast in the oven until fragant and just beginning to turn light golden, 6 to 8 minutes. Transfer nuts to a clean surface; spread evenly, and let cool completely. 

Sift together flour, cornmeal, baking powder, and salt into a medium bowl; set aside.

In the bowl of an electric mixer fitted with the paddle attachment, beat the butter and granulated sugar on medium-high speed until light and fluffy, about 3 minutes. Beat in the vanilla and almond extracts. Add 3 eggs, one at a time, beating to incorporate after each addition and scraping down the sides of the bowl as needed. Add the flour mixture, and beat on low speed until combined. Mix in toasted almonds.

Turn out the dough onto a lightly floured surface and knead to evenly distribute the nuts. Divide in half. Shape each piece into a 18-inch log, and transfer to the prepared baking sheet, about 3 inches apart (note: this biscotti does not spread a lot during the first bake, so shape accordingly). Brush beaten egg over the surface of the logs, and sprinkle generously with sugar, if using.

Bake, rotating pan halfway through, until logs are lightly browned and firm to the touch, about 25-30 minutes. Transfer parchment and logs to a wire rack to cool slightly, about 20 minutes. Reduce oven temperature to 300 degrees.

Place logs on a cutting board. Using a serrated knife, cut the logs crosswise on the diagonal into 1/2-inch-thick slices. Place a wire rack on a rimmed baking sheet. Arrange slices cut side down on the rack. Bake until firm to the touch, about 30 minutes. Remove pan from oven; let biscotti cool completely on the rack. Store in an airtight container. 

Sage and Rosemary Nut Mix

I'm a sucker for any type of snack or nut mix, I just love munching on things and this recipe is one of the best ways to do just that. It's super simple to put together, and is just a bit different than a lot of other mixes I've had, thanks in part to the sage. I hadn't worked a lot with sage until this fall, but I randomly planted a couple of sage plants in my backyard this summer, and then promptly ignored it until just a month or two ago. When I actually started to use the leaves in a couple of different things I realized that I love the soft warmth of this beautiful herb, and the distinctive flavor it lends to dishes. 

Tossing this sage together with a couple of cups of mixed nuts, olive oil and some rosemary leads to a deliciously savory mix that makes you step back and contemplate what you've just eaten. It's the perfect mix for any holiday party, from Thanksgiving to New Years, and beyond. This mix is definitely a winner. 

This recipe couldn't really be easier. Just mix everything together, spread on a cookie sheet and bake low and slow for a couple of hours. That's it! I think my favorite part of the whole mix was how crispy and crunchy the sage leaves became after they came out of the oven. They just melt in your mouth, salty and oily and delicious! I have to admit, not many of them actually made it into the final mix. I may have eaten a few to many before I reached that stage, that's the advantage of being the cook!

Sage and Rosemary Nut Mix

From 

Food and Wine

Ingredients

  • 4 cups mixed raw nuts, such as pecans, walnuts, almonds and cashews
  • 32 sage leaves, torn into large pieces
  • One 8-inch rosemary sprig, leaves stripped
  • 3 tablespoons extra-virgin olive oil
  • Salt
  • Freshly ground pepper

Directions

Preheat the oven to 200°. On a large rimmed baking sheet, toss the mixed nuts with the sage, rosemary and olive oil and season with salt and pepper. Spread the nuts in an even layer. Bake for 3 hours; the nuts should not be browned. Let the nuts cool on the baking sheet until they are crisp, then transfer them to a bowl and serve. Store in an airtight container.

Chocolate Chip Oat Cookies

I think I've said it before, but I'll say it again, chocolate chip cookies are one of my all time favorites. I'm always on the lookout for a good chocolate chip cookie recipe. I have several great recipes in my recipe book, but there is always room for one more, right? Choosing a favorite recipe would be impossible, they are all delicious in their own way. When I saw this recipe from Rebecca LaMalfa, an executive sous chef in Chicago, I just had to give it a try. This is her version of the classic, inspired by her mom's recipe. It's a pretty basic recipe, with one small twist, old-fashioned oats that you grind up in the food processor that give the cookies a slightly different flavor and texture than regular chocolate chip cookies. They turned out delicious, the perfect recipe to try when you want the classic, with a twist!

In this recipe, she calls for you to make 12 large cookies. These would be absolutely huge, like what you get at the bakery or coffee shop. Since I don't need cookies even close to that large, I cut back on their size as I shaped them. I think I baked them for slightly less time then, but I don't exactly remember how long. If you end up making smaller cookies, set your timer for a little less time and go from there until they are done to your liking. Whatever size you decide upon, they will be wonderful and soft. There are no slightly crispy edges here, just all soft and chewy, perfect to sink your teeth into.

Chocolate Chip Oat Cookies

From 

Rebecca LaMalfa

 via Tasting Table

Ingredients

  • 2½ cups old-fashioned rolled oats
  • 2 cups all-purpose flour
  • 1 teaspoon baking soda
  • 1/2 teaspoon baking powder
  • 1/2 teaspoons kosher salt
  • 2 sticks unsalted butter (at room temperature)
  • 1 cup light brown sugar (lightly packed)
  • 1/2 cup granulated sugar
  • 2 large eggs
  • 1 teaspoon vanilla extract
  • 2 cups semisweet chocolate chips

Directions

Preheat the oven to 350°. Line a rimmed baking sheet with parchment paper and set aside.

To the bowl of a food processor, add the old-fashioned rolled oats. Pulse the oats until semi-fine--there should be a few larger bits, but most of the oats will be finely ground, about twelve 1-second pulses. Add the oats to a large mixing bowl. 

Set a fine-mesh sieve over the bowl, and to it add the all-purpose flour, baking soda and baking powder Sift the flour mixture over the oats. To the flour mixture add the kosher salt and use the whisk to combine the dry ingredients.

To the bowl of a stand mixer fitted with the paddle attachment, add the butter, light brown sugar and granulated sugar. Beat the mixture on medium-low speed until combined. Increase the speed to medium-high and beat until airy and pale in color, about 2 minutes. 

Reduce the mixer speed to medium-low and add one egg. Once the egg is well incorporated, stop the mixer and use a rubber spatula to scrape down the bottom and sides of the bowl. Turn the mixer back on to medium-low and add the remaining egg.

Once the egg is incorporated, add the vanilla extract. Beat on medium speed until well combined. Reduce the mixer speed to low and add the flour-oat mixture. Once the flour-oat mixture is mostly combined, add the semisweet chocolate chips. Mix just to combine the chips. Turn off the mixer and scrape down the bottom and sides of the bowl.

Use a large spoon to divide the cookie dough into 12 pieces about the size of a golf ball, rolling the dough in your hands to make a well-formed ball. Set the cookies about 2 inches apart on the parchment-paper-lined baking sheet and bake for 6 minutes. Rotate the baking sheet and bake until golden-brown around the edges and still soft in the center, about 6 minutes longer.

Remove the baking sheet from the oven and let the cookies cool on the baking sheet until set, about 5 minutes. Use a metal spatula to transfer the cookies to the wire rack to cool completely. Repeat with the remaining cookie dough. The cookies keep for up to 3 days stored at room temperature in an airtight container. (The cookie-dough balls can also be frozen on a baking sheet, then transferred to a resealable freezer bag and frozen for up to 3 months before baking.)

Cranberry Bliss Bars

I've never actually bought the cranberry bliss bars from Starbucks, but every single time I see them I want to try them. They are just so pretty, and look so tasty, but I never want to shell out the money to buy a tiny little bar, especially when I can probably make them at home! I've had this recipe for cranberry bliss bars in my recipe folder for quite some time, but it took me forever to get around to making them. The recipe calls for cream cheese, dried cranberries, and white chocolate, and I never seemed to have all three of those at the same time.

Finally, over this past Christmas break I decided I had to do it, so I went out and bought these three ingredients so I would no longer have any excuses not to make these bars. I'm glad I finally did it. I thought these bars were fantastic. The blondie base layer is buttery and chewy, and filled with white chocolate and cranberries. Topped with a white chocolate cream cheese frosting, covered in more cranberries and drizzled with more white chocolate, they are absolutely delicious. I still haven't tried the real thing from Starbucks so I can't compare them, but I really don't feel like I have to!

Like I said, the blondie is delicious, and could probably work as the base for some other bars. I'll have to play around with that a little. They're not difficult at all to throw together, I love anything with melted butter because I can still make it right away, even if I forgot to soften the butter. So if you are craving coffee shop pastries at home, take the initiative and make your own, it's worth it!

Cranberry Bliss Bars

From

Recipe Girl

Ingredients

Blondie Layer:

  • 3/4 cup (1 1/2 sticks) salted butter, cubed
  • 1 1/2 cups packed light brown sugar
  • 2 large eggs
  • 3/4 teaspoon vanilla extract
  • 2 1/4 cups all-purpose flour
  • 1 1/2 teaspoons baking powder
  • 1/4 teaspoon salt
  • 1/8 teaspoon ground cinnamon
  • 1/2 cup dried cranberries
  • 6 ounces white baking chocolate, coarsely chopped

Frosting:

  • 1 package (8 ounces) cream cheese, softened
  • 1 cup powdered sugar, sifted
  • 6 ounces white baking chocolate, melted
  • 1/2 cup dried cranberries, coarsely chopped

Directions

Preheat the oven to 350 degrees. Spray a 9×13-inch baking dish with nonstick spray or line with parchment paper.

Prepare the blondie layer: In a medium bowl, melt butter for one minute in the microwave or until melted; stir in brown sugar. Pour the butter and sugar into a large bowl and let cool to room temperature. Use an electric mixer to beat in the eggs and vanilla. In a separate bowl, whisk together the flour, baking powder, salt and cinnamon; gradually add the dry mixture to the butter mixture. Stir in the cranberries and chopped chocolate (batter will be thick).

Spread the blondie batter into the prepared pan. Bake for 18-21 minutes or until a toothpick inserted near the center comes out clean (do not overbake). Cool completely on a wire rack.

Prepare the frosting: In a large bowl, use an electric mixer to beat the cream cheese and powdered sugar until combined. Gradually add half of the melted white chocolate; beat until blended. Frost brownies. Sprinkle with chopped cranberries. Drizzle with remaining melted white chocolate. Let the frosting set (speed this up by throwing them into the fridge) then cut into bars- square or triangle-shaped. Store in the refrigerator until ready to serve.