100% Whole Wheat Dinner Rolls with Tanzhong Starter

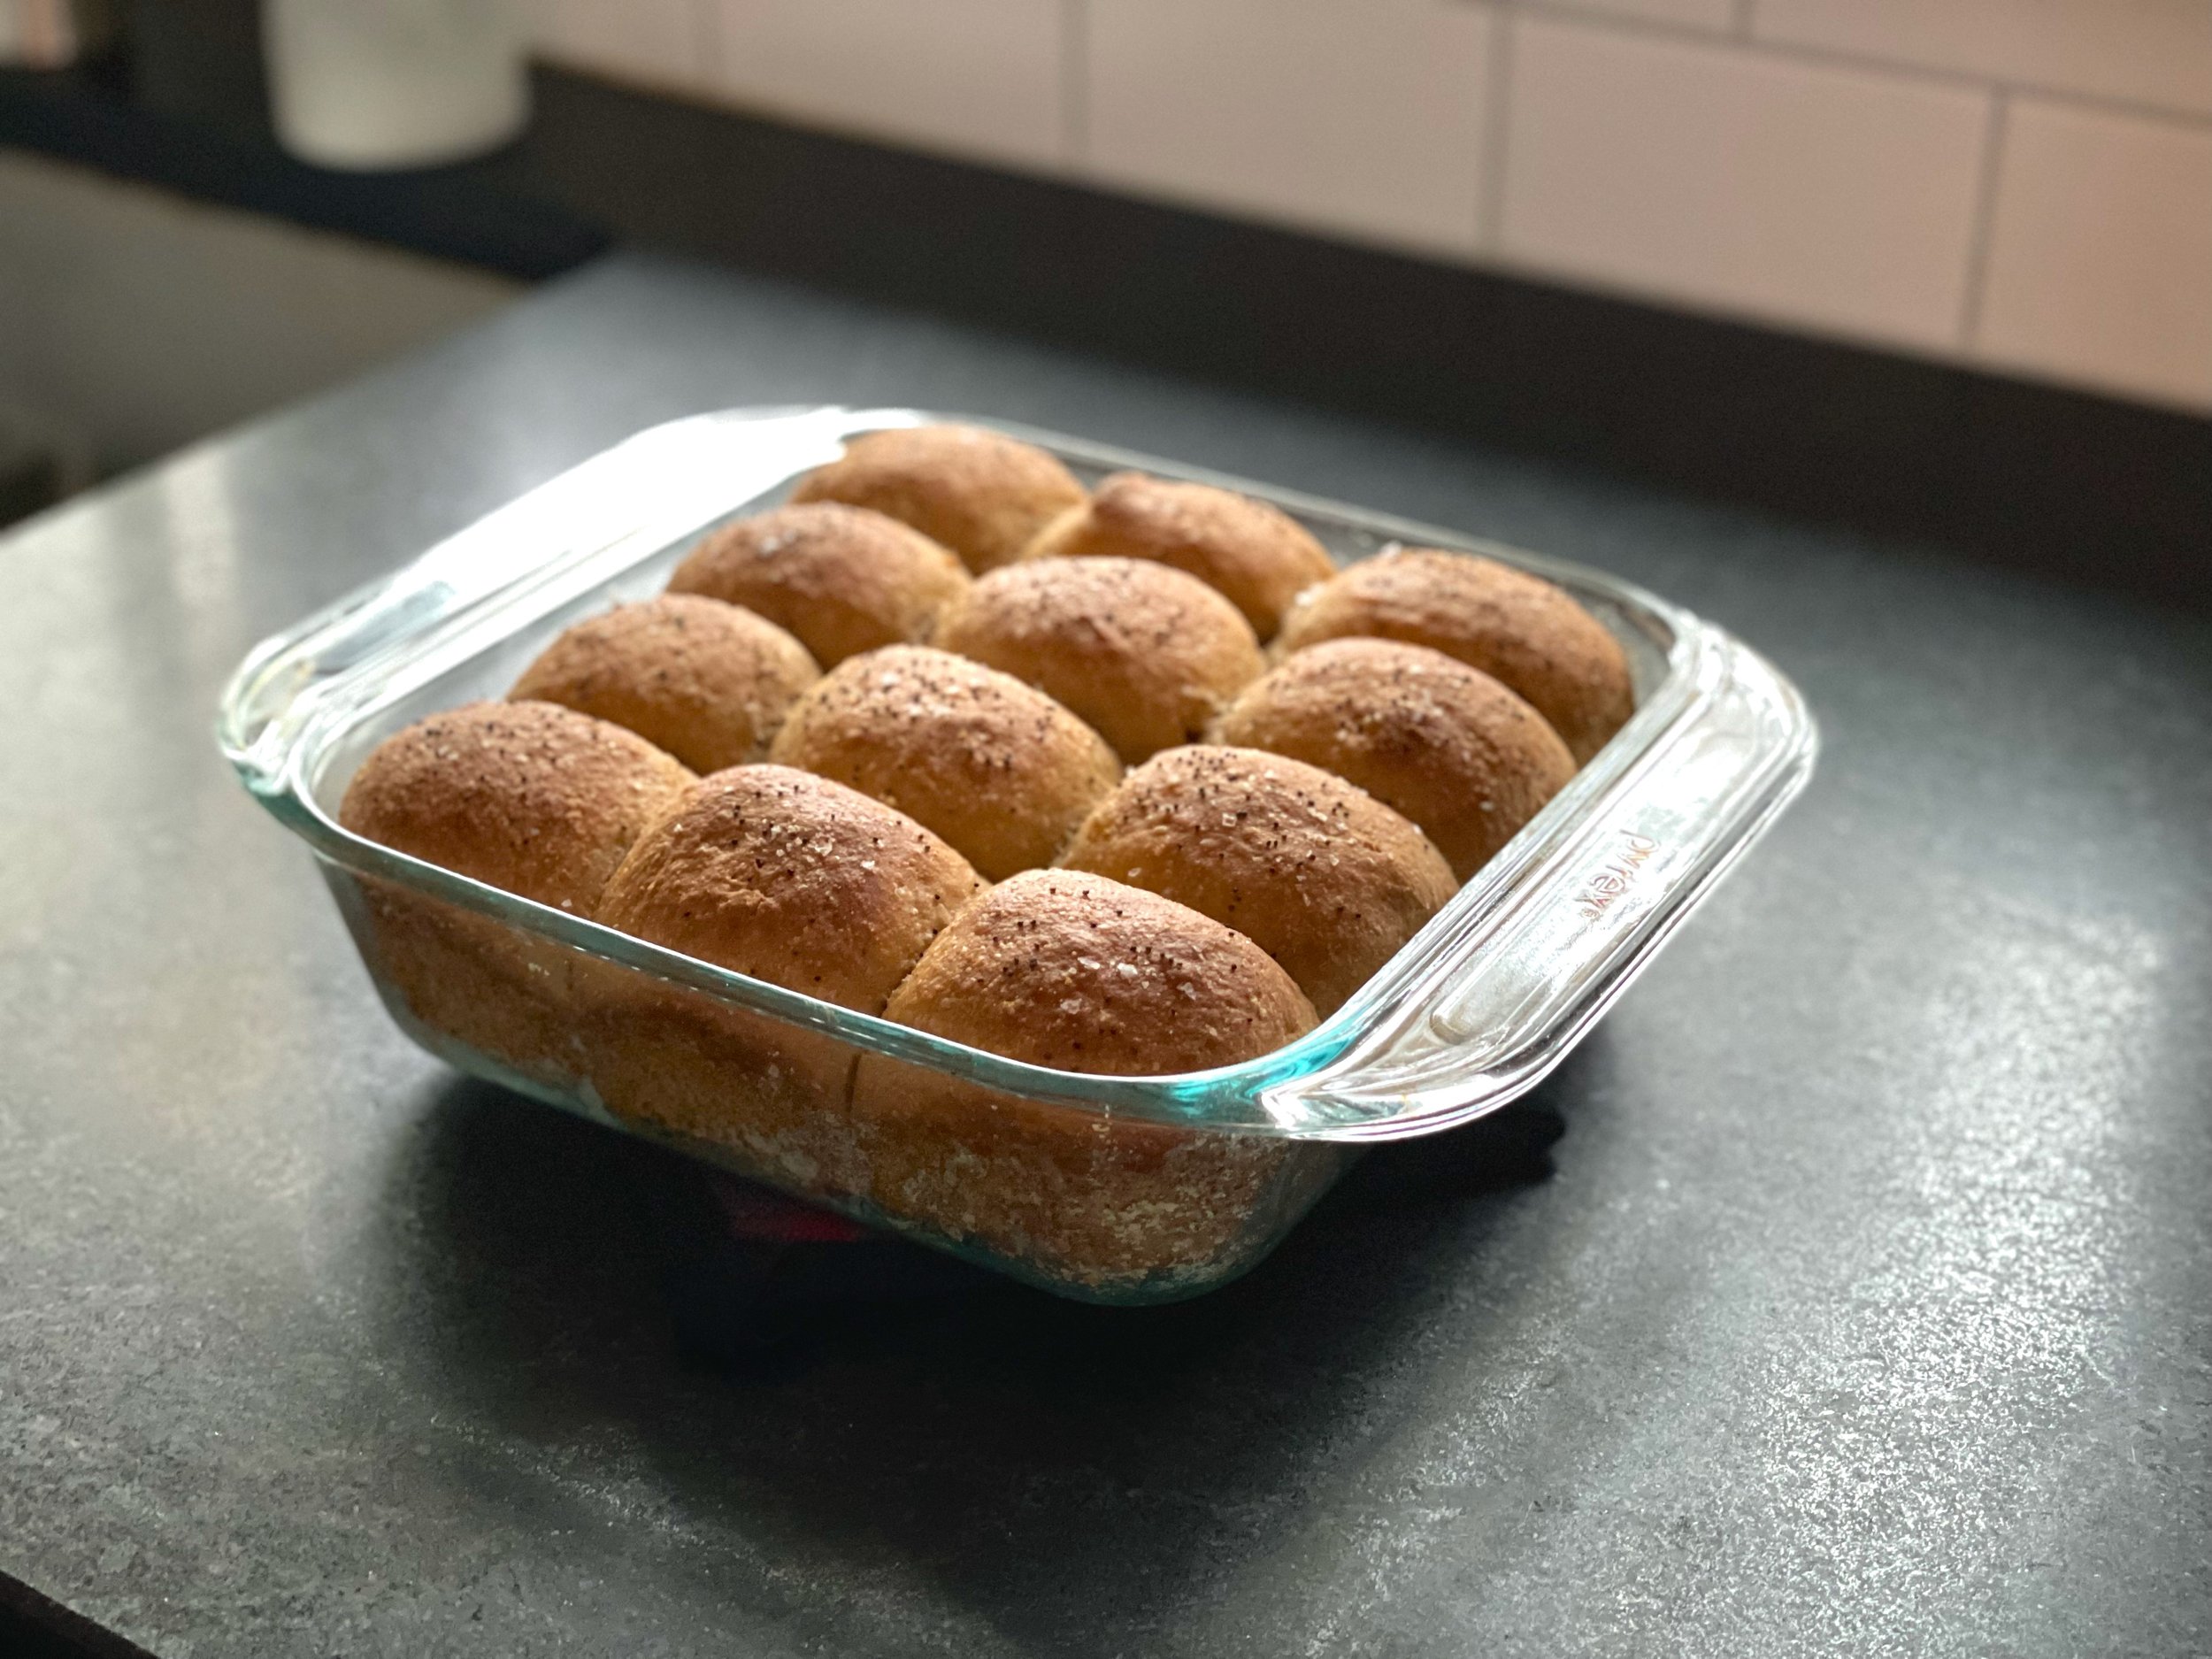
I haven’t been making all that much bread recently. Once the kitchen reno commenced in Jan I didn’t bake bread for months. Once the kitchen was done I just didn’t get back into it. There were so many other things to do in the kitchen! I’ve also just been eating less bread for various reasons. I don’t think bread is bad or evil, but I try not to eat too much of it, even though I love it so much!

I was thinking ahead to Thanksgiving next week though and stumbled across this recipe. I like a nice dinner roll on Thanksgiving, but I do try to stay away from white squishy bread, so when I saw this recipe for 100% whole wheat rolls I wanted to give it a try. 100% whole wheat anything is tricky, and especially in a yeasted bread. This recipe used the Tanzhong method which I have wanted to try for years so I thought I’d give it a go and see how it went. I’ve heard that using a Tangzhog started can help keep bread softer and moister which sounded ideal for 100% whole wheat.

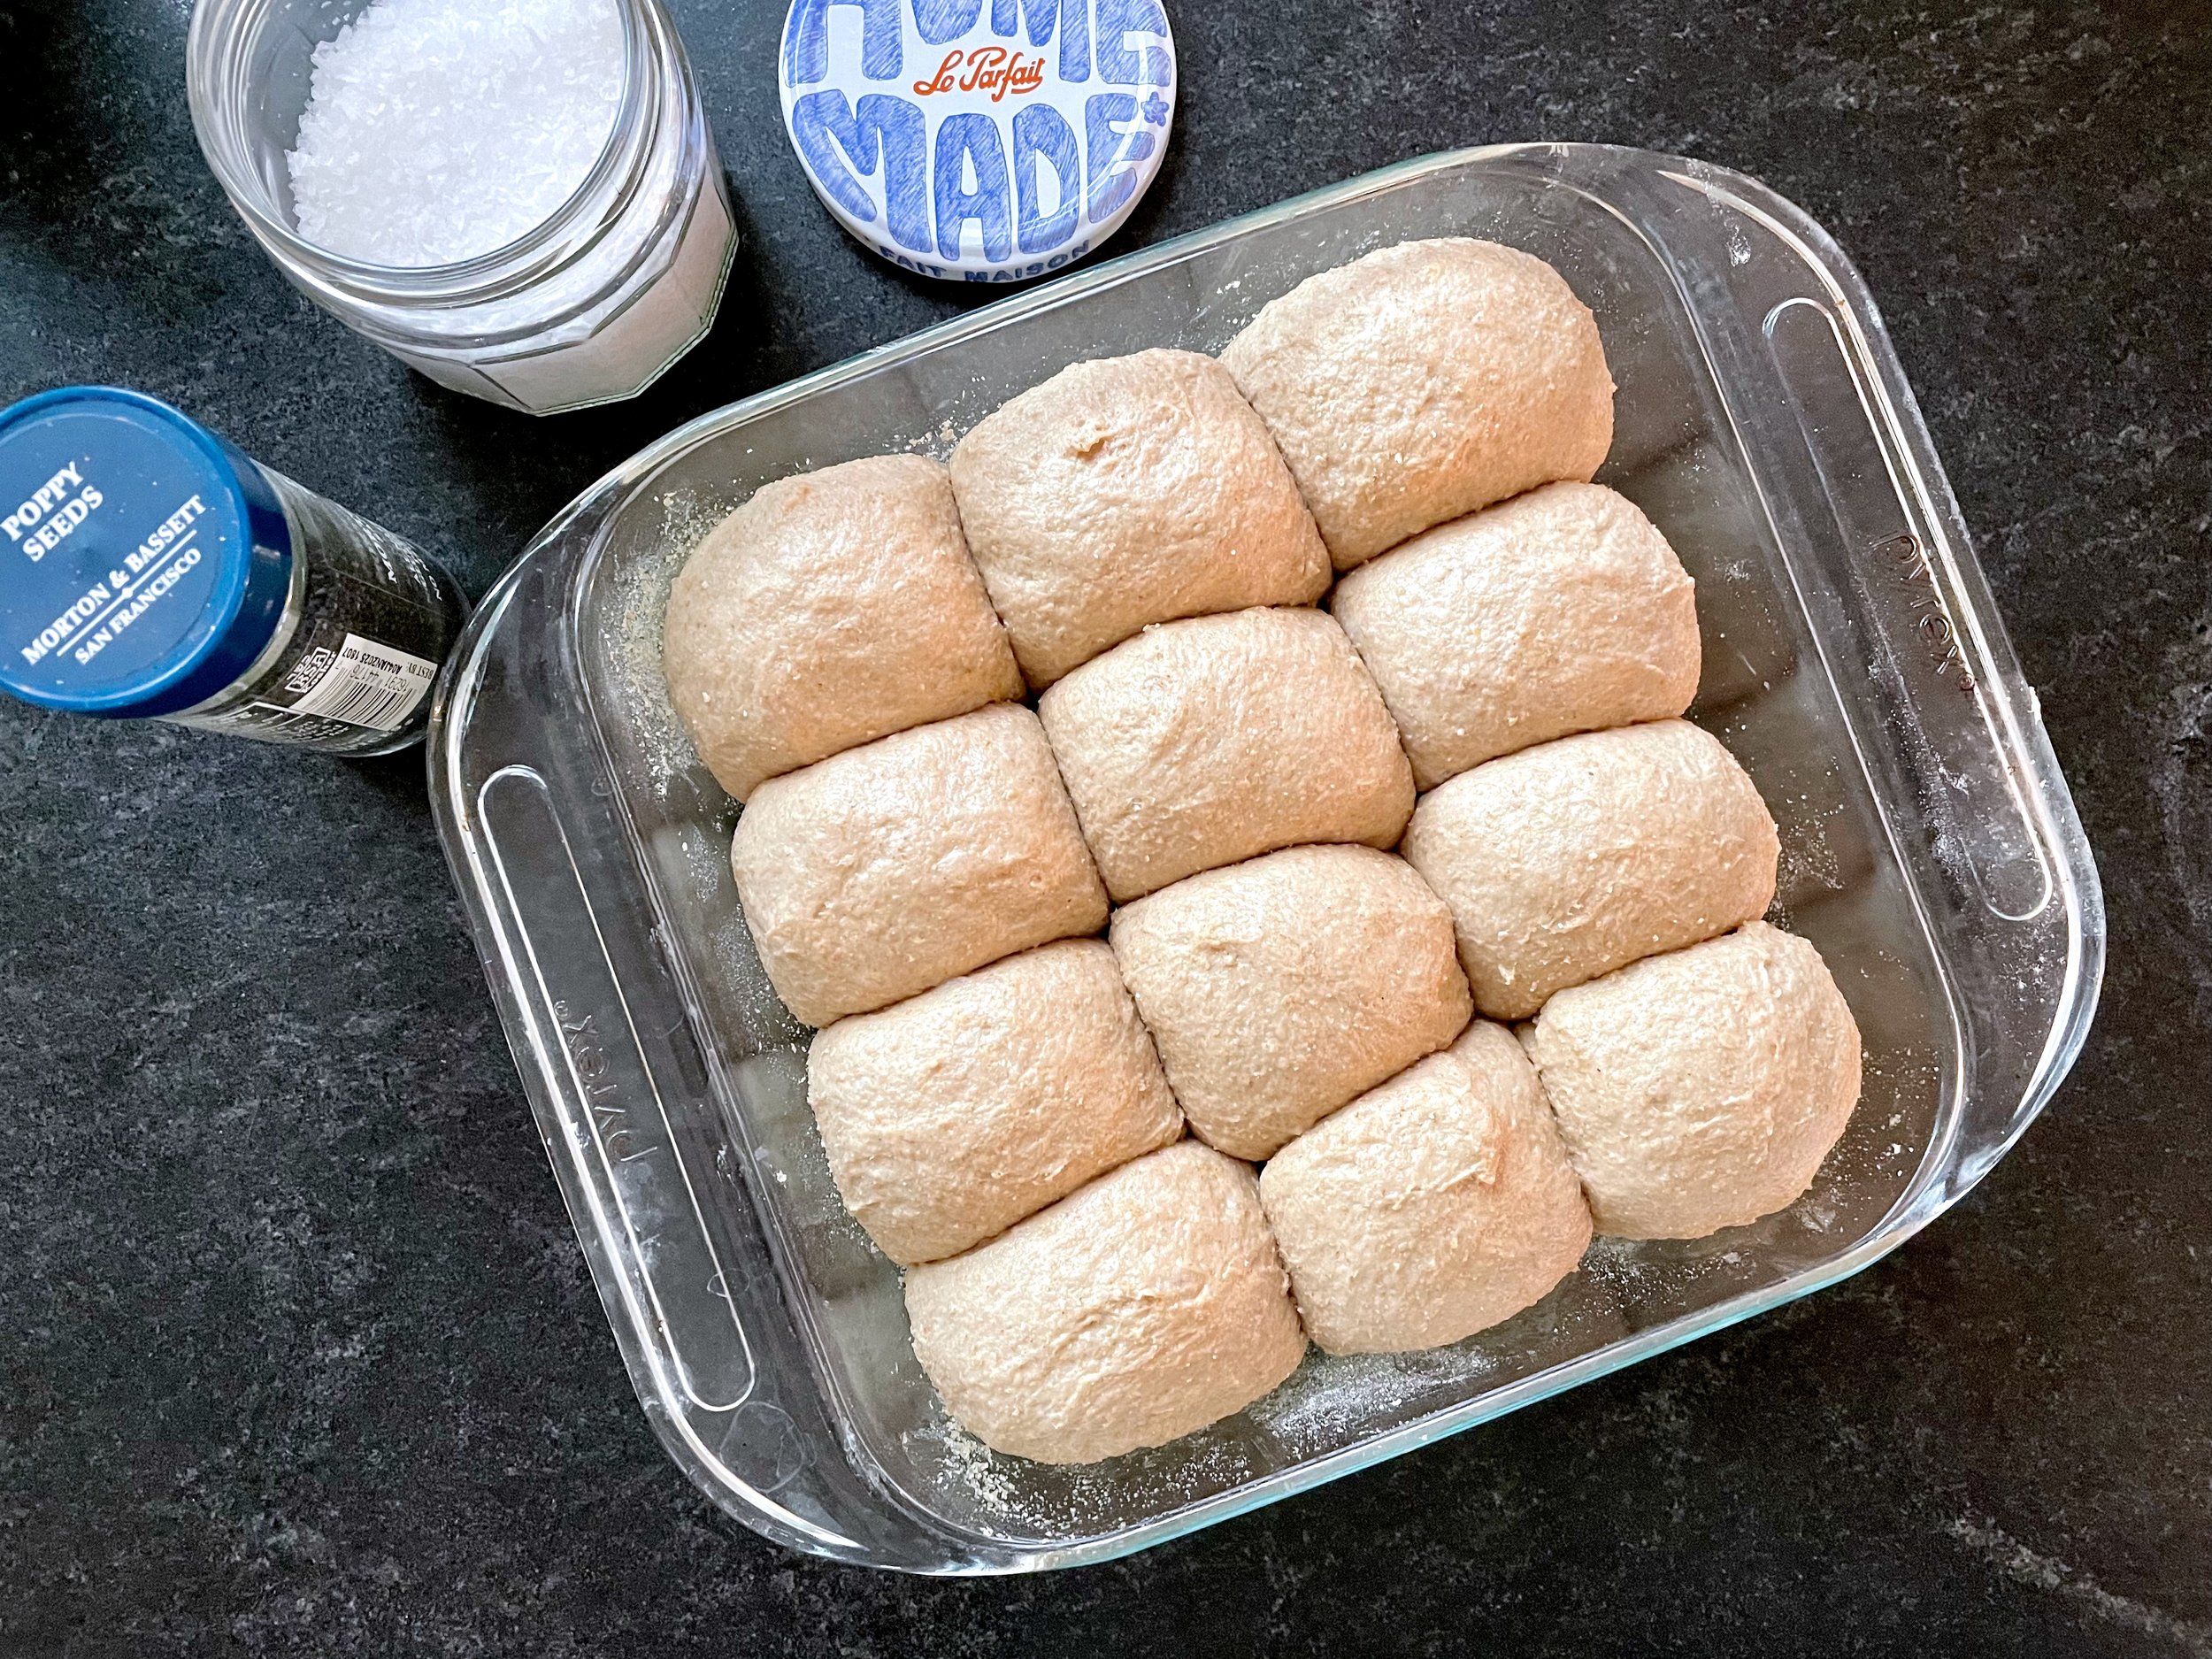
The recipe was super simple and came together from start to finish in less than an afternoon. You can start these after lunch and have them done at dinner! I found them to be fun to make, they came together well although I did have to add significantly more flour than the recipe called for when kneading so be forewarned. Otherwise no issues. They rose well, were easy to shape, and had good oven spring.

I did end up baking them quite a bit longer than the recipe called for as well. Closer to 35-40 minutes (recipe said 20-22 minutes). I did this because of the internal temperature of the bread. I’ve heard that 100% whole wheat bread should be closer to 200 degrees, and it wasn’t even close to this after 22 minutes. I think they definitely needed more than 22 minutes, but maybe not quite 35-40? I’ll have to test it again to see!

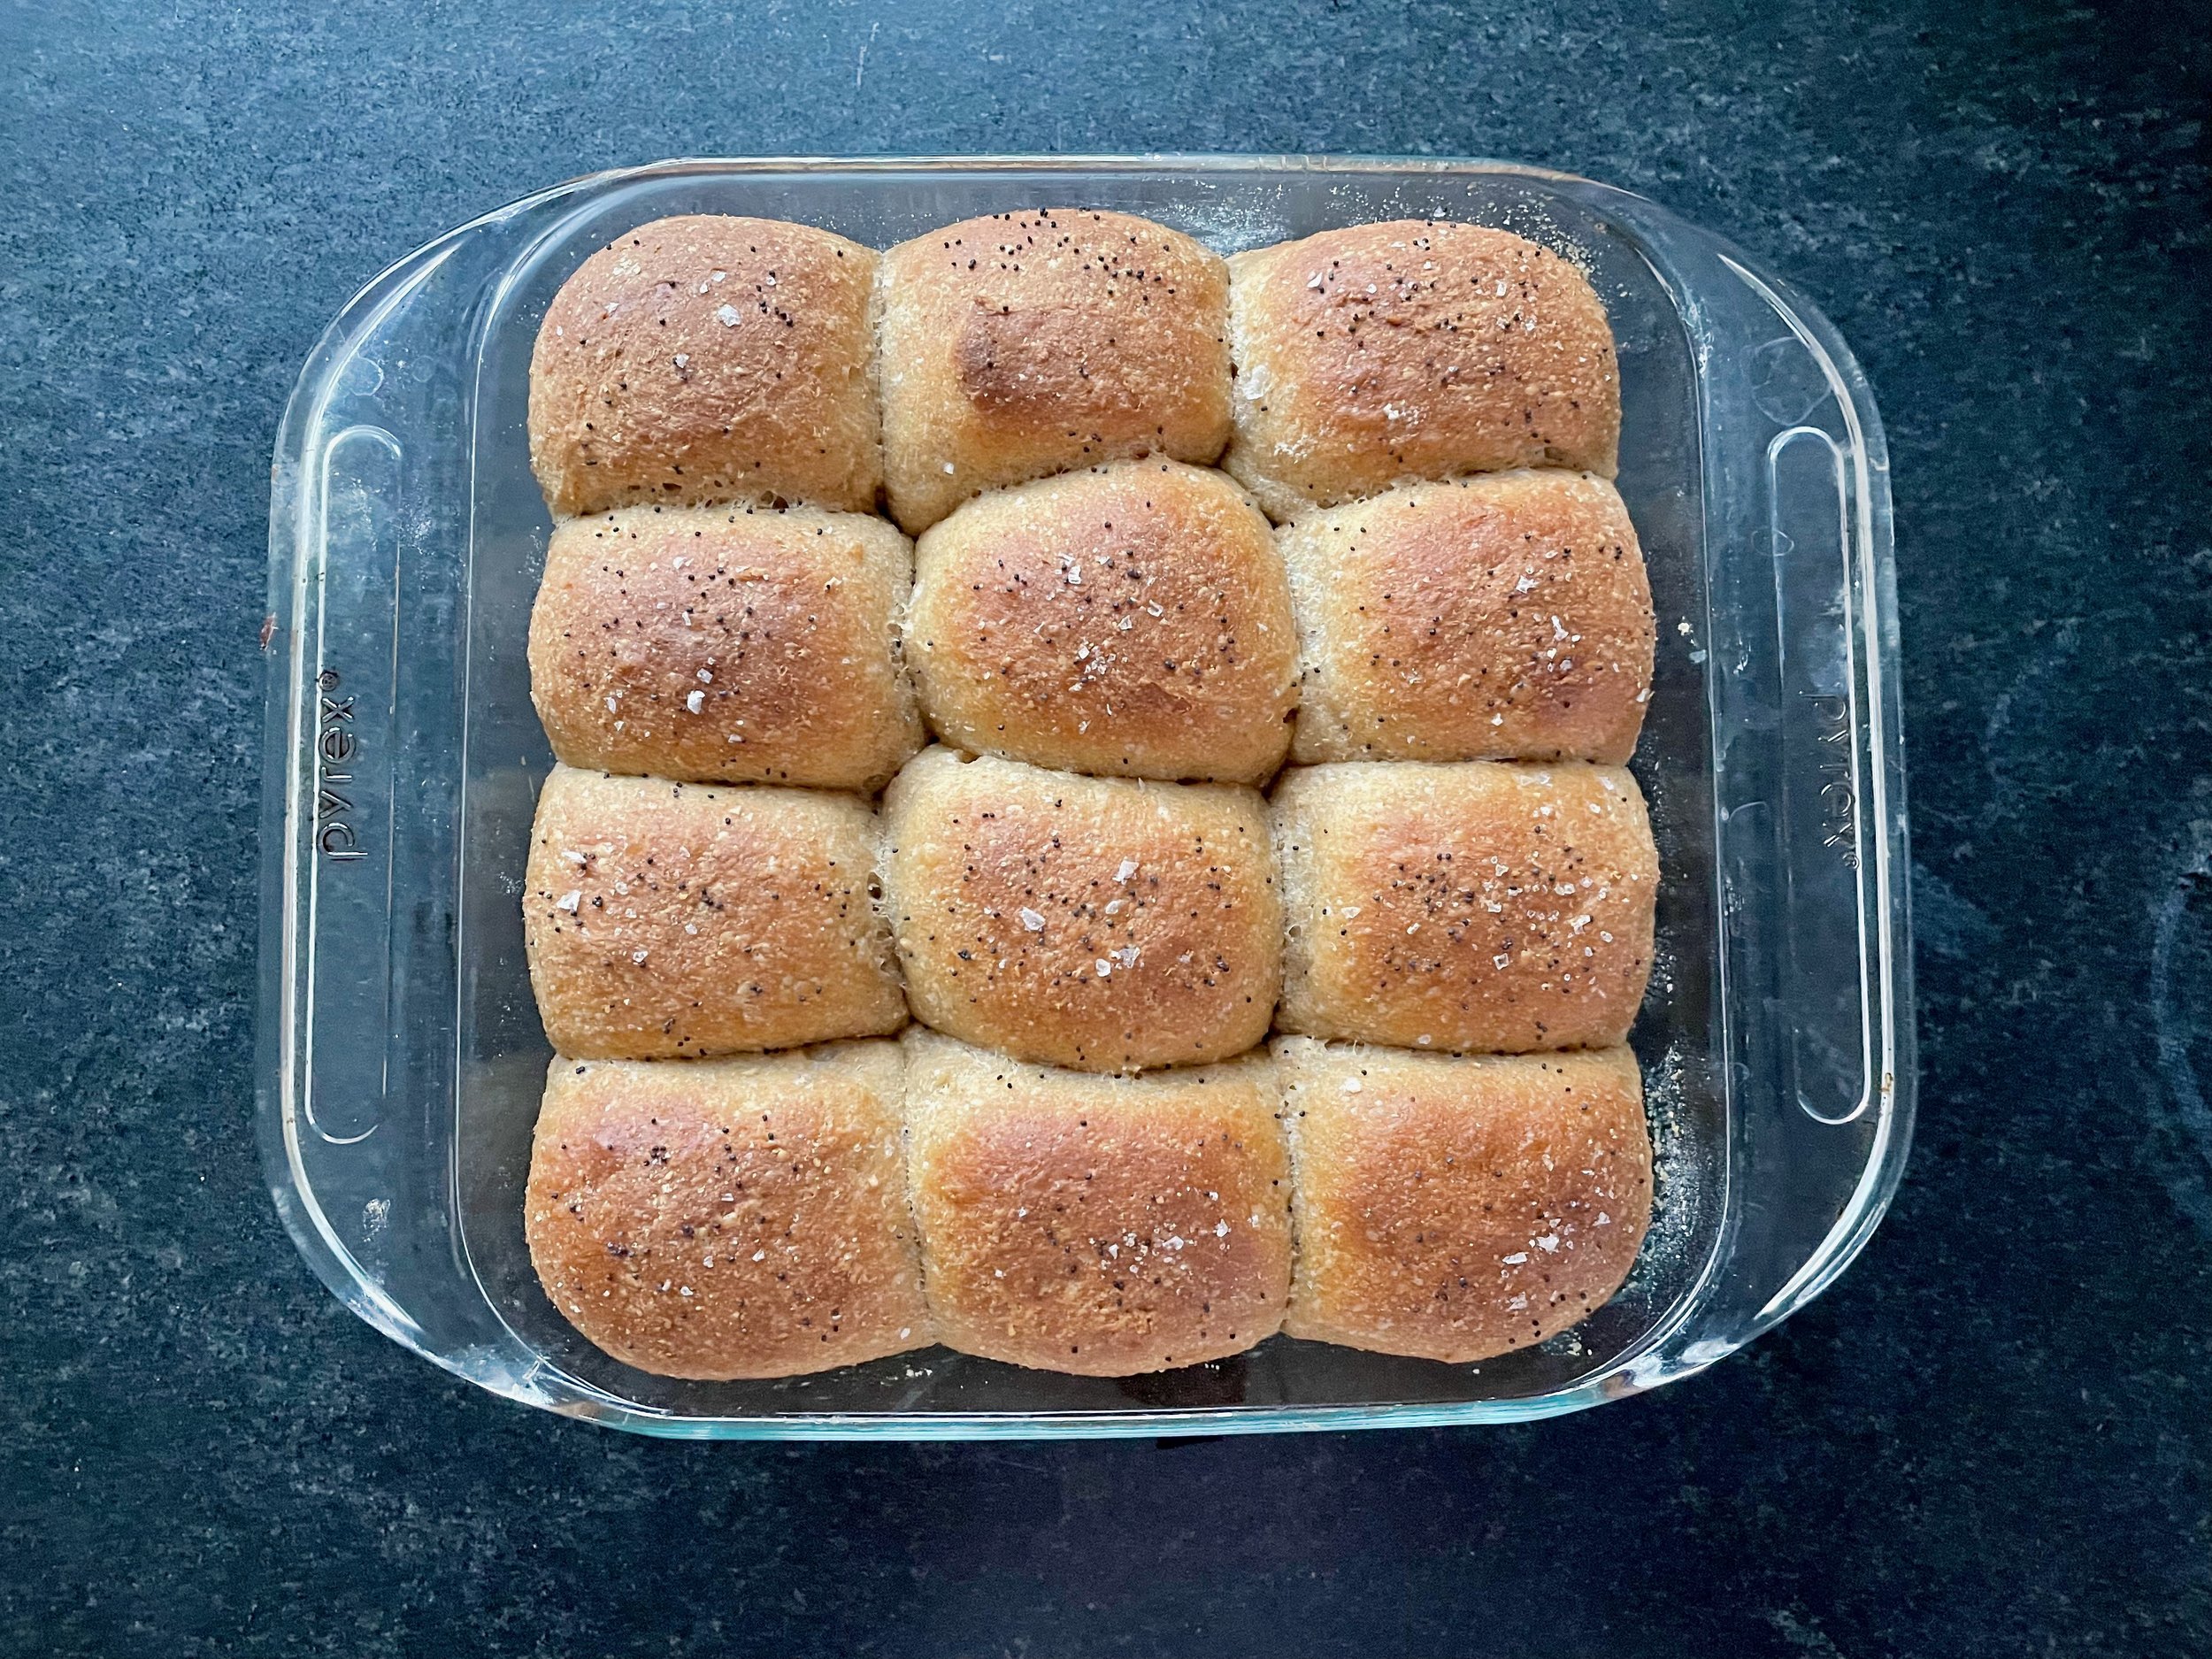
The final product was very nice! Soft and tender. Slightly dry (as in 100% whole wheat “dry”) but overall really lovely for 100% whole wheat rolls. They are definitely “wheat'-y” in flavor so use good quailty flour for the best flavor. I think I may add a little more salt next time just for a little additional flavor.

100% Whole Wheat Dinner Rolls with Tanzhong Starter
From Vegan Richa
Ingredients

Tangzhong:

  • 1/4 (0.25 ) scant cup whole wheat flour a bit less than 1/4 cup

  • 1/2 cup (125 ml) water

Sponge:

  • 1 cup (120 g) whole wheat flour

  • 1 cup (250 ml) warm water

  • 2.5 tbsp maple syrup or other sweetener of choice

  • 1 tbsp/3 tsp active yeast

Bread:

  • 2 cups (240 g) whole wheat flour or 1 cup whole wheat and 1 cup whole spelt flour [I used 1 cup whole wheat and 1 cup some soft white wheat that I ground myself!]

  • 1 tsp salt [maybe try 1.5 tsp?]

  • 3 tbsp extra virgin olive oil

  • 1 tsp lemon juice

  • 1/4 tsp (0.25 tsp) almond extract optional, adds nice bakery like smell [did not try, interesting idea though…]

Directions
In a small saucepan combine 1/4 cup flour and 1/2 cup water over medium heat. mix well and cook until gel like, smooth and starting to get shiny, stirring frequently. Set this tangzhong starter lump aside.

Mix all the Sponge ingredients in a bowl. Mix with a large spoon for 2 minutes until the batter is very smooth and starting to get gluten-ny.

Let the bowl sit covered for 1 hour in a warm place. (Use a large bowl as the sponge will triple).

In a stand mixer, add the sponge and tangzhong. Mix the salt into the 2 cups flour and add the flour to the stand mixer. Start kneading. Add in the oil, lemon juice and continue to knead for 5 minutes. Let the dough rest for 2 minutes. Check the dough to see if it needs more flour or water (it should be soft and smooth. not stiff and not sticky). Add more flour 1 tbsp at a time if needed. The dough should be soft and slightly tacky, but not overly sticky or not too stiff.

Knead for another 5 to 7 minutes. The dough should not break immediately when a small portion is pulled out.

Divide the dough in 12 equal balls and form into rolls. Place seam side down in the baking pan. They will be fairly close together and that’s okay.

Cover the pan with plastic wrap and let rise for 25 to 40 minutes or until the rolls double in size.

Pre-heat the oven to 375 degrees F/ 190ºc. Bake the bread for 20 to 22 minutes. [mine definitely took closer to 35-40 minutes. I don’t remember exactly how long, but I didn’t want to underbake these rolls because they are 100% whole wheat. I baked them until the internal temperature was 200 degrees.]

Remove the pan from the oven and brush oil or butter on top. Remove the bread from the pan after 10 minutes. Wait for another 5 before serving. Or cool to room temperature before storing in an airtight container.
Greek Yogurt Pita Bread

IMG_7726.jpeg

I love soft, tender flatbreads, still warm from cooking. There’s almost nothing better! I’ve made pita and tortillas occasionally over the years, but I’ve been wanting to try Molly Yeh’s Greek yogurt pita bread for a while now. I just hadn’t gotten around to it until this weekend.

IMG_7721.jpeg

I love baking with yogurt, it tenderizes and adds a slight tangy flavor to whatever it is you bake and this recipe was no exception. I’ve posted the original recipe (with a few tweaks to the instructions) below, and I also posted my adaptation which used my leftover sourdough starter. Since I’ve been making a lot of sourdough bread recently I’m always on the lookout for ways to use up my discarded starter. This pita was a great option!

IMG_7717.jpeg

The dough was soft, tender, and easy to roll out. I made half a batch of the sourdough version and ended up making 8 pita (the original recipe called for you to make 12 for the full recipe, so this would be 6 for a half batch) and I thought they were a nice size. Not too big and not too small.

IMG_7727.jpeg
IMG_7729.jpeg

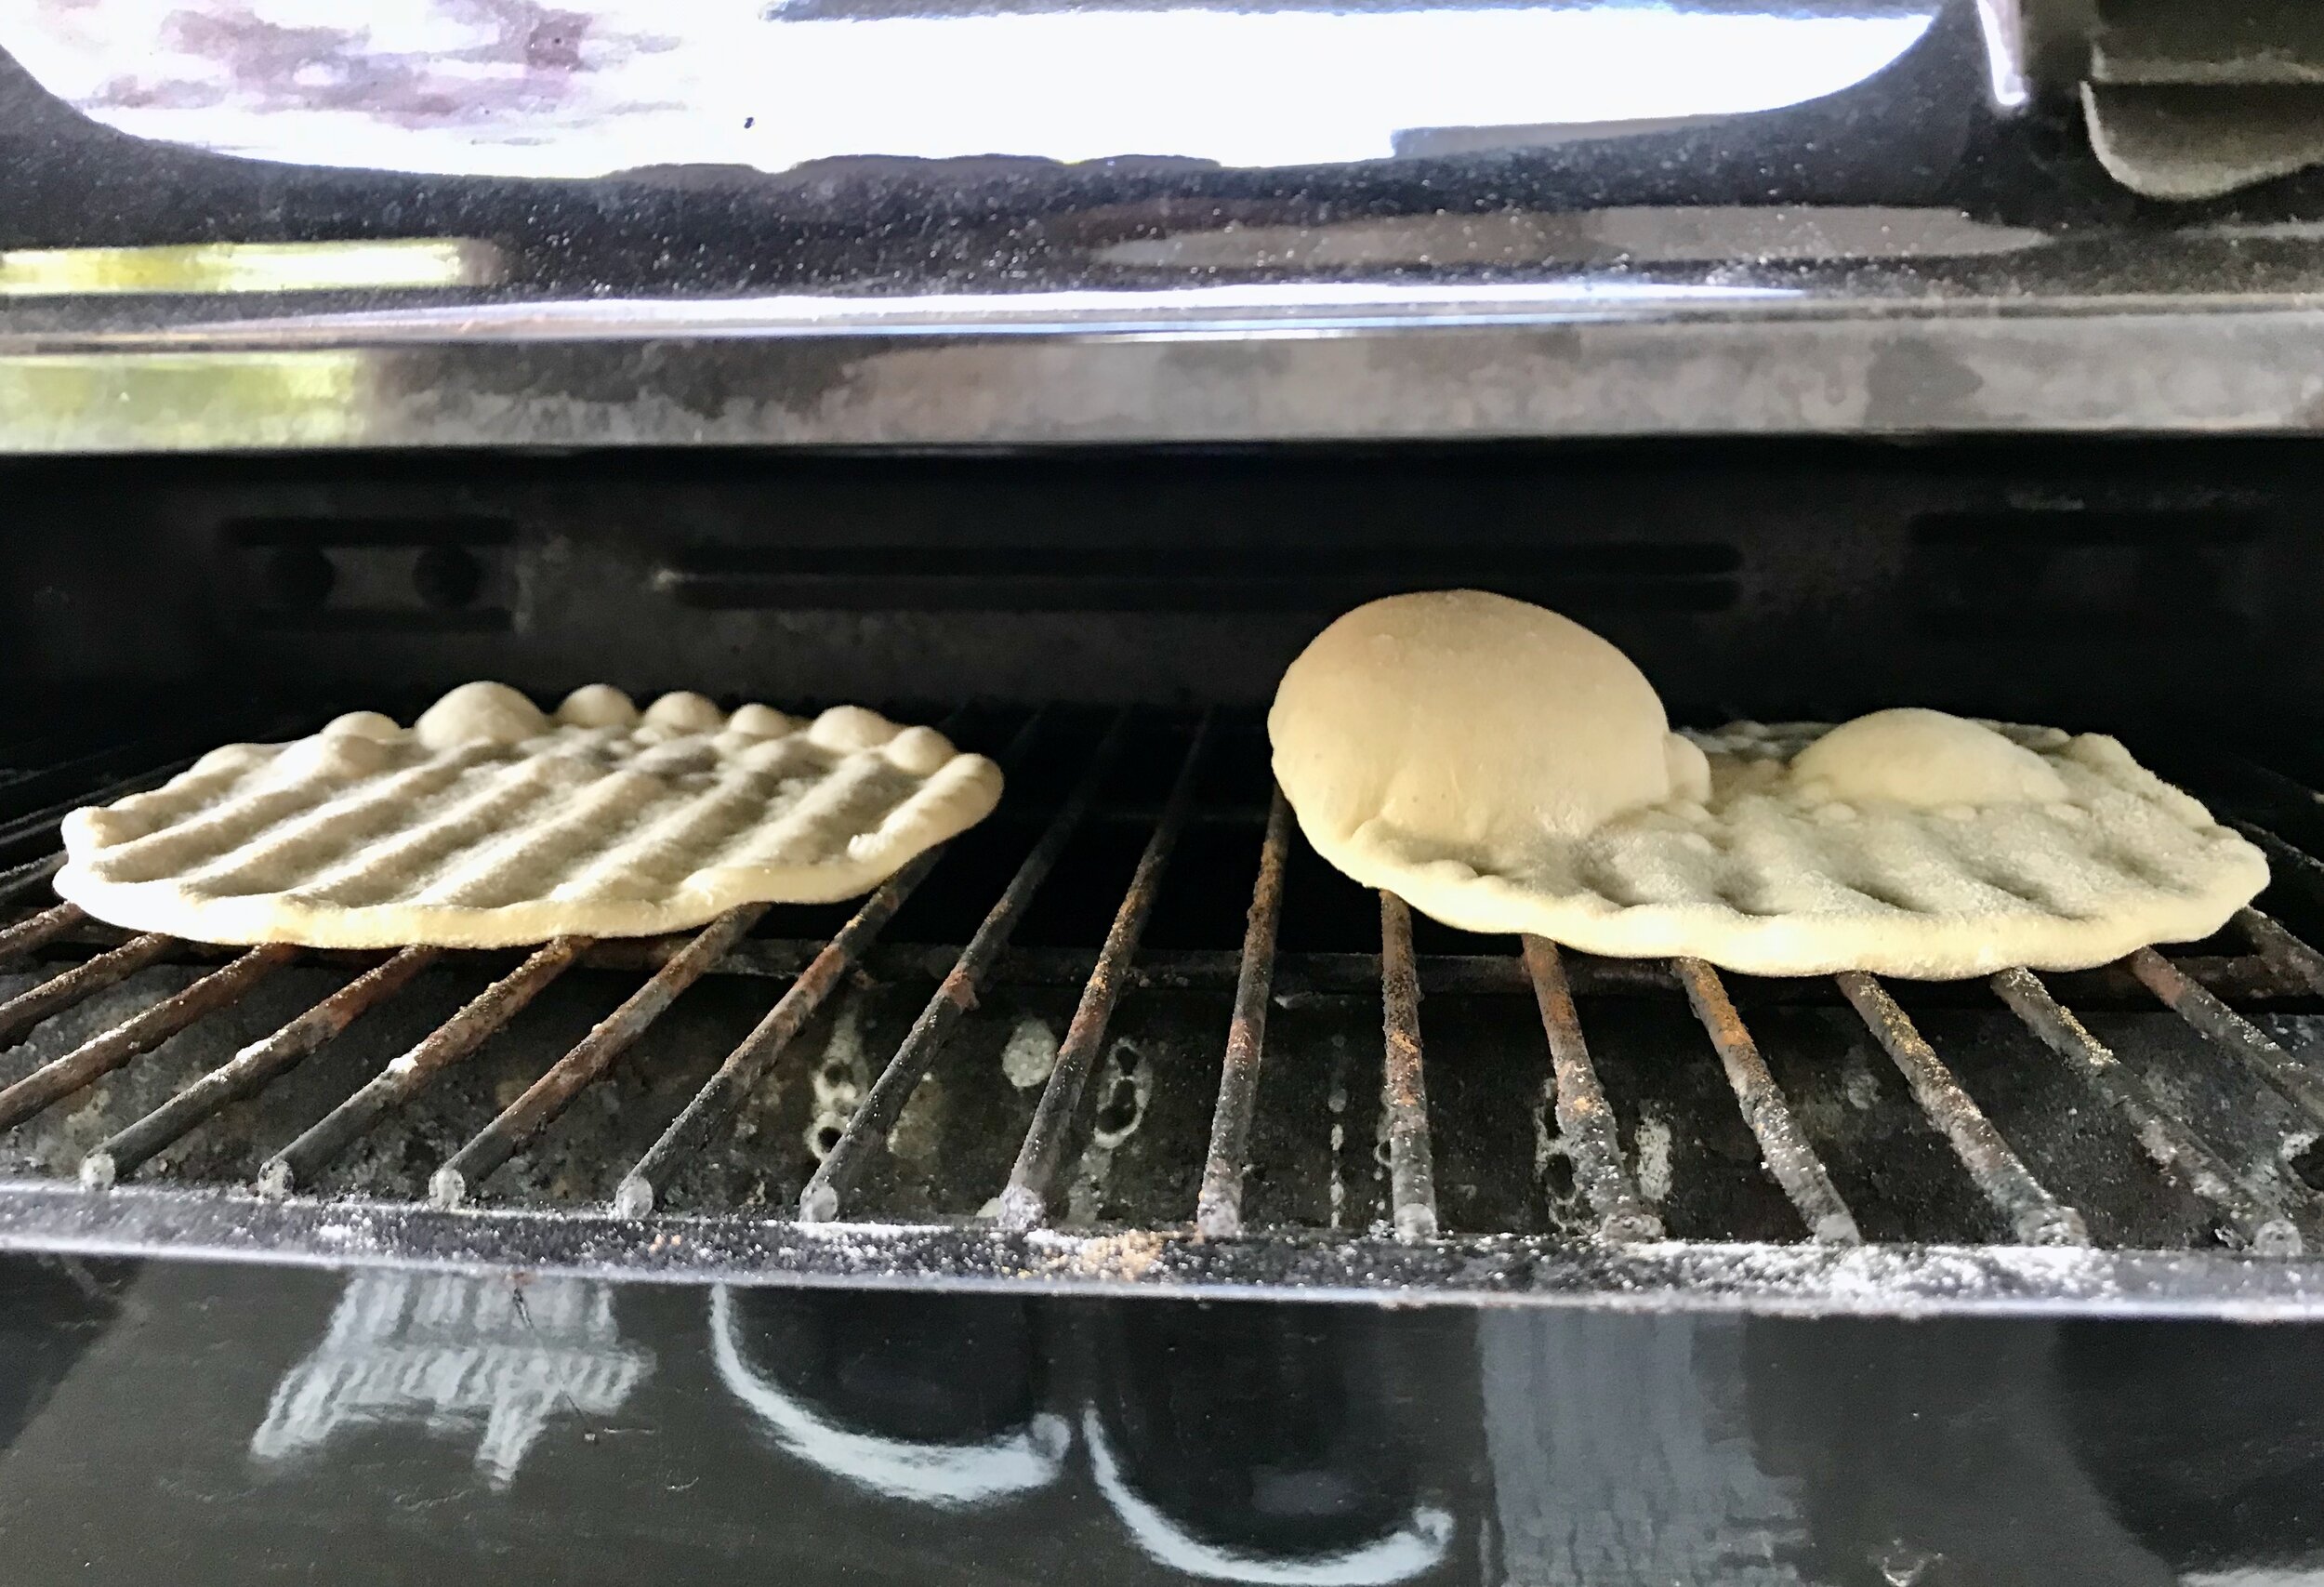
The original recipe calls for you to bake these in the oven. I decided to grill them instead which I find fun to do. They only took 1.5-2 minutes on the grill at around medium heat. I’m sure baking them as instructed turns out a good pita as well but at this point I can’t say for sure.

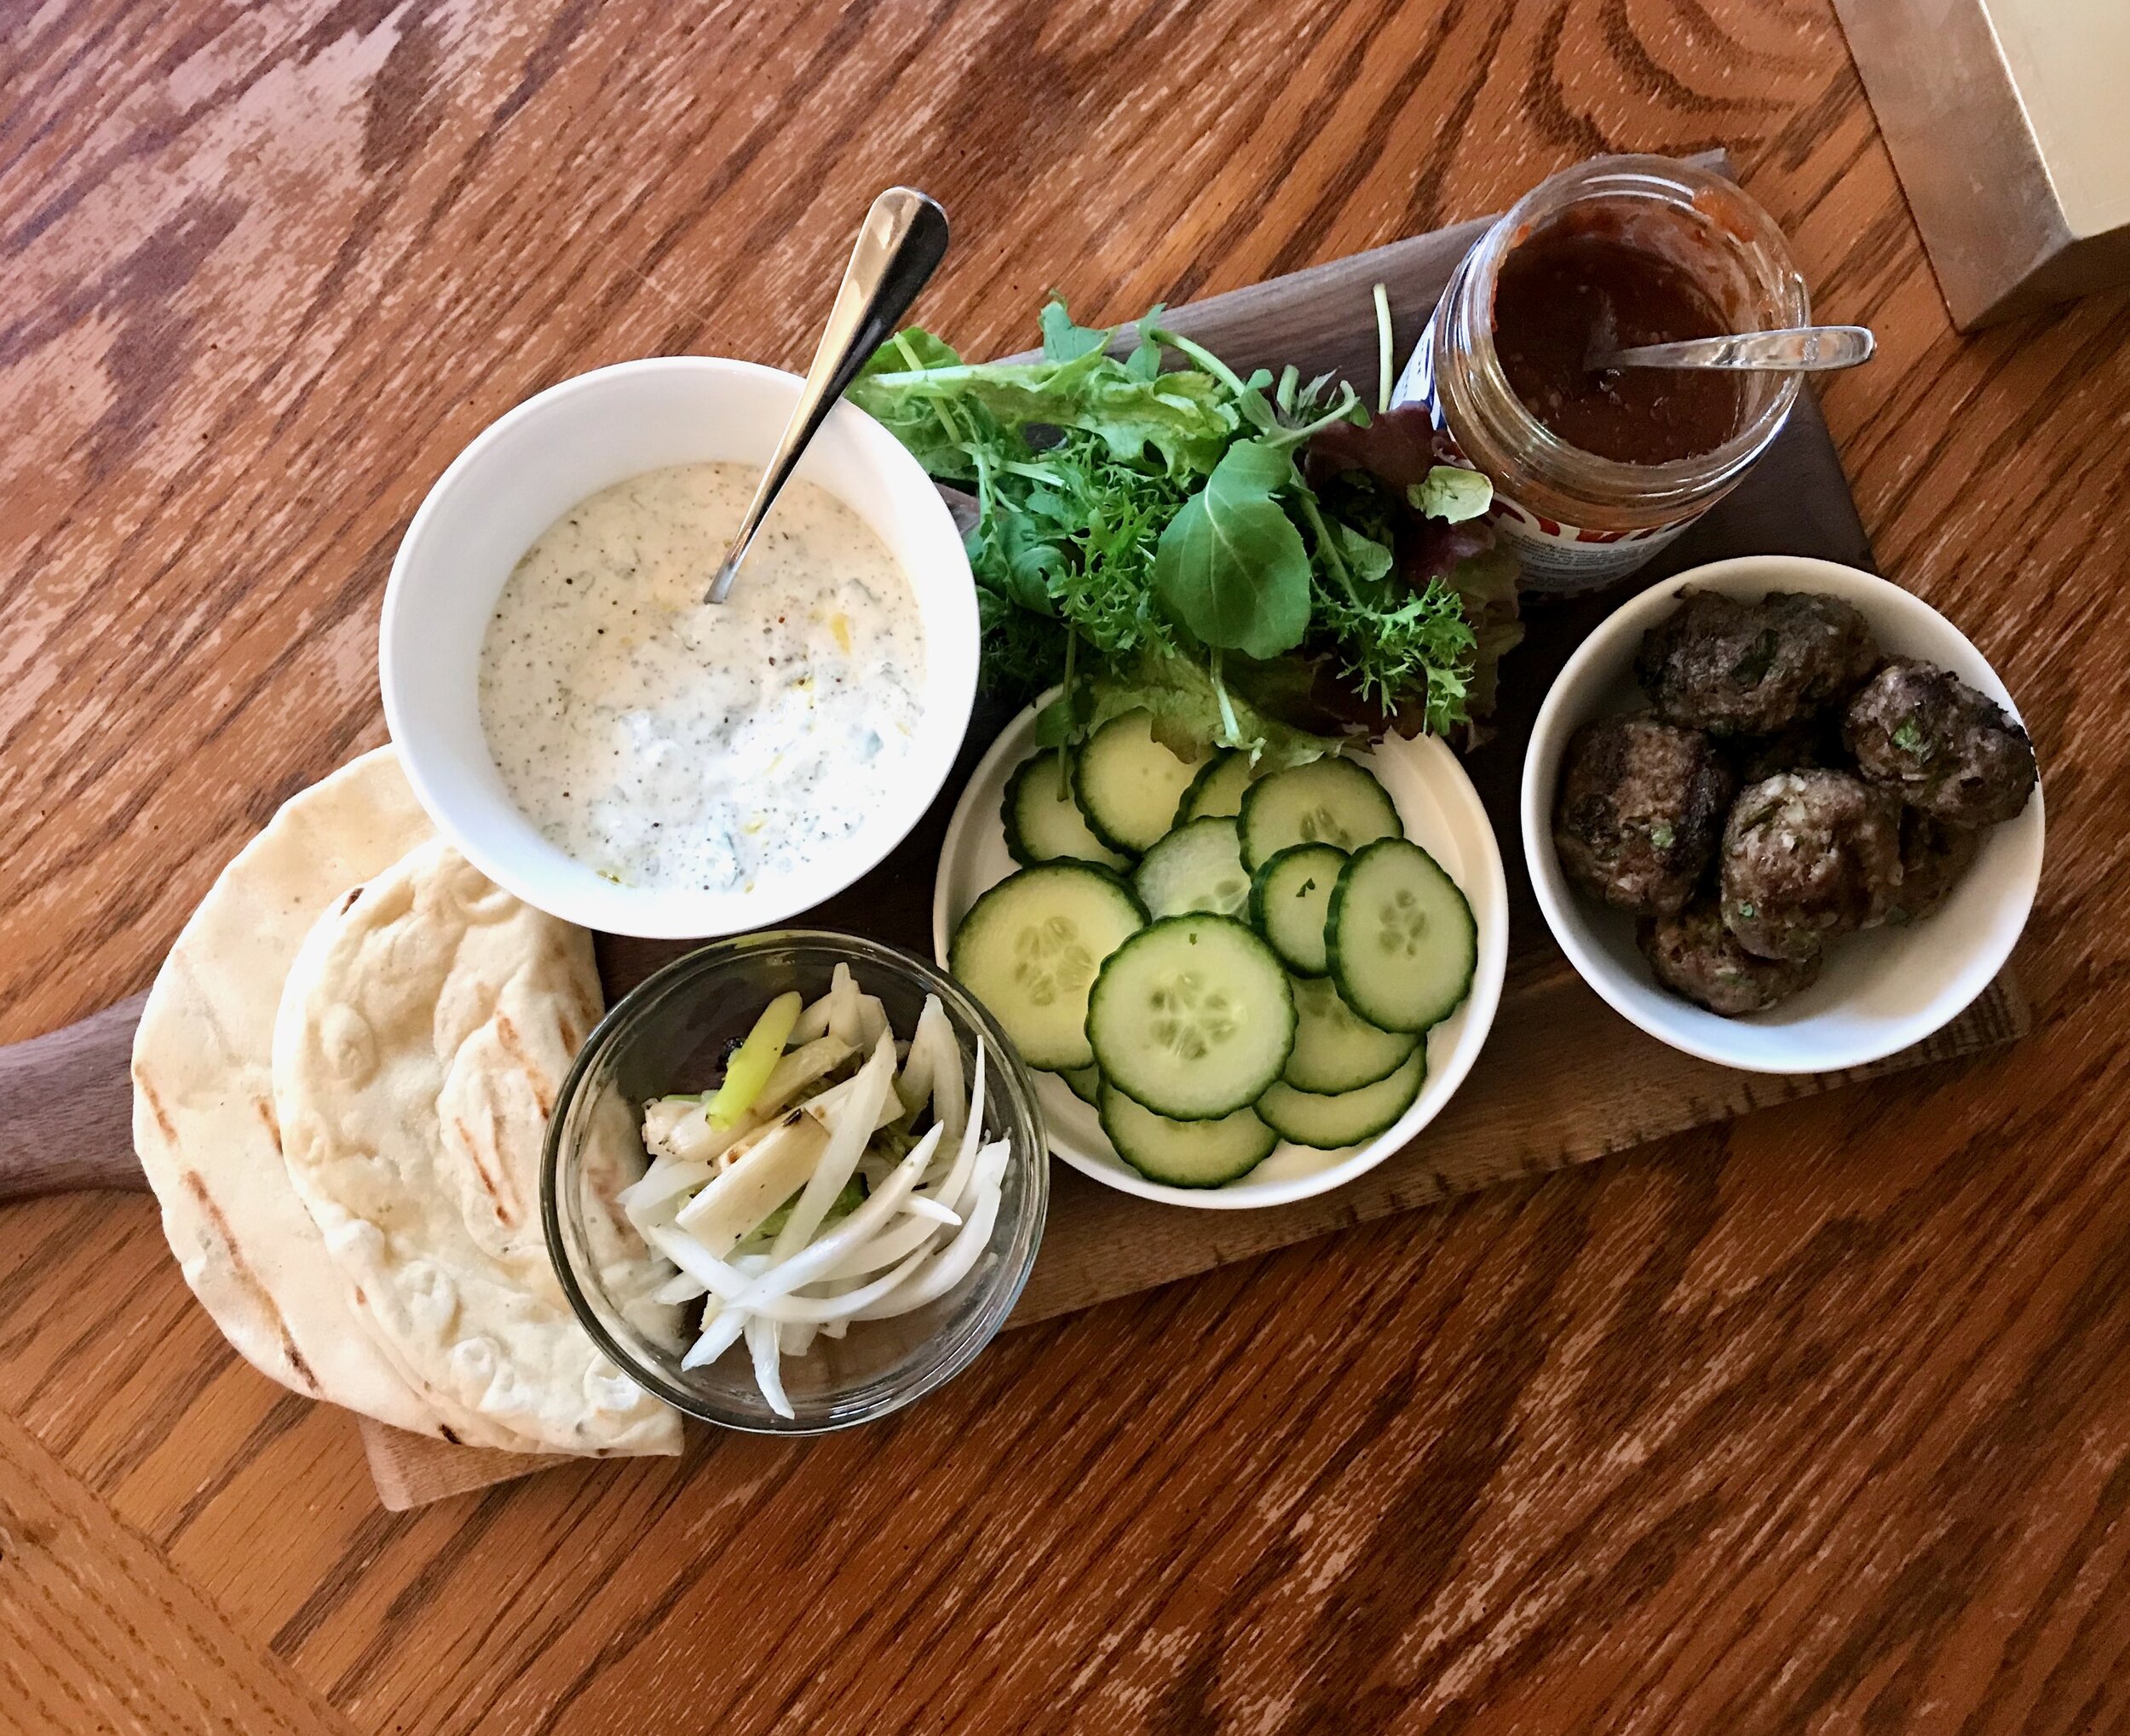
I served these with some lamb meatballs that I also grilled. No recipe for those, I kind of just threw them together. I added a nice amount of allspice, some cumin, coriander, and smoked paprika to the ground lamb as well as minced green onion, ramps, garlic and a few breadcrumbs for good measure.

Finally, I whipped up a delicious yogurt sauce that also had some of the garlic, ramps and green onion as well as olive oil and a lot of sumac. Fantastic!

——————————————————————————————

Greek Yogurt Pita Bread
Recipe from Molly Yeh via Joy the Baker
Ingredients

  • 2 1/4 teaspoons instant yeast

  • 1 teaspoon plus 1 tablespoon granulated sugar

  • 3 3/4 cups bread flour, plus more for dusting

  • 1 1/2 teaspoons kosher salt

  • 3 tablespoons olive oil, plus more for the bowl

  • 3/4 cup warm water (105 to 110 degrees F)

  • 3/4 cup whole-milk Greek yogurt

Directions
In a stand mixer with a dough hook attachment combine the flour, salt, sugar, yeast. Add the oil, water and yogurt and mix to combine. Stir the mixture with a spatula to lightly bring it together then knead with the dough hood on medium speed into a slightly sticky and soft ball. Add more flour or water as needed.

Remove the dough from the bowl. Add a splash of olive oil and return the dough to the greased bowl. Cover with plastic wrap and allow to rest in a warm place until doubled in size - about 1 1/2 hours.

Preheat the oven to 500 degrees. Line two baking sheets with parchment paper and set aside. While the oven preheats, turn the dough out onto a clean work surface and divide into 12 equal balls. Roll the balls out into circles that are 1/4-inch to 1/2-inch thick. Cover loosely with plastic wrap or a clean kitchen towel and let rest for 15 minutes. Place the pita on the prepared baking sheets an inch apart. Bake until they're puffy and lightly browned on top. Check their doneness after 5 minutes. They cook fast. Somewhere between 5 and 7 minutes should do the trick. Remove from the oven and clean kitchen towel, cover and let cool.

IMG_7722.jpeg

Sourdough Variation

Sourdough Greek Yogurt Pita Bread
Ingredients

  • 140 grams bread flour

  • 3/4 teaspoon kosher salt

  • 1 teaspoon instant yeast

  • 1 1/2 teaspoons honey

  • 1 1/2 tablespoons olive oil

  • 3/8 cup (90 grams) Greek yogurt

  • 170 grams discarded sourdough starter

Directions
In a stand mixer with a dough hook attachment combine the flour, salt and yeast. Add the honey, oil, water, yogurt and starter. Mix to combine. Follow the remainder of instructions as above.

Open Crumb Sourdough Bread

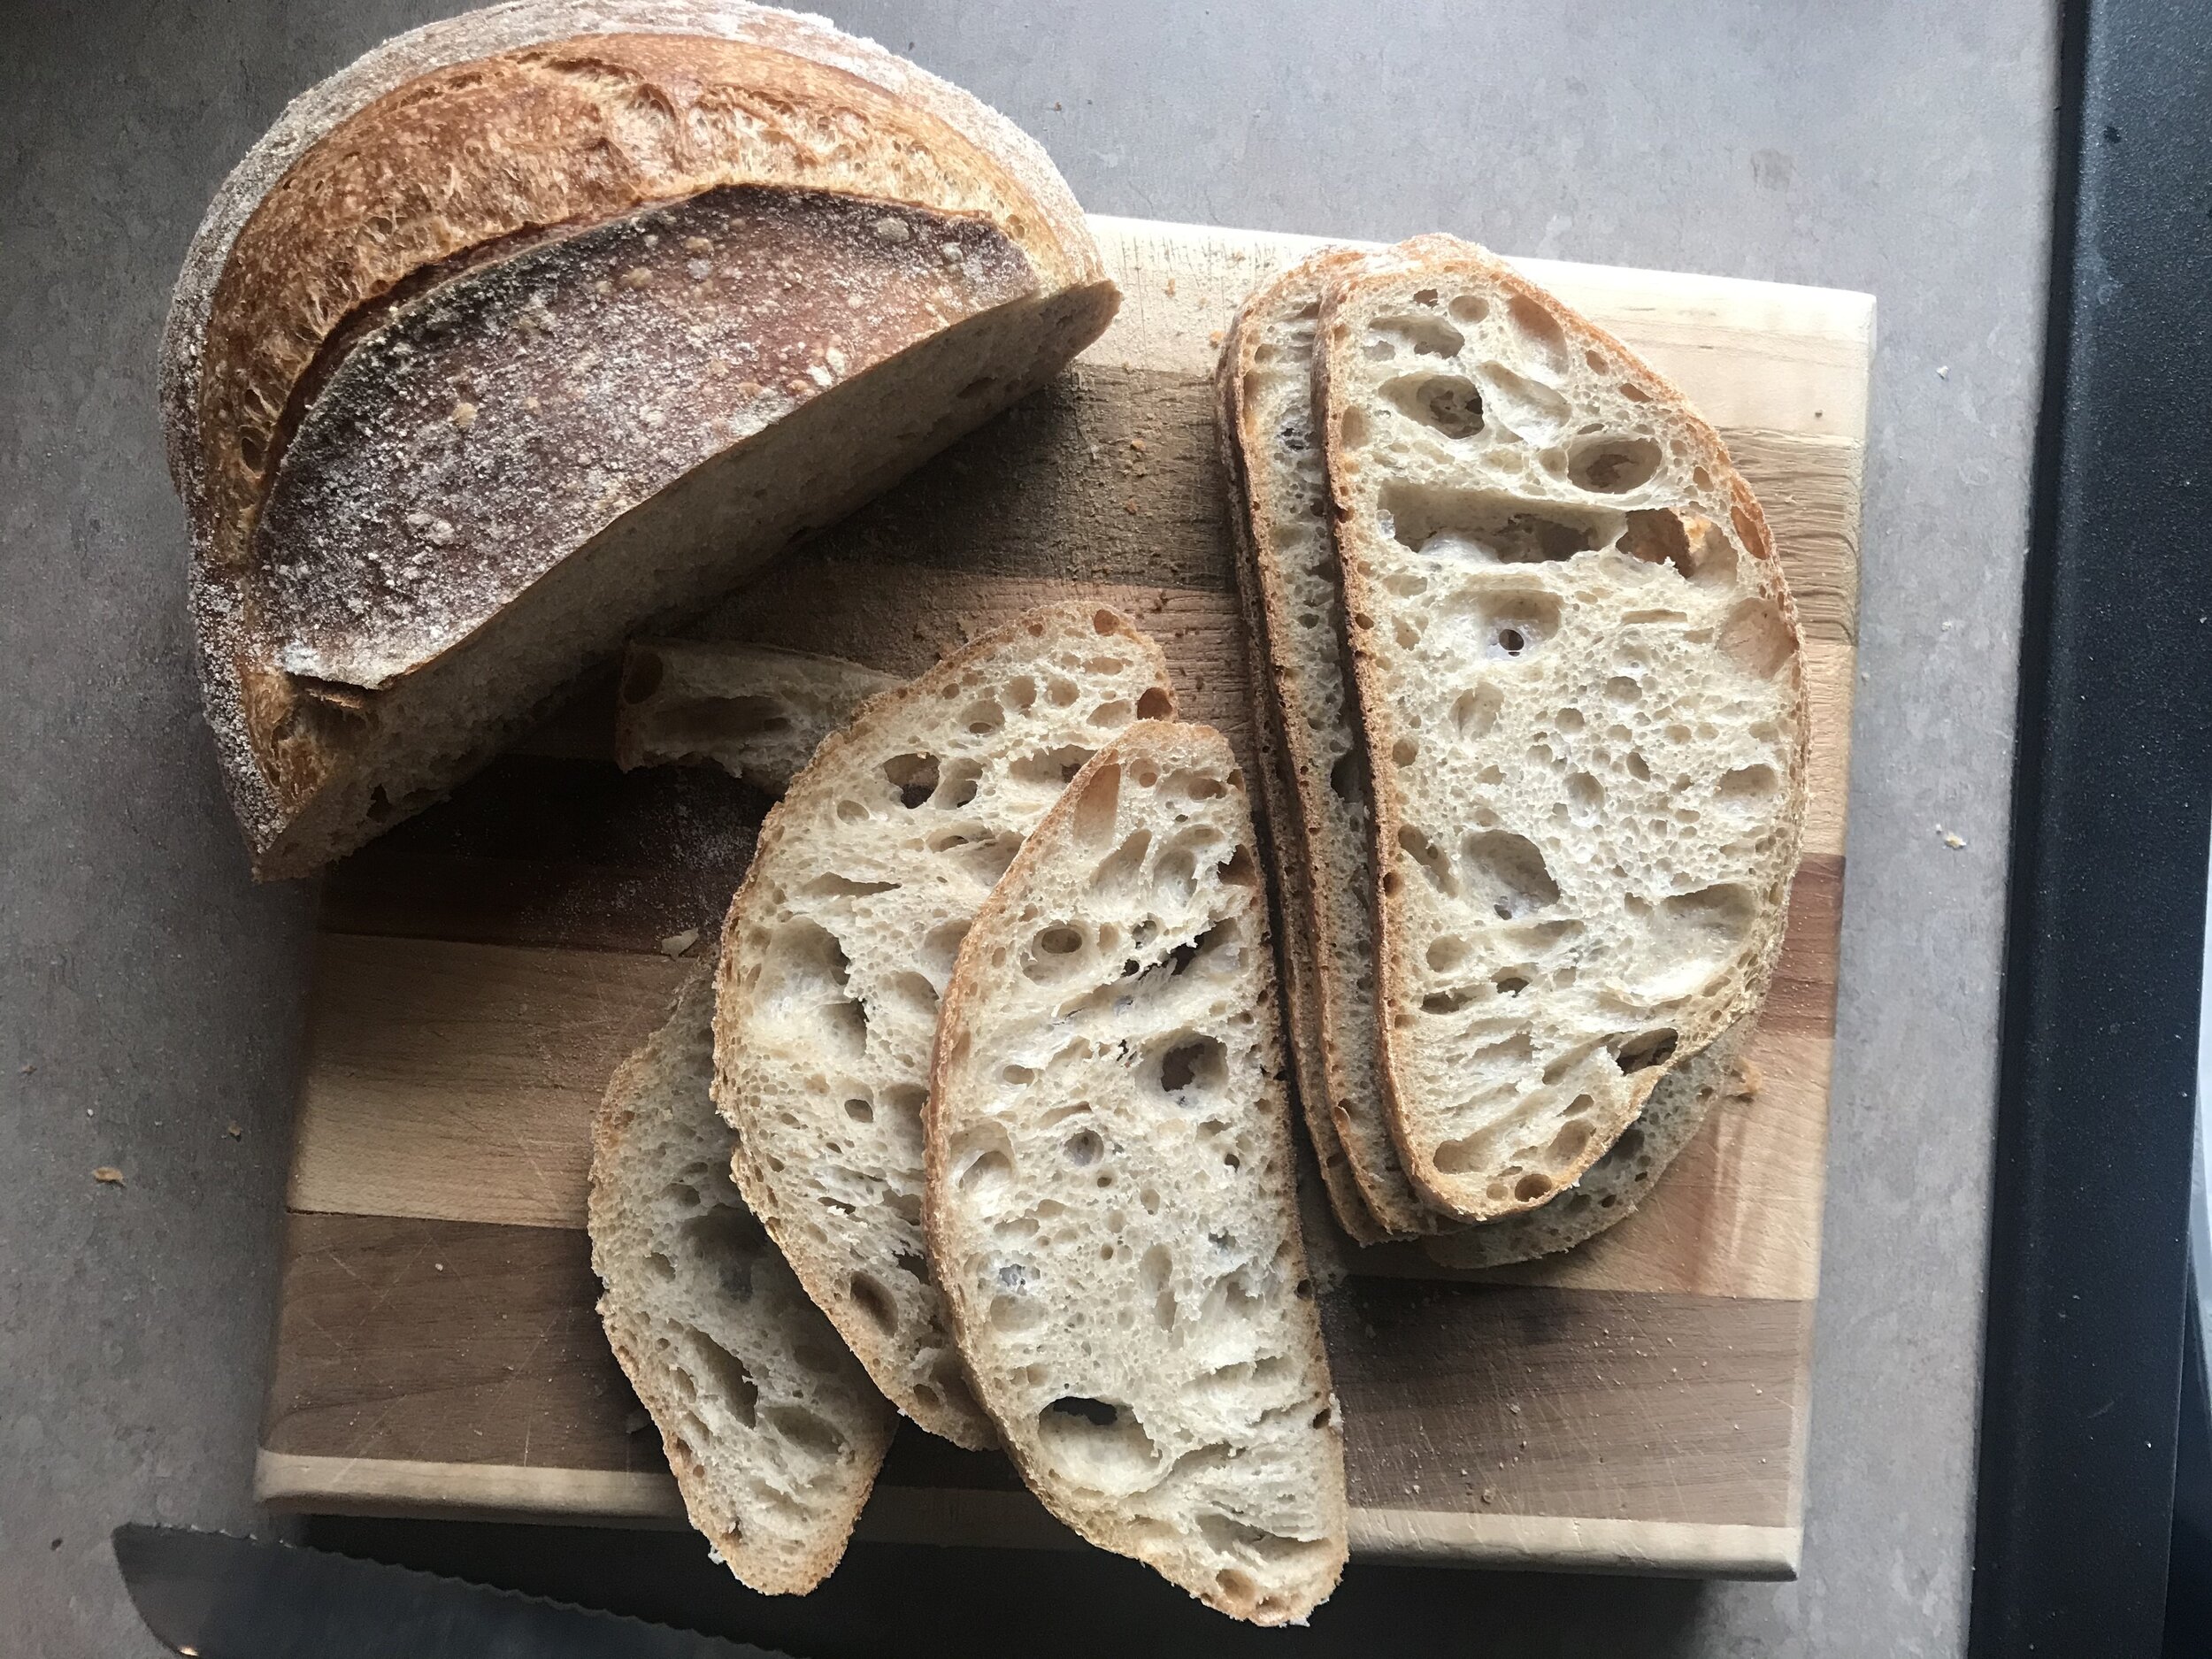
I’ve been following Full Proof Baking on Instagram for a while now and find her breads absolutely beautiful! I finally sat down and really looked at her method (video available on her YouTube page) and attempted her Basic Open Crumb Sourdough. I had tried her 50% whole wheat sourdough a few weeks back and it failed miserably for some reason even though the whole process seemed to go very well. I figured I’d step back and start at the beginning with a more basic recipe with a lower percentage of whole wheat. I’ve now made this bread twice. The first time it turned out pretty well, but the crumb was a little uneven and it didn’t look like it really rose fully, the bottom of the loaf was a little dense. Second attempt went a lot better. I didn’t really change a lot, figuring practice and repetition is really what will make a successful loaf.

One thing I did change slightly was at the end of the overnight proof. She calls for you to bake the bread straight from the fridge while it is still cold. I feel like when I do this sometimes it doesn’t work. It seemed to me that my bread needed just a little bit more rise before baking. So on the second attempt I took the bread out when I turned my oven on to preheat. So it was out for 45-60 minutes in a fairly warm room (with the oven on to 500 degrees). I feel like this gave it just a bit more lift without overproofing. There is the possibility that I am in fact overproofing and that’s why it’s not getting enough lift but I just didn’t think so.

I’m going to keep playing with the recipe, and my technique, but this second attempt was a definite success! I’m excited to keep experimenting!

——————————————————————————————

IMG_6972.jpg

Basic Open Crumb Sourdough Bread
Recipe from: Full Proof Baking
Note: A 20% Whole grain wheat bread. The higher hydration makes the dough ingredients easier to mix by hand. 

Specs:

  • Baker’s Percentages: 20% whole grain hard red spring wheat, 79% bread flour, 1% whole grain rye (from levain)

  • 20% levain inoculation

  • 2.1% sea salt

  • 80% final hydration

Levain: (5 hours)
5 hour young levain built 1:2:2

  • 15 g mature starter + 30 g water + 30 g bread flour 

Keep at 80% F until more than tripled in volume, approximately 5 hours at around 80 degrees.

Autolyse (2-4 hours)
This is a pre-soak of flour and water to jump-start gluten development and increase dough extensibility which can be great for maximizing open crumb in the final loaf of bread. 

  • 70 grams whole wheat flour

  • 255 grams bread flour

  • 253 grams water

Add water to flour mix and stir until there is no more dry flour remaining. Let sit for 2-4 hours. At this point there should be much more extensibility in the dough. 

Add levain to Autolyse:
Add 65 g (20%) levain (brings final hydration to 80%) to the autolyse.

Add the levain right on top of autolysed dough. Begin hand mixing to get it into the dough. Shouldn’t take long, approximately 3-4 minutes. A short mix prevents over-oxidizing of the dough. Once fully mixed, form a taught ball of dough, let rest 30 minutes before adding salt. 

Add salt:
After resting for 30 minutes, add 7.5 grams fine grain sea salt (around 1 teaspoon) . Wet your hand and dimple in the sea salt. Then pinch and mix it in. The salt helps tighten the gluten structure and adds strength to the dough. It also slows fermentation. This is also the last step where you can easily easily add more water to the dough. If the dough feels a little tight you can add a small splash of water as needed. This is mainly done by feel. Takes about 5 minutes to fully incorporate the salt. Then let the dough rest for another 30 minutes. 

Perform a Fold:
Next perform a fold: Lightly mist the counter with water. Wet your hands with water and flip the dough out onto the counter. Using a bench scraper, pull the dough from the top down folding the dough onto itself. Repeat this process on all four sides of the dough. Flip the dough over, round it up and return to the bowl. Cover and let rest 30 minutes. 

Lamination: 
Mist the counter with water again. Transfer dough to counter. Lift and gently stretch the dough out from the center with wet hands. Work delicately and slowly. Try not to pull from the edges but pull from the center out, you don’t want the dough to tear. Form a large, thin rectangle of dough. Pick up one edge of the dough and fold into the center approximately ⅓ of the way across, being sure to eliminate any large air pockets. Then fold the other side into the center over the first section. Finish by folding the top down halfway and then the bottom over the top forming a square in the end. Move your dough to a small square Pyrex-type dish. Let rest 45 minutes. 

Stretch and Folds: (strengthening the dough)
The number and frequency of the folds is dependent on the length of bulk as well as your dough’s extensibility and how the dough develops over the course of the bulk. For this dough 3 sets of coil folds performed at 45 minute intervals is typically enough.

With wet hands reach under the dough and pull it up slowly and evenly, detaching the dough on the side farther away from you. The dough will naturally wrap itself under. Rotate the dish and perform the same coil fold again on the other three sides. The top part of the dough is the part detaching from the dish and coiling under. 4 total coil folds. While doing this be sure to pop and large air pockets as these are not signs of fermentation, they are pockets introduced during mixing and lamination. Cover and let rest 45 minutes. This bulk fermentation should be around 75 degrees F.    

Perform the next stretch and coil folds on all 4 side of the dough. If your dough still seems a little loose you can perform another 1-2 stretch and folds during the bulk fermentation. Let rest 45 minutes. 

Perform the last set of stretch and folds. Note the temperature (again, around 75 degrees is ideal). Let bulk fermentation continue for another 1.5-2 hours (this is where you can add in another series of coil folds as needed). 

Shaping: 
About 90 min later, about 6 hours after adding levain, the dough should be around 74-75 degrees F and is ready to shape. Dough should appear puffy and somewhat light, with some roundness at the edges. Overall it should have grown approximately 50% in volume since adding the levain. 

Flour the counter top with flour. Release dough from top of dish and flip the dish over and allow it to release from the dish onto the counter. Use a bench scraper to tuck flour under the edges of the dough. Then remove the excess flour from the workspace. 

Use the scraper to help pick up the side (top) flap of your dough and gently pull out just a bit before folding up on top of the center of the dough (about ⅓ of the way in, like a letter). Gently pat the dough during this stage to remove any large air bubbles to ensure a more even crumb. Repeat the fold with the other side of the dough, folding it into the center. Then lift the top of the dough and begin to roll down onto itself. Use your thumbs to gently but firmly tuck the dough in creating a more taught surface on top of the dough. Once you roll fully up and get to the seam, seal the edge using your fingers. The use your fingers to pinch the edges to seal.

Dust the top of your dough with brown rice flour (this is ideal to prevent sticking to your banneton) and keeps the dough dry and prevents the surface from getting tacky. Use your scraper to flip over the dough so the seam side is up and the top of the dough is facing down. Gently lift and transfer the dough to the banneton. Cover and move on to the proofing stage. 

Proof: 
Let the dough sit at room temperature for an initial short proof (15-20 mins), then move to the fridge for an overnight retard for approximately 12-16 hours at 38 degrees F. Anything less then 39-40 degrees will prevent any significant rise. Any warmer and you may over proof/over ferment. 

Bake: 
The next day it’s time to bake. I use the Dutch oven method currently. Preheat oven with Dutch Oven in it for 1 hour at 500 degrees. Transfer dough, cold from fridge, to piece of parchment paper. Score at 45 degree angle. Transfer to preheated Dutch oven and put the lid on. Place in oven and turn temperature down to 450 degrees. Bake, covered, for 20 minutes. Remove the lid and return the bread to the oven and continue baking another 10 minutes at 450 degrees. Decrease the temperature to 425 degrees and bake for an additional 10-15 minutes. You can remove the bread from the Dutch oven for these last 15 minutes if desired. I find it helps the crust brown up more then it does when left in the pot.

Remove bread from over and place on a wire cooling rack. Allow to cool at least 2 hours before cutting, but waiting until bread is completely cooled is ideal.

Sourdough Cinnamon Rolls

IMG_5755.jpeg
IMG_5757.jpeg

I was invited over to my brother and sister-in-laws for Christmas day brunch this year. A casual gathering of her family and my family. It was a lovely time. Relaxing, doing a whole lot of nothing, and eating some good food. I wanted to make something special that I won’t make on a regular basis, but save for special occasions and celebrations. For brunch I always think of cinnamon rolls, they are my favorite! I had been eyeing this sourdough version for a bit now and thought this would be the perfect time to try them out.

I had a lot of fun with this recipe. I don’t make brioche often, and it always surprises me how much butter you can add to a dough! Wow! The dough turned out silky and smooth and butter (obviously! :) ) It rolled out super easily. I ended up shaping the rolls on Christmas Eve and baking Christmas morning. Didn’t seem to be a problem at all. They ended up baking quite a bit shorter time than the recipe called for. I baked for 38 minutes and they could have possibly gone a minute or two less. Start checking at 30 minutes.

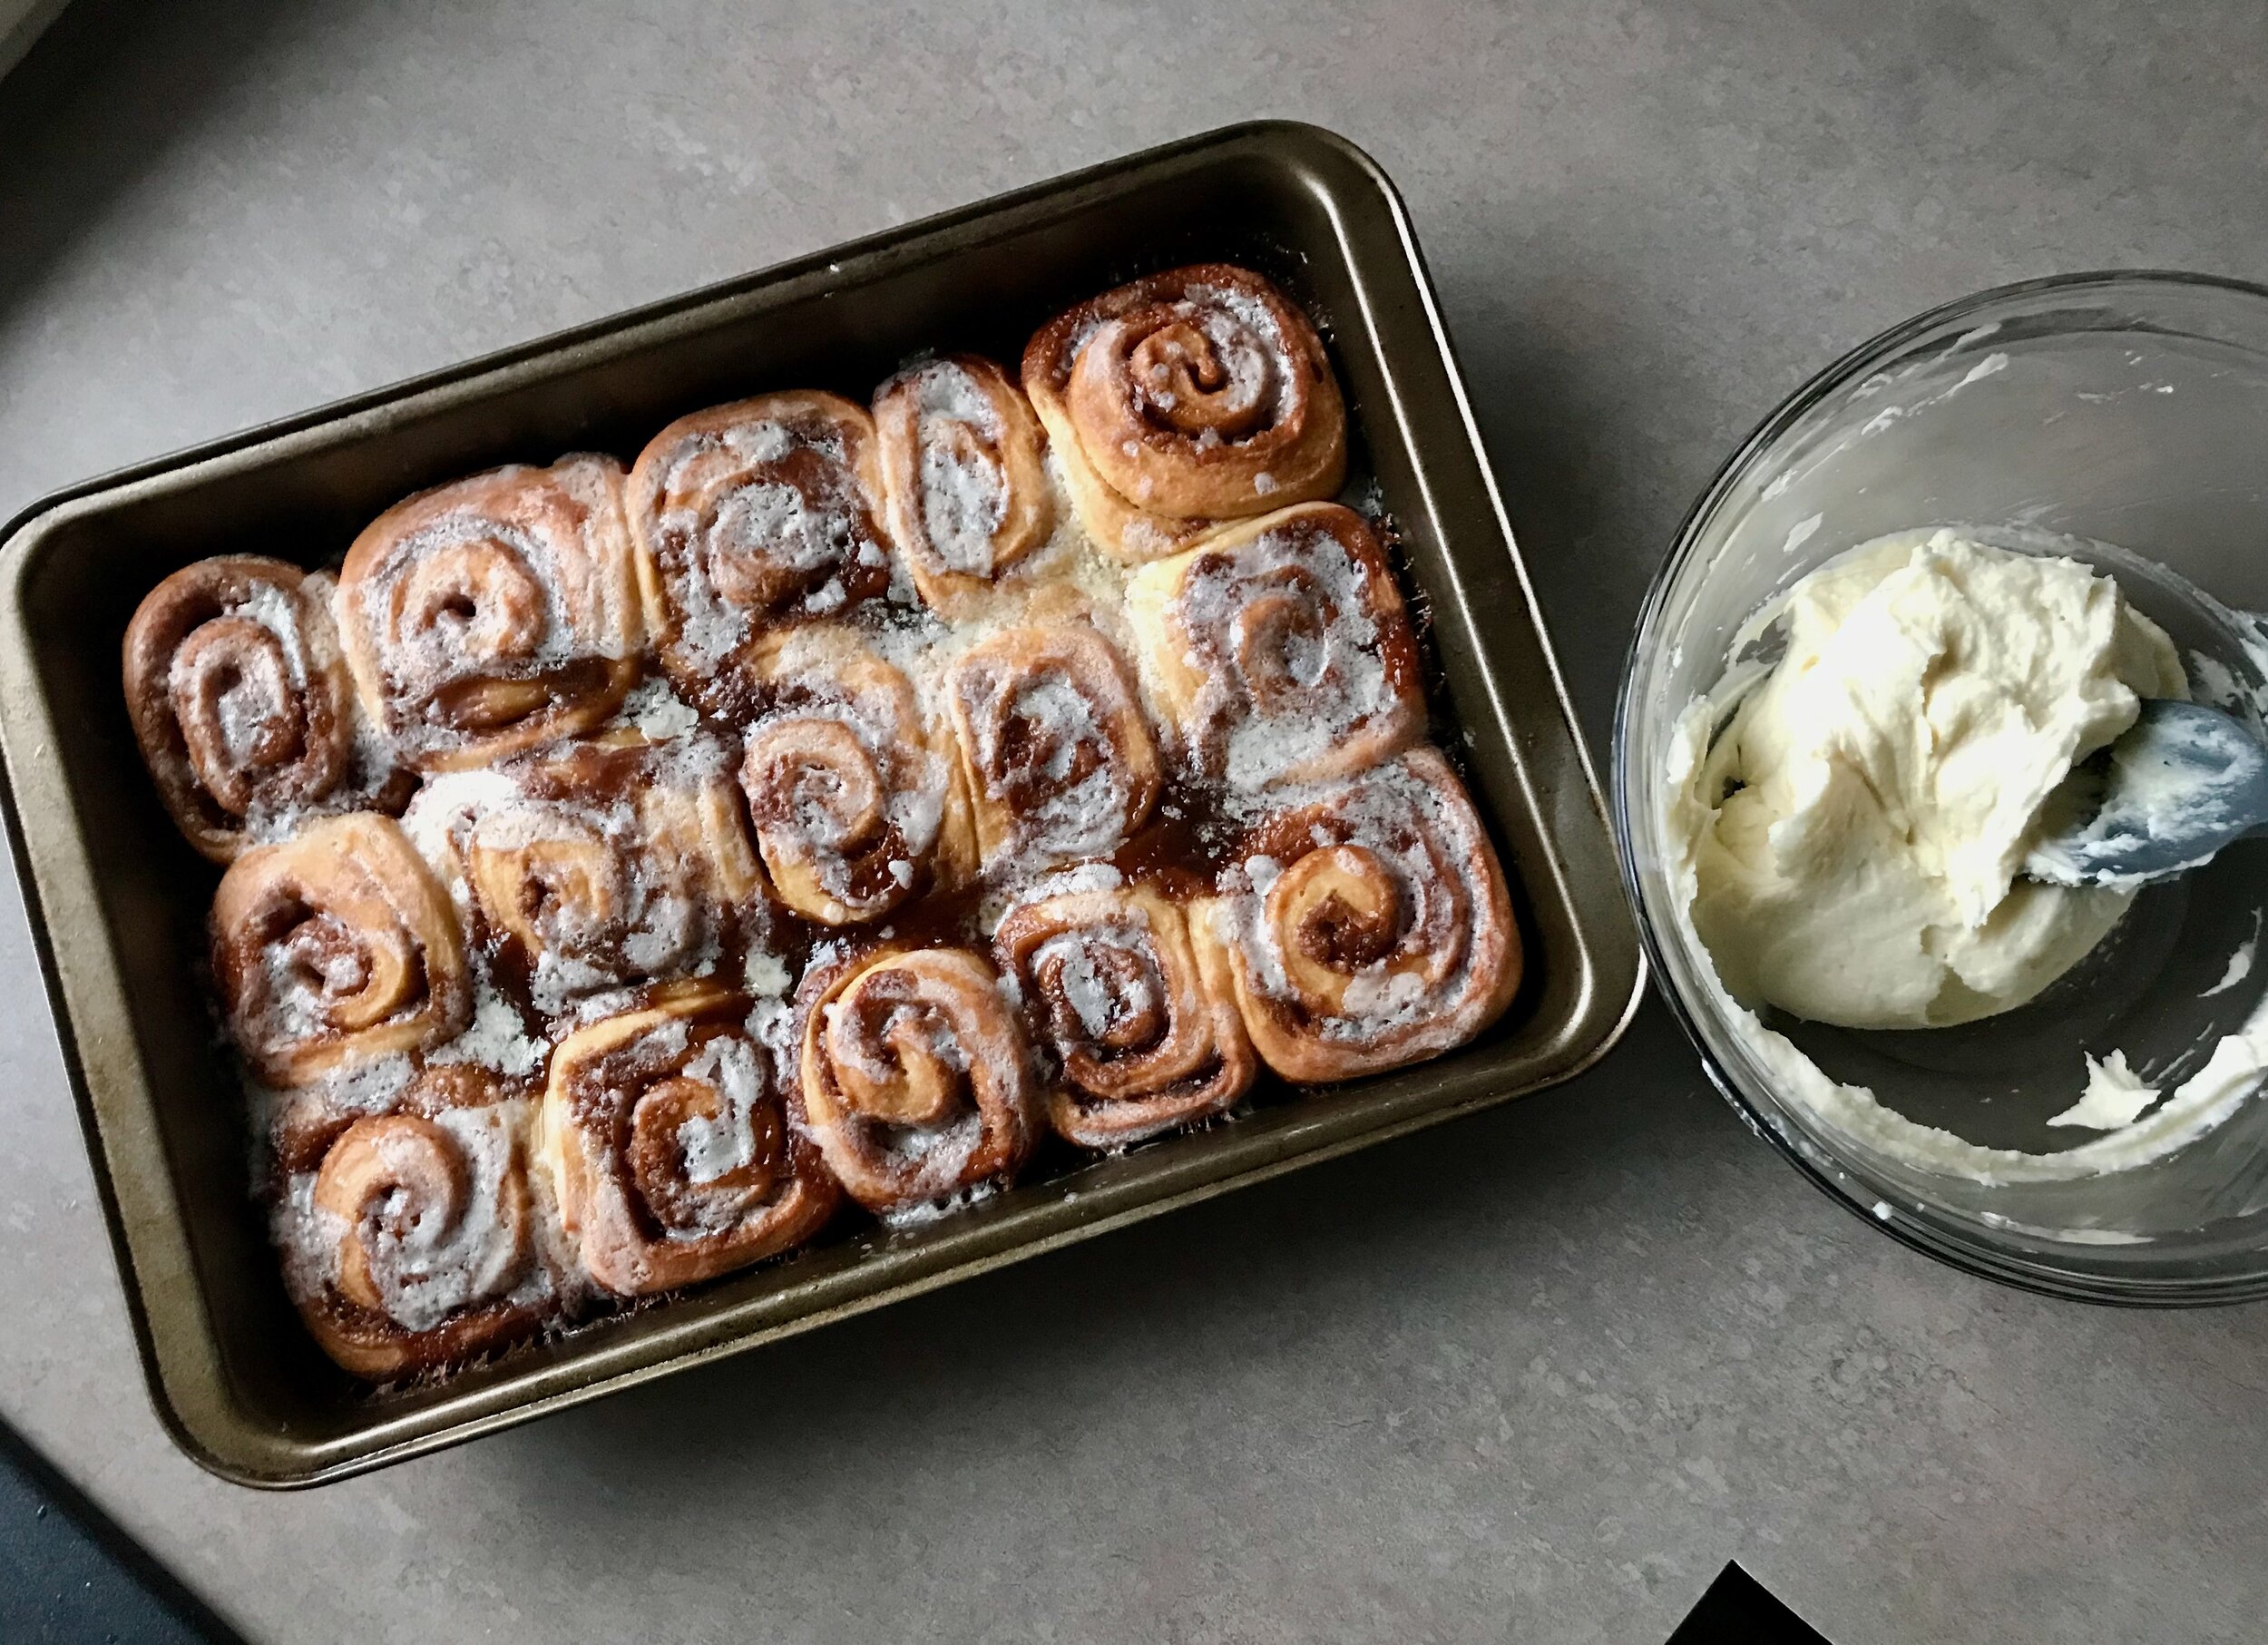
I topped these with a random assortment of leftovers! I had some mascarpone glaze that I beat some leftover cream cheese into and it was very tasty. I think a cream cheese frosting is a great idea for these.

They turned out dense and rich as brioche should. Very yummy. I think on a day-to-day basis I prefer a lighter, fluffier cinnamon roll, but these were wonderful and fun and perfect for Christmas!

——————————————————————————————

Sourdough Cinnamon Rolls
From The Perfect Loaf

Brown Sugar Cinnamon Spread

  • 215g light brown sugar

  • 40g all-purpose flour

  • 2 tablespoons unsalted butter, melted

  • 2 teaspoons cinnamon

  • 1/4 teaspoon salt

Mix or whisk everything together in a bowl so there are few clumps remaining. Keep covered until needed.

Sourdough Briocher Dough:
Total dough weight: 1250g
Yield: 12-15 rolls

  • 477 grams all-purpose or bread flour

  • 133 grams cold milk

  • 191 grams large eggs (About 4)

  • 191 grams butter

  • 48 grams white sugar

  • 11 grams salt

  • 200 grams mature, 100% hydration liquid sourdough starter

Directions:
First, take out butter and cut into 1/4” to 1/2” squares, let sit in a bowl for 30 minutes to warm to room temperature while gathering and mixing other ingredients.

Initial Incorporation:
In a medium bowl add the cold eggscold whole milksugar, and mature sourdough starter. Whisk together until incorporated.

Add the flour and salt to the bowl of a stand mixer fitted with the hook attachment. Set the mixer to low (level “1” on my machine) and slowly start to pour the liquid into the mixer bowl. Add a little at a time over the course of 3 minutes. Once finished the dough will look very wet and have clumps, let it rest for 10 minutes before further strengthening.

Strengthen Dough:
After the 10 minute rest turn the mixer to medium speed (number “4” on my machine) and mix for about 5-6 minutes until the dough starts to come together and all clumps have disappeared. The dough should start to pull from the sides of the bowl but it will not completely remove from the bottom. If the dough just doesn’t want to come together and it’s overly wet add a little flour, a tablespoon at a time until it comes together.

Incorporate Butter:
Add the butter to the dough one square at a time, waiting until the previous block is absorbed before adding the next. It incorporates easiest if placed right where the hook meets the dough. Continue until all the butter is added and there are no butter patches visible, this could take 8-10 minutes at low/medium mix speed.

Bulk Fermentation
Transfer the mixed dough to a bulk container and let ferment for 2 hours at 75ºF. Do 3 to 4 sets of stretch and folds during bulk spaced out by 30 minutes. If the dough is very strong after the third set, skip the last set but let the dough rest for a full 2 hours.

Chill Dough
Place the covered bulk container into the fridge for at least 2 hours (I like 3-4 hours), or overnight. The timing here is very flexible, I’ve done overnight batches that turn out fantastic. This way the rolls could be prepared the day before, shaped and proofed first thing the morning, and then baked so they’re fresh for breakfast (or late breakfast, depending on when you get up). The dough does need to be completely cold and firm to the touch before rolling out, do not shortcut this step.

Shape Rolls
Before rolling out the dough make the Brown Sugar Cinnamon mixture

Flour your work surface. Then, remove the chilled dough from the fridge and turn it out to the floured surface. Flour the top of the dough and the rolling pin and begin rolling the dough. Roll it out to an 11” x 21” rectangle. Sprinkle the dry Brown Sugar Cinnamon mixture evenly over the dough.

Starting at the long end nearest you, roll up the dough and cinnamon/sugar filling into a log. Cut the log into even slices (12 to 15 total). Transfer the cut discs to a baking pan with some space around each one.

Proof:
Place the baking pan with cut dough somewhere warm, around 77ºF, to let proof for 2 hours. During proof, the rolls will relax out and start to puff up, eventually, they may touch each other but it depends on how much space you have between rolls.

Bake:
Preheat oven to 350ºF during the last 30 minutes of proof. Place the baking pan in the oven and bake for 40-50 minutes until the rolls look well colored. Top with glaze or frosting once cooled.

Pumpkin Dinner Rolls

IMG_5661.jpeg
IMG_5653.jpeg

I had a work Christmas party this week. It was low key and relaxing, just how I like it. We were all asked to bring something to share. I offered to bring bread (the host was providing soup so I thought these two things would go well together). It was my day off work so I was able to spend the time to bake a two different breads. I started with my simple go-to sourdough, but didn’t want to leave it at just that so I did a quick online search and came up with these pumpkin dinner rolls.

I had some leftover pumpkin in the freezer from earlier in the fall so thought this would be a great use for it. The recipe was easy and came together very well. I did end up scaling the recipe down just a tad so I knew it would fit in my pan. I decreased all the ingredients amounts by 25% (so the recipe is 75% of the original). 15 rolls fit nicely in a 9x13 pan so that’s what I did. I baked it as directed for 25 minutes.

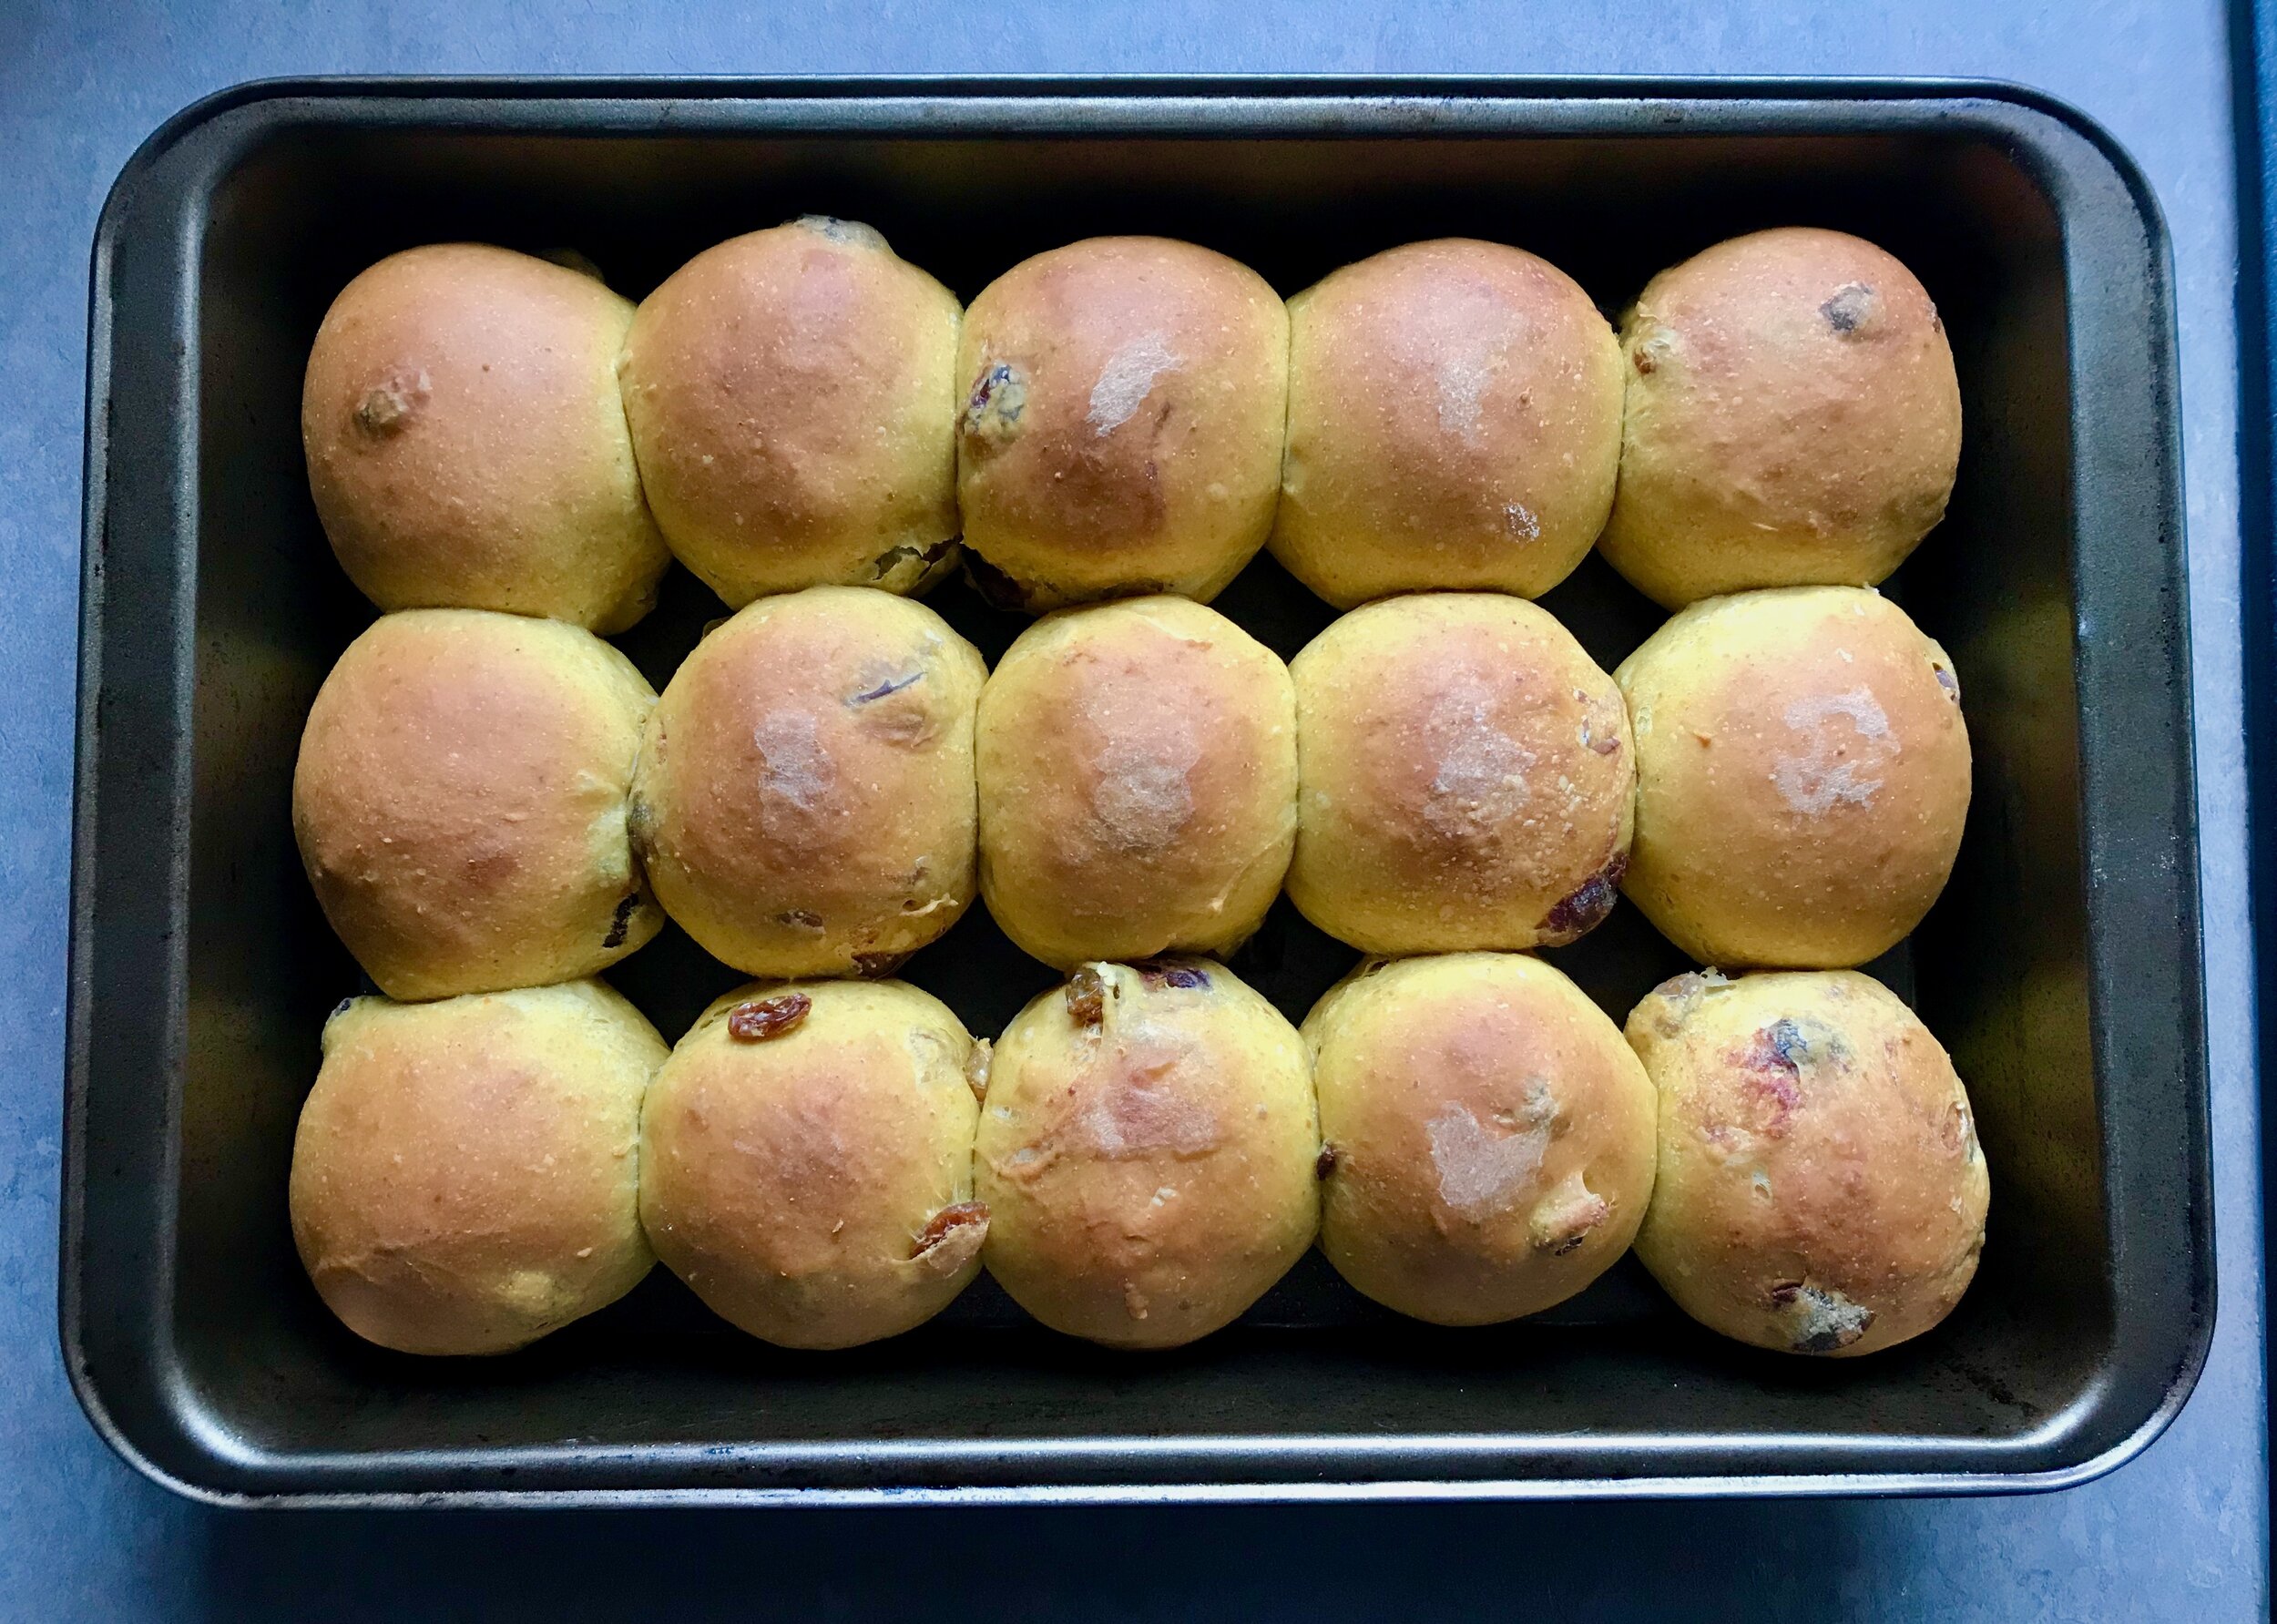
The pumpkin flavor was definitely present. The rolls were ever so slightly sweet but not overly rich or dessert like. The sweetness of the raisins and the hint of cinnamon made the final rolls just a little more special. The original recipe called for crystallized ginger in addition to the raisins but I didn’t have any. I would probably increase the raisins just a tad if I make these again, I’d like a little extra pop of sweetness.

———————————————————————————————————————————————————————————————

Pumpkin Dinner Rolls
Adapted from King Arthur Flour
Ingredients

  • 425 grams all purpose flour

  • 3/4 teaspoon cinnamon

  • 1/8 teaspoon ginger

  • Pinch cloves

  • 38 grams brown sugar

  • 1 1/8 teaspoon salt

  • 2 1/4 teaspoon instant yeast

  • 128 grams pumpkin

  • 1 egg

  • 128 grams water

  • 43 grams butter

  • 96 grams raisins

Directions
Mix and knead all of the dough ingredients except the fruit in the bowl of a stand mixer with the dough hook, until you've made a soft, fairly smooth dough, 6-8 minutes. Pumpkin varies in water content, so add extra water or flour if needed. Right at the end, knead in the fruit. Place the dough in a lightly greased bowl, cover the bowl, and allow the dough to rise for 1 1/2 hours, until it's almost double in bulk.

Turn the dough out onto a lightly greased surface, gently deflate it, and divide it into 15 pieces, roughly 60 grams each. Roll each piece into a ball. Place rolls in a lightly greased 9x13 inch pan, 3 rolls by 5 rolls.

Set aside, covered lightly, to rise for 1 hour, or until the rolls look puffy. Preheat the oven to 350°F. Bake the rolls for 25 until they're lightly browned and the center of one reads 190°F on an instant-read thermometer.

Remove the pans from the oven and turn the rolls out onto a rack to cool. Serve warm or at room temperature.

Beginner's Sourdough Bread

IMG_5821.jpg
IMG_0640.jpg

Over the past several months (I guess even 6-8 months!) I have gotten back into the habit of making myself bread every week or every other week. I’ve been really enjoying the process and seeing how each loaf and recipe turns out. Some are better than others, but they’re all good. I’ve been using the book, Artisan Sourdough Made Simple which really is simple and the recipes fit my lifestyle well.

IMG_9960.jpg

However, more recently I’ve been wanting to experiment with some other recipes for fun. See what else I can make. I’ve been eyeing some recipes on the blog The Perfect Loaf for literally years now, and finally went for it and decided to try what looked like the simplest recipe on the blog, his Beginner’s Sourdough Bread. While the overall process was longer than the recipe I’ve been making, it was just as simple and was really fun and rewarding to try.

IMG_0466.jpg

I started the dough on Thursday night and was able to bake off the two loaves on Saturday mid-afternoon. There really was very little hands-on time. Just a lot of checking in to see how things were going, deciding when to slow things down in the fridge vs leaving it on the counter. I didn’t follow the timings exactly as written in the original recipe (which is very precise), mainly because my house is much colder than the temperature that he calls for you to rise the bread at. Not a big deal, but takes a lot more monitoring how the rising is going to figure out when to move on to the next step.

End result: This recipe turned out two beautiful loaves! Some of the best I’ve made. The crumb was tight and even, no big, uneven holes. It got some great oven spring and browned up well. The crust was thin and snappy. Overall extremely happy with this recipe and am excited to see what else I can do with it in the future!

——————————————————————————————

Beginner’s Sourdough Bread
From The Perfect Loaf
Ingredients
Levain

  • 40 grams Mature sourdough starter (100% hydration)

  • 40 grams Whole Wheat Flour

  • 40 grams Bread Flour

  • 80 grams water, at room temperature

Dough

  • 748 grams Bread Flour

  • 110 grams Whole Wheat Flour

  • 49 grams Dark Rye Flour I did not have any rye flour so I used more of the same whole wheat flour

  • 691 grams water (warm/cool water temperature to meet the desired dough temperature)

  • 18 grams salt

  • 184 grams mature, 100% hydration levain (from Levain Build, above)

Directions
LEVAIN: Mix together everything called for in the Levain Build section above in a clean jar in the morning and store somewhere around 74-76°F (23-24°C) ambient for 5-6 hours. Keep an eye on how your levain is progressing during this time. When its ready to be used it will be expanded, bubbly on top & at the sides, and smell almost a little sour.

AUTOLYSE: Using your hands mix all the flour and most of the water (reserve 50g water for later) called for in the “Dough Mix” section above in a bowl until all dry bits are hydrated. Cover the bowl and store somewhere warm (near your levain is convenient) for 1 hour. (Note that this autolyse stage does not incorporate or use salt or the levain build in any way, they are two separate entities at this point that will be mixed together later in the process.)

MIX: At this point your autolyse is complete and your levain is ready. Add salt, reserved water, and levain to your already mixed flour & water and mix thoroughly. I like to spread everything on top of dough resting in the bowl and use my hand to pinch all the ingredients together. Transfer dough to a tub or thick-walled bowl for bulk fermentation.

(At this point use your instant read thermometer to take the temperature of your dough to get your final dough temperature. If your FDT is below 78°F (25°C) next time use warmer water, and conversely, if it’s above 78°F (25°C) use cooler water.)

BULK FERMENTATION: At 76-80°F (24-26°C) ambient temperature bulk fermentation should go for about 4 hours. [I actually ended up bulk fermenting for close to 24 hours in my cool house, it’s been a very cold November and I keep the house at around 64 degrees at night, and during the day when I’m at work. Even with this much prolonged rise the dough did not seem over-risen. It worked out great in the end. But I had to keep checking on it and had to decide at what point did I think it was ready to shape. I ended up using my bakers intuition which seemed to work well this time] Perform 3 sets of stretch and folds during bulk fermentation, spaced out by 30 minutes.

Each set consists of 4 folds, one at the North, South, East and West sides. Wet your hands with a little water to prevent sticking and then lift up one side (North) of the dough with two hands. Stretch the dough up high enough just so that you can fold it completely over to the other side of the dough in the bowl. Rotate the bowl 180° and do the other side (South). Finish the other two sides (East and West) to complete the set. Let the dough rest 30 minutes, covered, between sets.

After that third set of stretch and folds, let the dough rest the remainder of bulk fermentation. During this time we let the flour ferment further, aerating it (making it rise), strengthening it and developing flavor.

At the end of bulk fermentation your dough should have risen anywhere between 20% and 50%, should show some bubbles on top, sides and the edge of the dough where it meets the bowl should be slightly domed showing strength.

DIVIDE AND PRESHAPE: Lightly flour your work surface and dump out the dough. With your bench knife in one hand divide the dough into two halves. Lightly flour your other hand and using both the knife and your hand turn each half of dough on the counter while lightly pulling the dough towards you. This gentle turning and pulling motion will develop tension on the top of the dough forming a round circle.

Let the dough rest for 25 minutes, uncovered.

SHAPE: Lightly flour the top of your dough rounds and the work surface. Working with one at a time, flip the round so the floured top is now down on the floured work surface.

Lightly flour your hands and grab the bottom of the round and stretch it lightly downward towards your body and then up and over about 2/3 the way to the top. Then, grab the left and right sides of the dough and stretch them away from each other, fold one side over toward the other and repeat with the other side.

Then, grab the top of the circle and stretch away from your body and fold down and over all the way to the bottom of the resting dough. You’ll now have a tight package that resembles a letter.

Finally, flip, or roll down the dough so the seams are all on the bottom and using two hands cup the top part of the round and drag the dough gently towards your body. The angle of your hands will gently press the bottom of the dough on the counter creating tension, forming a skin on the top of the dough as you drag.

After shaping, let the dough rest on the bench for a few minutes and then place seam-side-up into a towel-lined kitchen bowl that was lightly dusted with white rice flour.

REST AND PROOF: To prevent your dough from drying out overnight, place your bowls containing your shaped dough in plastic bags sealed shut with a rubber band. I will usually puff up the plastic bag around the bowl by opening it wide and then quickly closing the opening.

Once covered, let the dough rest on the counter for 20 minutes. Then, retard in the refrigerator at 38°F (3°C) for 16 hours. During this time overall fermentation will slow, but (good) bacteria activity will continue, contributing to a more complex flavor and deeper crust coloring.

BAKE: Preheat your combo cooker or Dutch oven inside your oven for 1 hour at 500°F. If you’re using a combo cooker, place the shallow side face up on one side and the heavier, deep side, face down on the other.

When you’re done preheating, take one of your plastic bag-wrapped loaves out of the fridge and unwrap it. Cut a piece of parchment paper so it fits over the top of your basket and place on a pizza peel. Invert the peel and parchment paper so they are resting on top of your basket containing your dough. Then flip the whole thing over. Remove the basket and your dough should be resting on the parchment.

Score these loaves at a 90° angle between the razor blade and dough. If you want a more pronounced “ear” at each score line, lower the angle between the blade and the dough (so the blade is close to horizontal with the dough).

While wearing your oven mitt, and with caution, pull out your shallow side of the combo cooker, or your Dutch oven base. Using your pizza peel, drag a corner of the parchment paper to slide your dough into the combo cooker. Place it back into the oven and cover the shallow side with the deep side to create a seal, or cover your Dutch oven with the lid.

Turn the oven down to 475°F and bake for 20 minutes. After 20 minutes, use your oven mitt to very carefully remove the top of the combo cooker or the lid of the Dutch oven. Close the door, turn the oven down to 450°F (232°C), and bake for 30 more minutes. If you are unsure if your bread is done, use your thermometer to test the internal temperature, it should register over 208°F (97°C).

When done, carefully use your oven mitt to remove the bread from the combo cooker and cool on a wire rack. Place the combo cooker or Dutch ovdn back in the oven and bring the temperature back up to 500°F. Repeat for the second loaf.

Wait 1-2 hours before slicing the bread (I know, it’s hard to do this) to ensure the interior is set.

Yeasted Pumpkin Bread

8037474C-914E-4498-96DD-9CAE412519C5.jpg

I have recipes not turn out from time to time, but typically they don’t completely fail. The first time I made this bread however it definitely didn’t work. Not because the measurements were off or I did something wrong when putting it together; it just didn’t bake long enough. The recipe called for a total of 1 hour of bake time, but as I found out this was not nearly enough.

C1A80CCA-AC71-48D8-832B-9DC81924E0A8.jpg

After it failed the first time (the dough was raw in the center when I cut it, not just a little mushy, completely raw) I was determined to make it again right away and make sure it worked. I nibbled on the end-y of the first loaf, a part that did cook through, and it was so good.

IMG_5249.jpg

So round two went much better. I used a thermometer to check the temperature before calling it done. I ended up baking it for 20 minutes longer than the original recipe called for, the internal temperature was 205 degrees when I pulled it out. I didn’t make any changes other than the baking time.

The dough did not rise a ton, but by the time I shaped it it was definitely puffy. The final loaf didn’t get a whole lot of oven spring either, so it was a little dense but not in a bad way. It is a lovely loaf that the pumpkin flavor definitely shines through.

The filling in the original recipe called for dried cranberries. I used raisins the first time, and cut up prunes the second time (all I had left!) and both work just fine. I skipped the orange juice soak both times; with the raisins I used a little hot water and with the prunes I skipped the soaking and the spices because I was just too lazy. Not as much spice flavor because of it but that was okay.

Final thoughts: a delicious and fun fall bread. I would like to try it again and get a little more lift in the dough, not quite as dense.

——————————————————————————————

Yeasted Pumpkin Bread
From Artisan Sourdough Made Simple by Emilie Raffa
Ingredients
Bread

  • 50 g (1/4 cup) bubbly active starter

  • 250 g (1 cup plus 2 tsp) of warm water

  • 184 g (3/4 cup) Pumpkin purée

  • 500 g (4 cups plus 2 Tbs) bread flour

  • 9 g (1 1/2 tsp) sea salt

Fillings

  • 130 g (1 cup) dried cranberries

  • 12 gram (1 Tbs) sugar

  • 5 g (1 tsp) sugar

  • Pinch each of ground cinnamon, ginger and nutmeg

  • 4 clementines or 1 orange

Directions
Make the dough: in a large bowl, whisk the starter, water, and pumpkin purée together with a fork. Add the flour and salt. Mix to combine until a stiff dough forms, then finish by hand until the flour is fully absorbed. Replenish your starter with fresh flour and water, and store according to preference. Cover the dough with a damp towel and let rest for 45 minutes to one hour.

Meanwhile, add the cranberries, sugar, vanilla, and spices to a small bowl. Halve the clementines and squeeze the juice over the cranberries. It's okay if the cranberries are not completely submerged. Stir well to combine.

Add the fillings: After the dough has rested, add the cranberries with their soaking juice to the bowl. Gently knead the fillings to incorporate, about 1 minute.

Bulk Rise: Cover the bowl with a damp towel and let rise at room temperature, 70 degrees, for about 6-8 hours, or until double in size.

Shape the dough: Remove the dough onto a lightly floured surface. Shape it into an boule and let rest for 5-10 minutes. Meanwhile, line a proofing basket with a towel. With floured hands, gently cup the dough and pull it toward you to tighten its shape. Place the dough into your basket, seam side up.

Second Rise: Cover the dough, and let rest until puffy but not fully risen, about 30 minutes to 1 hour.

Preheat your oven to 450 degrees. Cut a sheet of parchment paper to fit the size of your baking pot.

Score: Place the parchment over the dough and invert the basket to release. Make a long cut down the length of the dough using the tip of a small serrated knife or a razor blade. Use the parchment paper to transfer the dough into the baking pot.

Bake: bake the dough on the center rack for 20 minutes, covered. Remove the lid, and continue to bake for 40 minutes or more, mine took an additional 20 minutes, so all together 80 minutes To ensure it is done, use a instant read thermometer to check the internal temperature of the bread, it should be 205-210 degrees. Cool completely before slicing.

Pumpkin Cinnamon Rolls

IMG_2368.jpg

I made a slightly “healthified” version of these cinnamon rolls in the past but it has been a few years. It was time to re-visit the recipe for a recent fall block party. I followed the recipe as written this time (other than substituting a basic glaze for the cream cheese glaze that is attached to the original recipe because I didn’t have any cream cheese and wasn’t interested in going out to get any!). They turned out great! Super light and fluffy, a lot of nice fall spice thanks to the nutmeg in the dough, as well as the spiced filling.

IMG_5181.jpg

They came together easily and the dough rose quickly. I started making them after lunch and they were out of the oven by mid-to-late afternoon. Highly recommend for a special fall treat.

IMG_2661.jpg

The recipe as written made 12 small-ish (aka appropriate!) sized cinnamon rolls. I was able to fit 10 rolls in a 9.5x7 inch pan, and then baked the additional two rolls in a mini-loaf pan. Not a huge recipe, but perfect for the party, and easy to scale up as needed.

—————————————————————————-

Pumpkin Cinnamon Rolls
From Sally’s Baking Addiction
Ingredients
Pumpkin Dough

  • 1/3 cup milk

  • 2 Tablespoons (30g) unsalted butter

  • 1/2 cup (120g) canned pumpkin (not pumpkin pie filling)

  • 1/4 cup (50g) packed light or dark brown sugar

  • 1/4 teaspoon ground nutmeg

  • 1/2 teaspoon salt

  • 1 large egg

  • 2 and 1/4 teaspoons (1 standard package) instant yeast

  • 2 and 2/3 cups (335g) all-purpose flour

Filling

  • 6 Tablespoons (86g) unsalted butter, softened to room temperature

  • 1/2 cup (100g) packed brown sugar

  • 1 Tablespoon ground cinnamon

  • 1/2 teaspoon ground nutmeg

  • 1/2 teaspoon ground cloves

  • 1/4 teaspoon ground allspice

Instructions
Make the dough: warm the milk and butter together over the stove or in the microwave. Warm the two together until the butter is just melted. You want the mixture lukewarm (105°F-115°F). Set aside. In the bowl of a stand mixer fitted with the dough hook, mix together the pumpkin puree, brown sugar, nutmeg, and salt. Add the warmed milk/butter and mix until combined, then add in the egg and yeast. Add 1 cup of flour. Mix for 1 minute, scraping down the sides of the bowl frequently. Add 1 and 1/4 cups more flour and beat for 1 more minute. The dough will be very soft, add more flour as needed. Place dough into a greased bowl, cover tightly with plastic wrap and allow to rise until doubled in size. This will take about 1 – 1.5 hours.

Turn the dough out onto a lightly floured surface. Gently knead a few times until smooth.

Assembly: Roll the dough out into a 18×10 inch rectangle. Spread the softened butter evenly on top. Combine the brown sugar, cinnamon, and spices into a small bowl. Sprinkle all over the top. Roll it up tightly. Using a very sharp knife, cut into 12 pieces, about 1.5 inches each. Arrange rolls into a greased 9-inch or 11×7 inch pan.

Cover with plastic wrap and allow the rolls to rise again until doubled in size. This will take about 1 hour.

Preheat oven to 350°F. Bake the rolls for 15-20 minutes, covering with aluminum foil at any point to prevent heavy browning. Remove from oven and allow to slightly cool as you prepare the icing as detailed below. When ready, drizzly or pour the icing over the rolls. You will have leftover icing.

Simple Vanilla Icing
Ingredients

  • 2 cups powdered sugar

  • 2 tablespoons melted butter

  • 1/4 cup milk

  • 2 teaspoons vanilla

Directions
Sift powdered sugar into a small bowl. Add the remaining ingredients and mix until smooth.