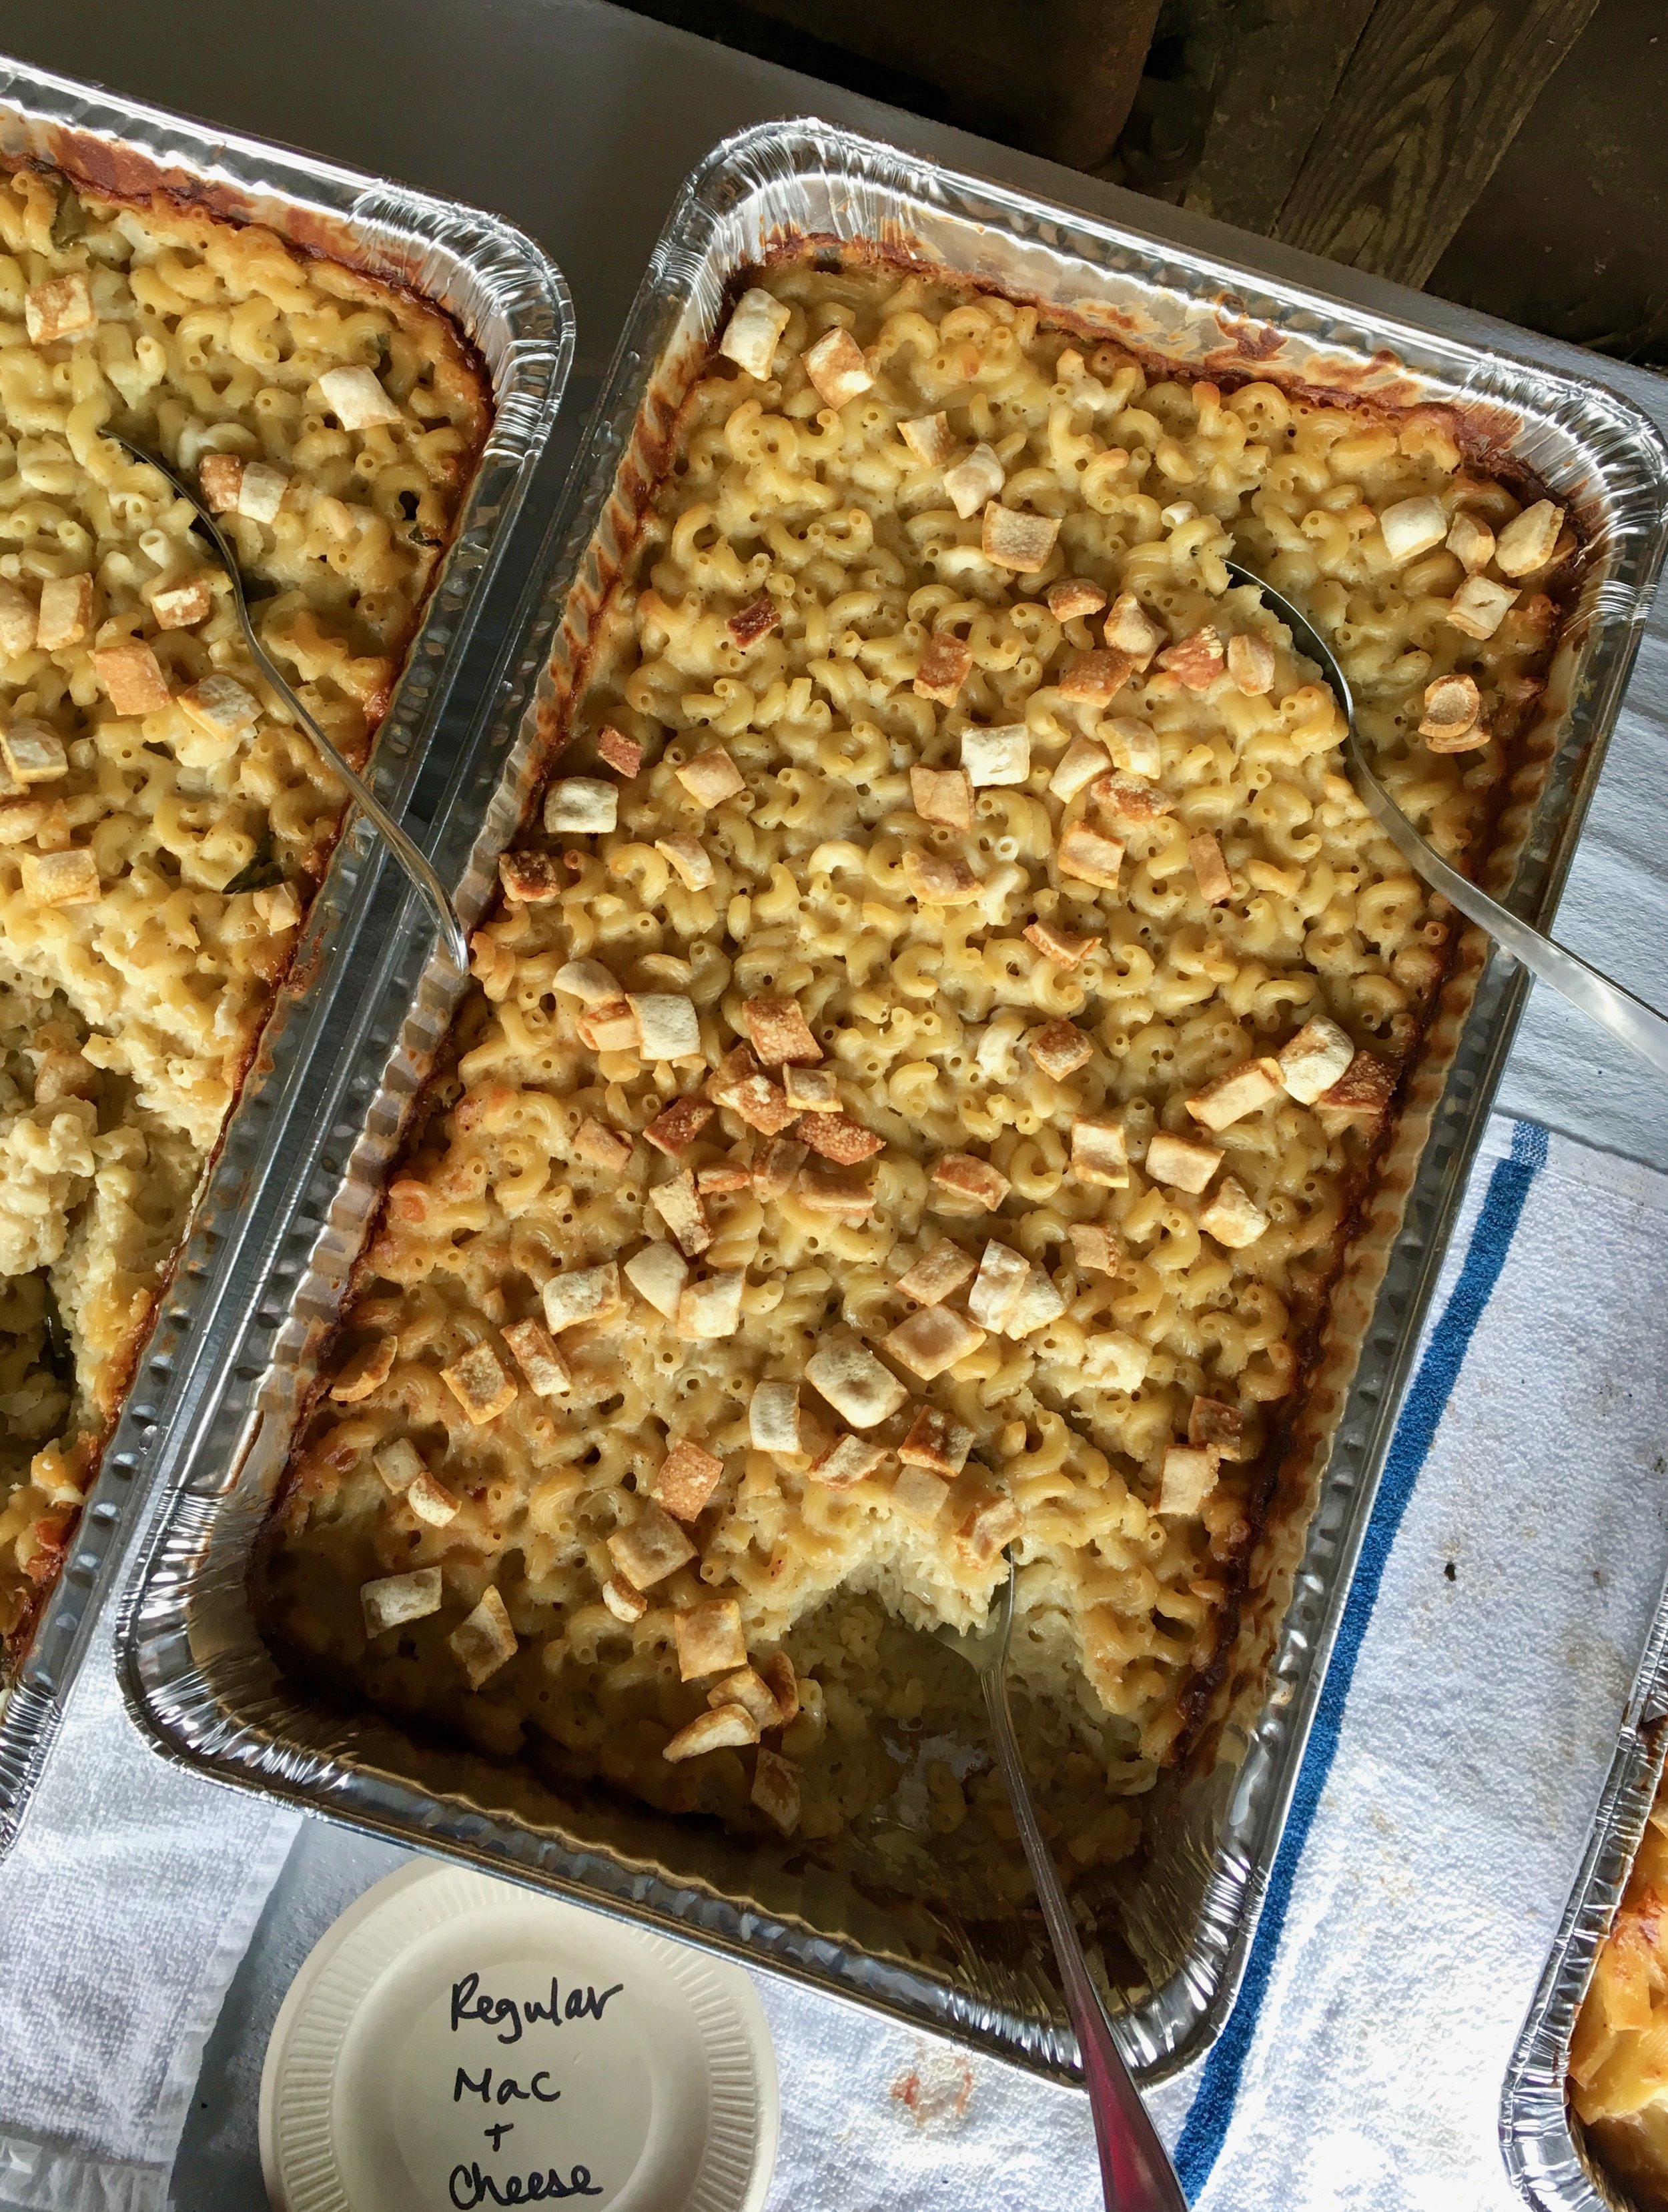
Thanksgiving 2020

IMG_0389.jpeg

Thanksgiving 2020. A different holiday than usual that’s for sure. Our family didn’t really have any big yearly traditions for Thanksgiving when I was growing up, each year was different, so to me a COVID19 Thanksgiving was just one more variation. However, I know there are so many people that had to adjust their plans and traditions significantly.

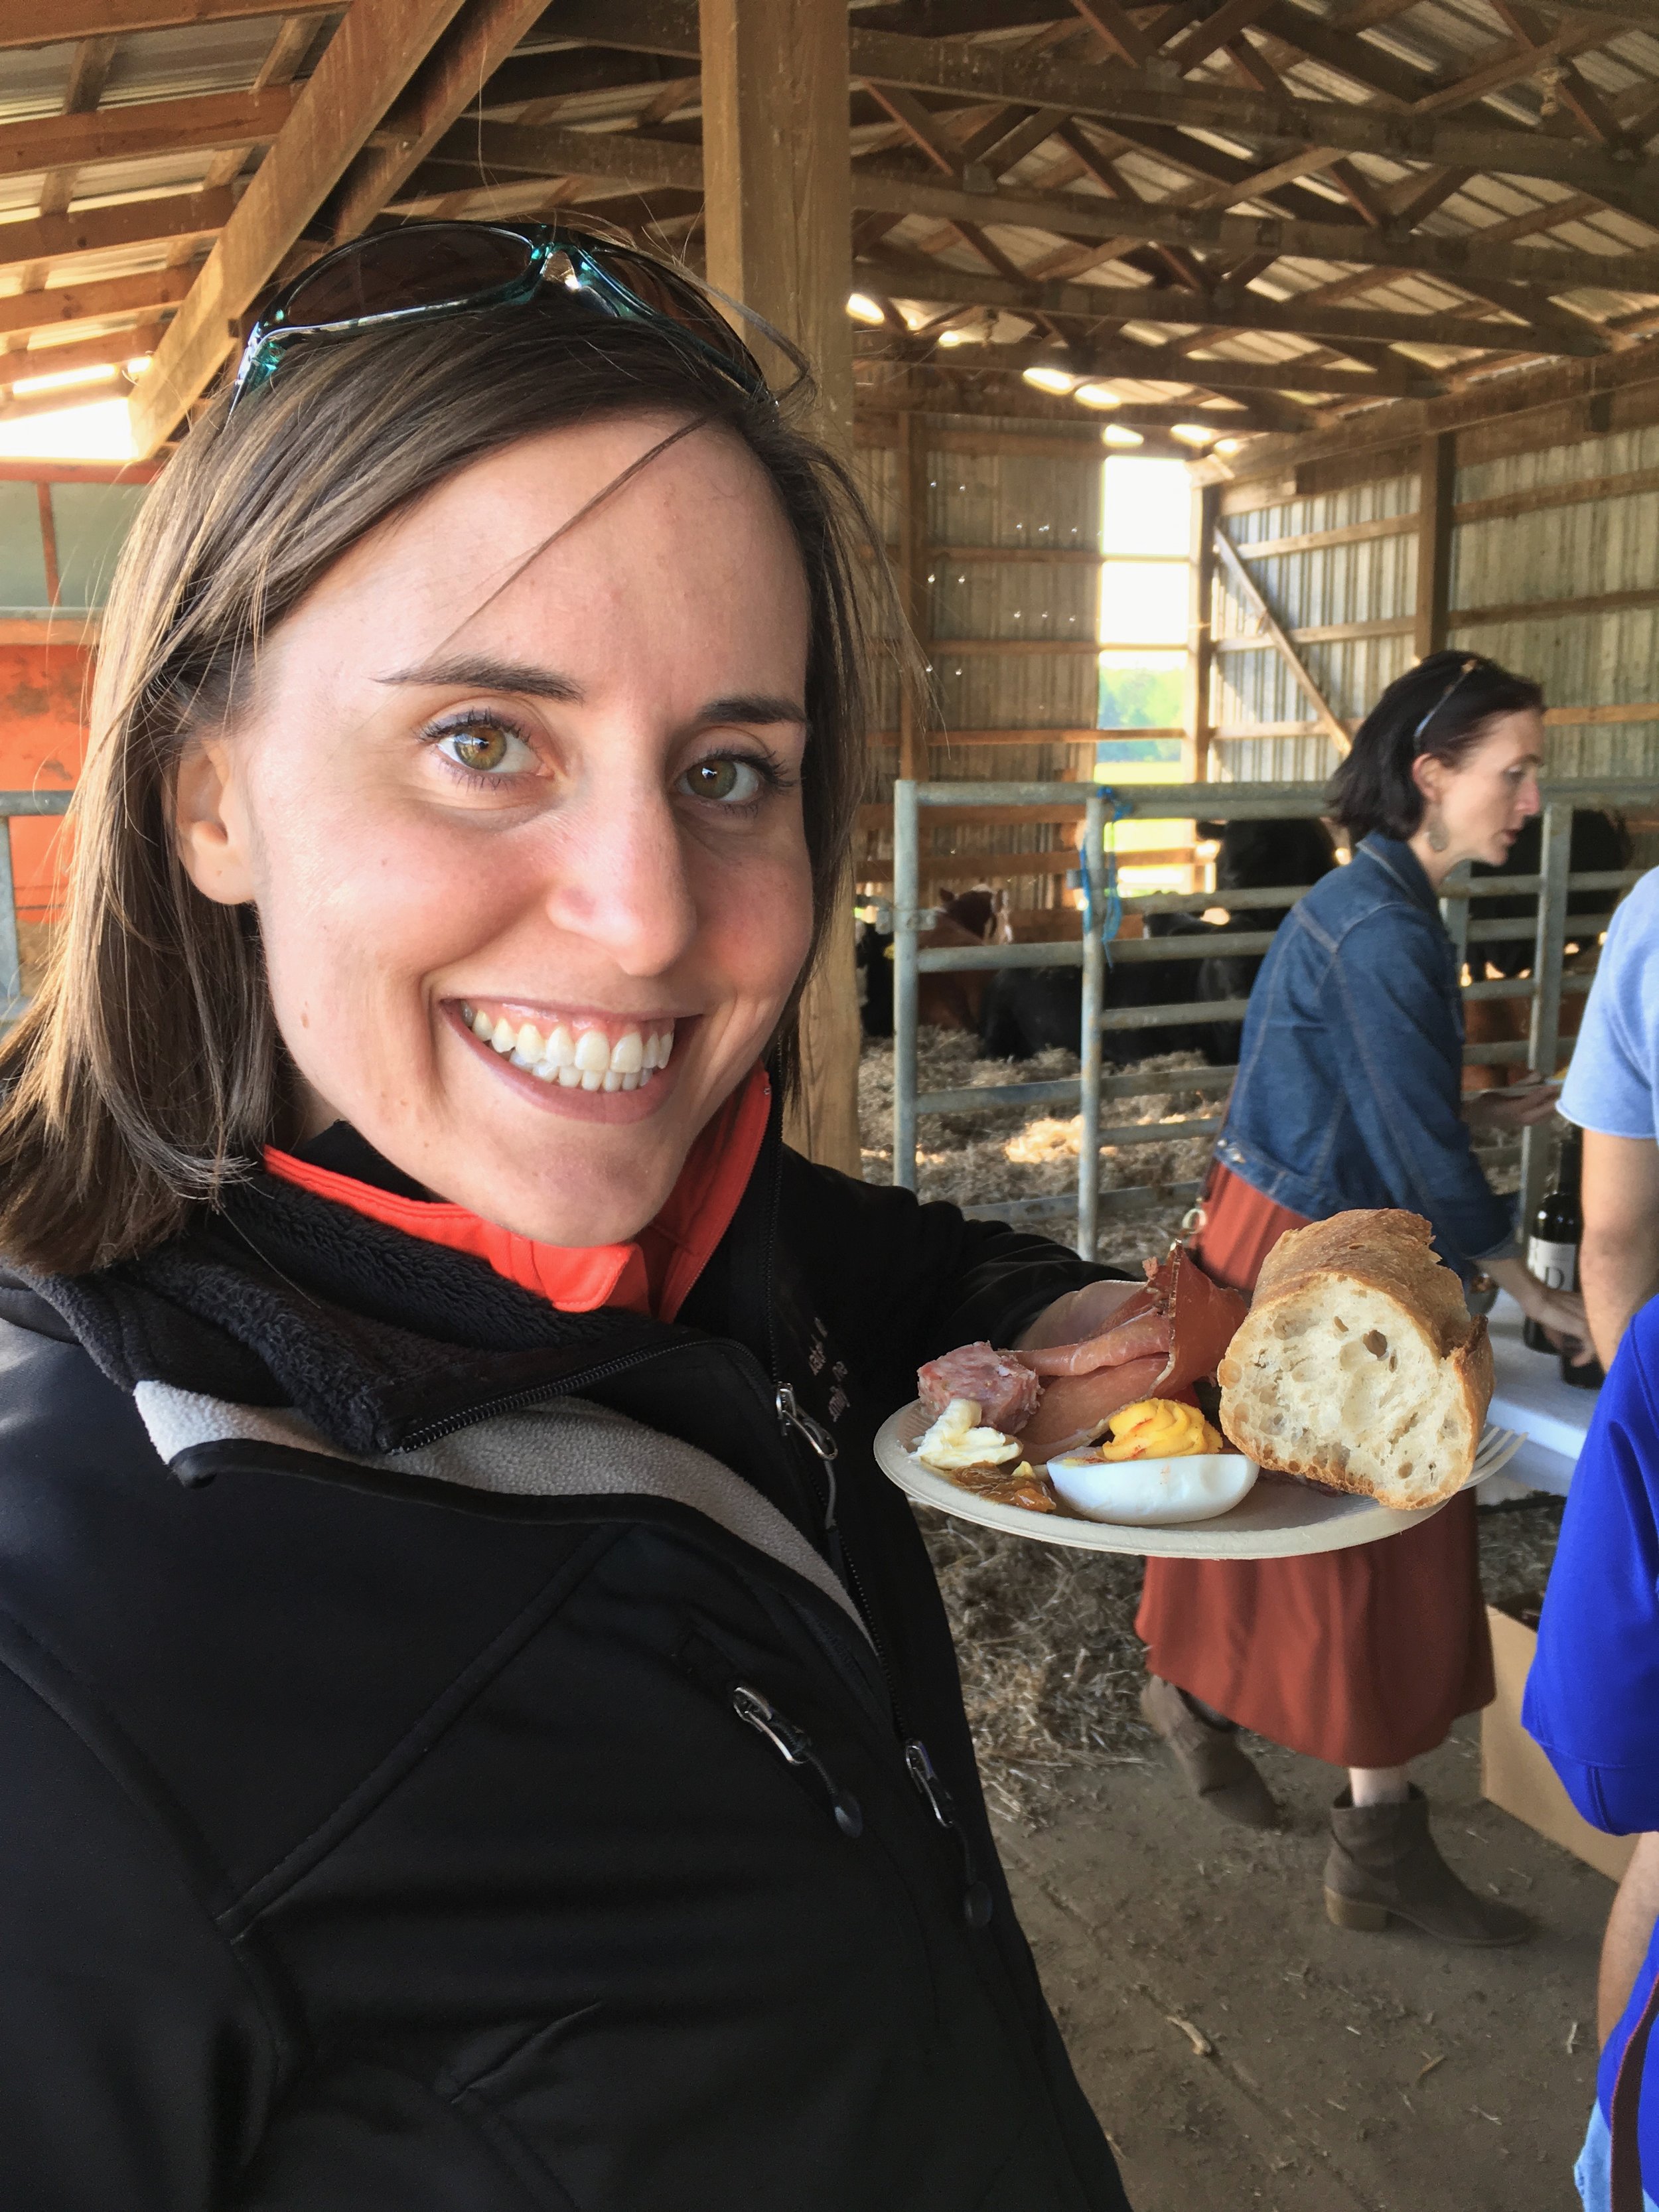
Thankfully, I was still able to get together with my immediate family and have a nice dinner and conversation which is what I want the most. Food and good company.

IMG_0347.jpeg

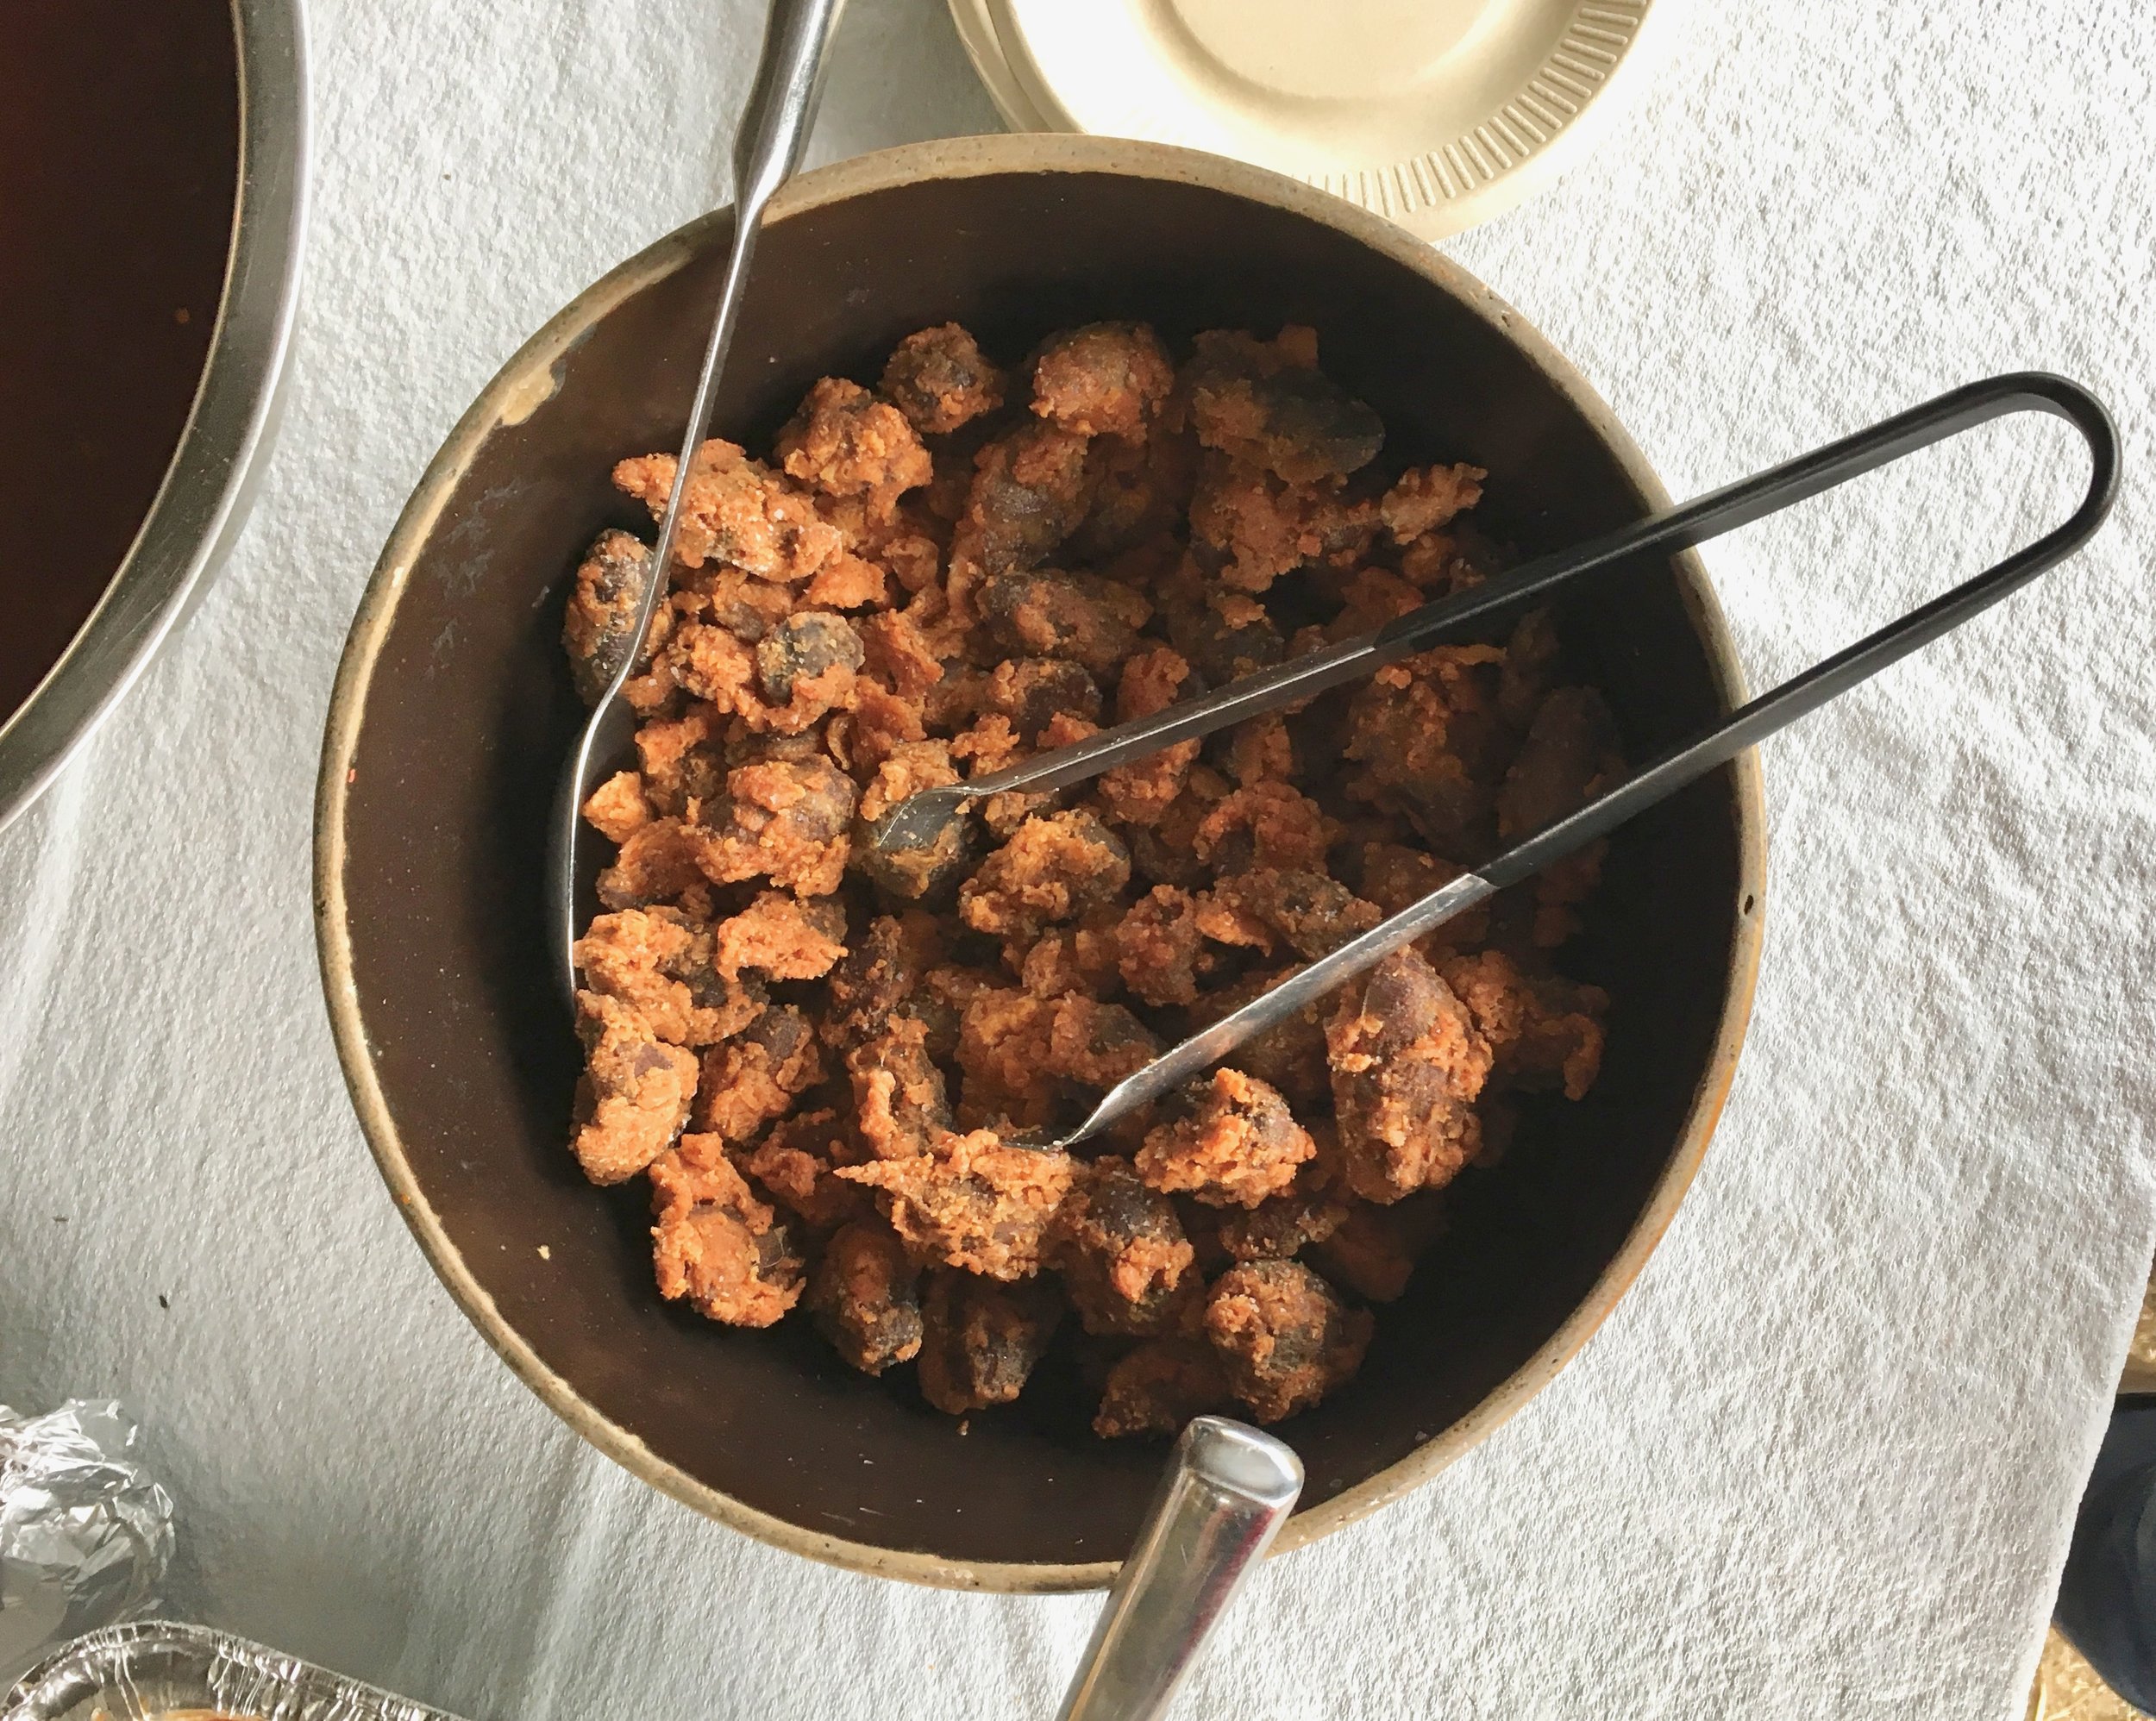
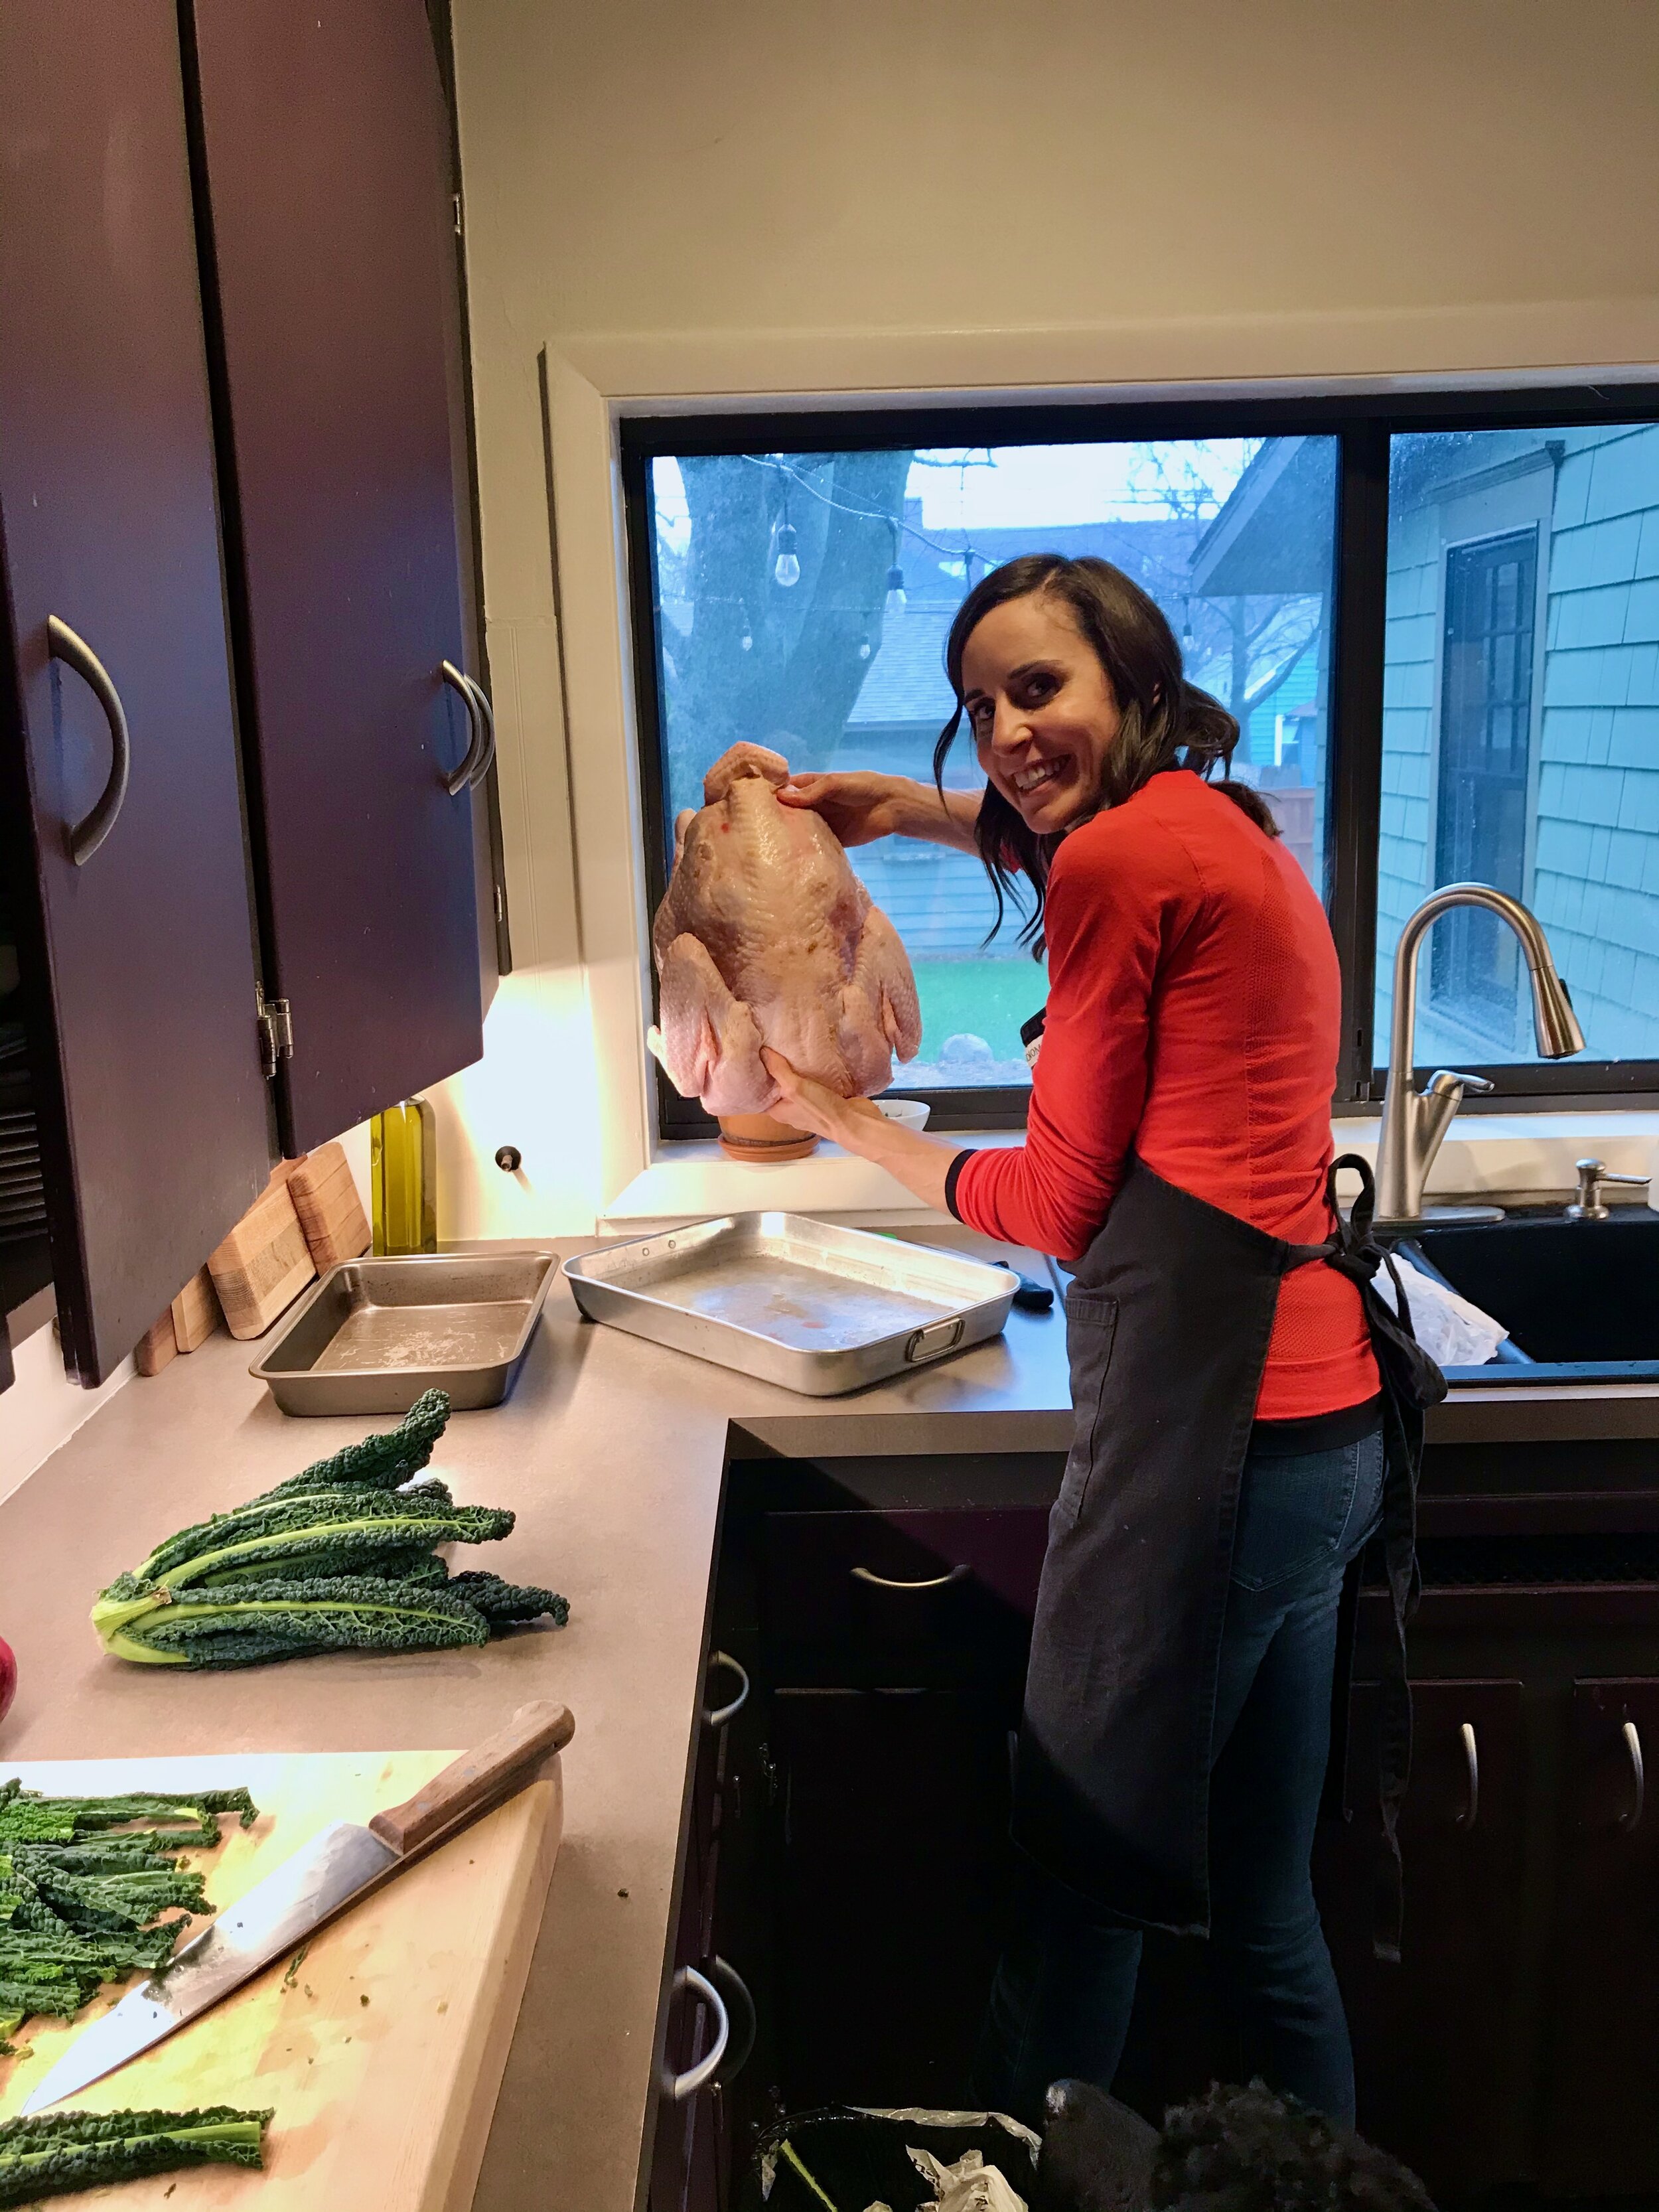
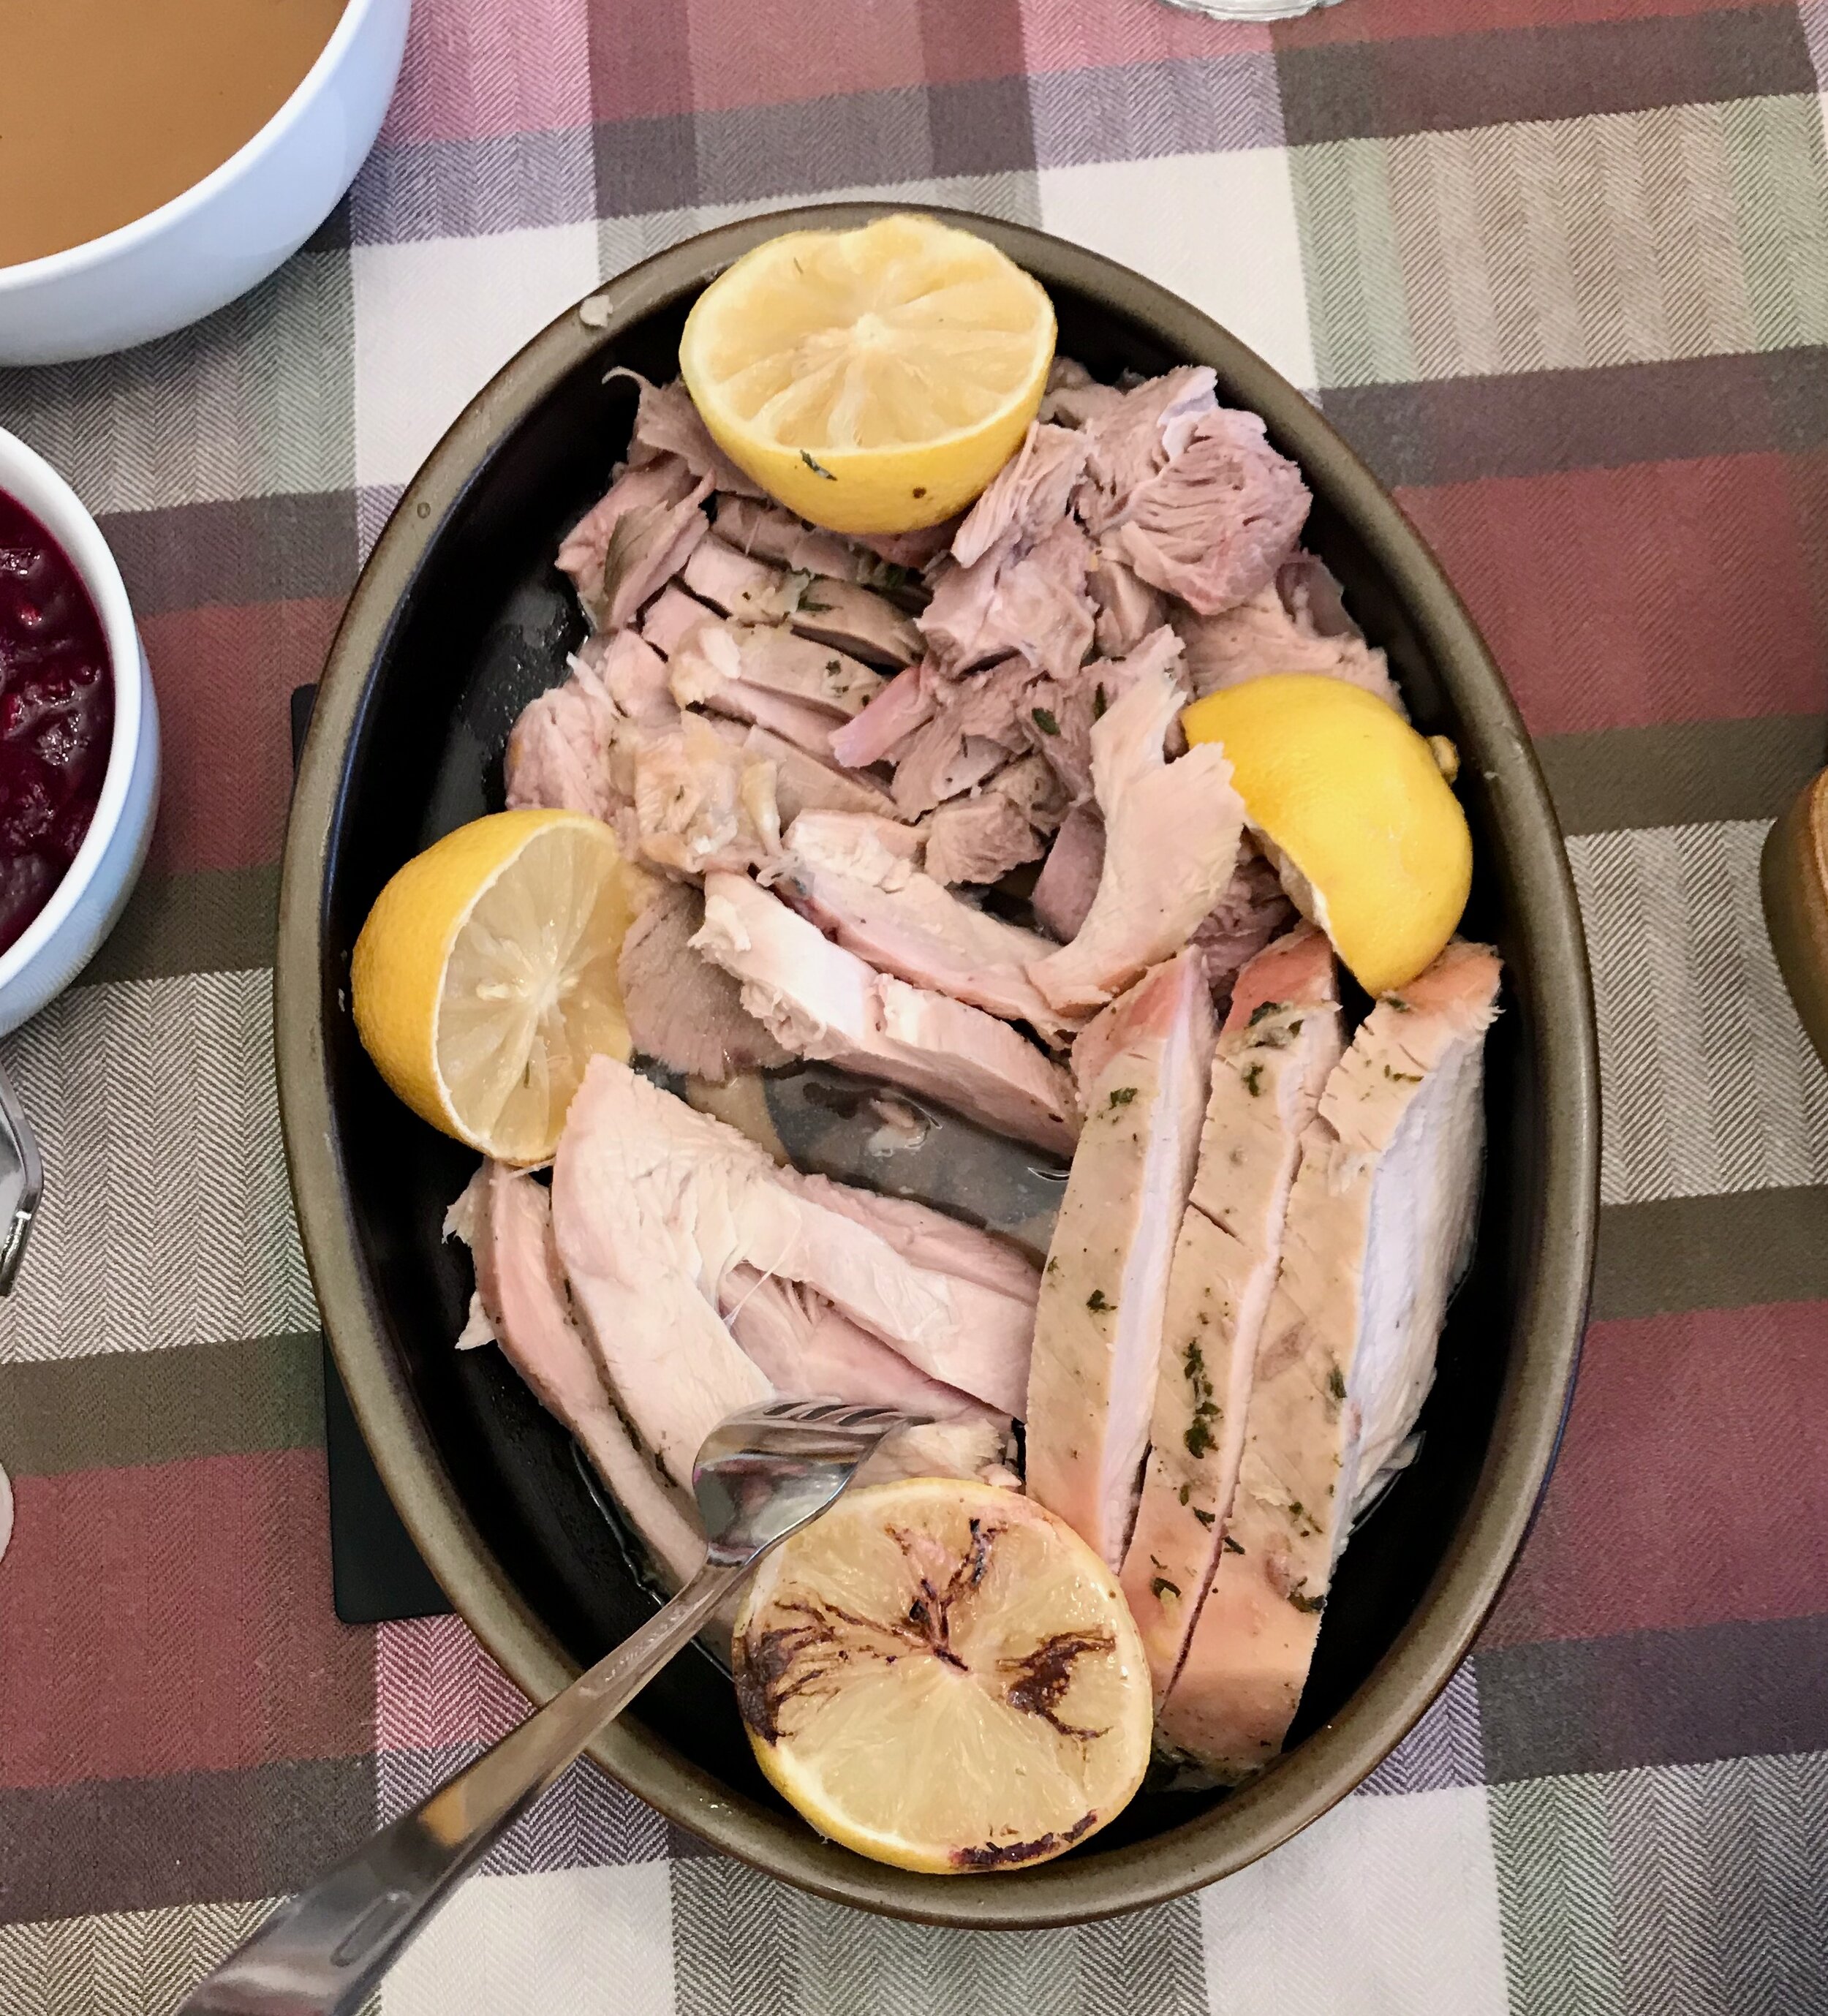
Lara and I ordered a turkey from the same place we’ve been getting the turkey for the past 5 or 6 years, and once again it did not disappoint. We got a 16 lb bird, more than we needed, but I had heard that some turkey farmer’s were worried about how things would go this year so I decided to just buy a big bird, cut it into parts, and only roast 1/2 of it. The other 1/2 would go into our freezer for another day. This worked great!

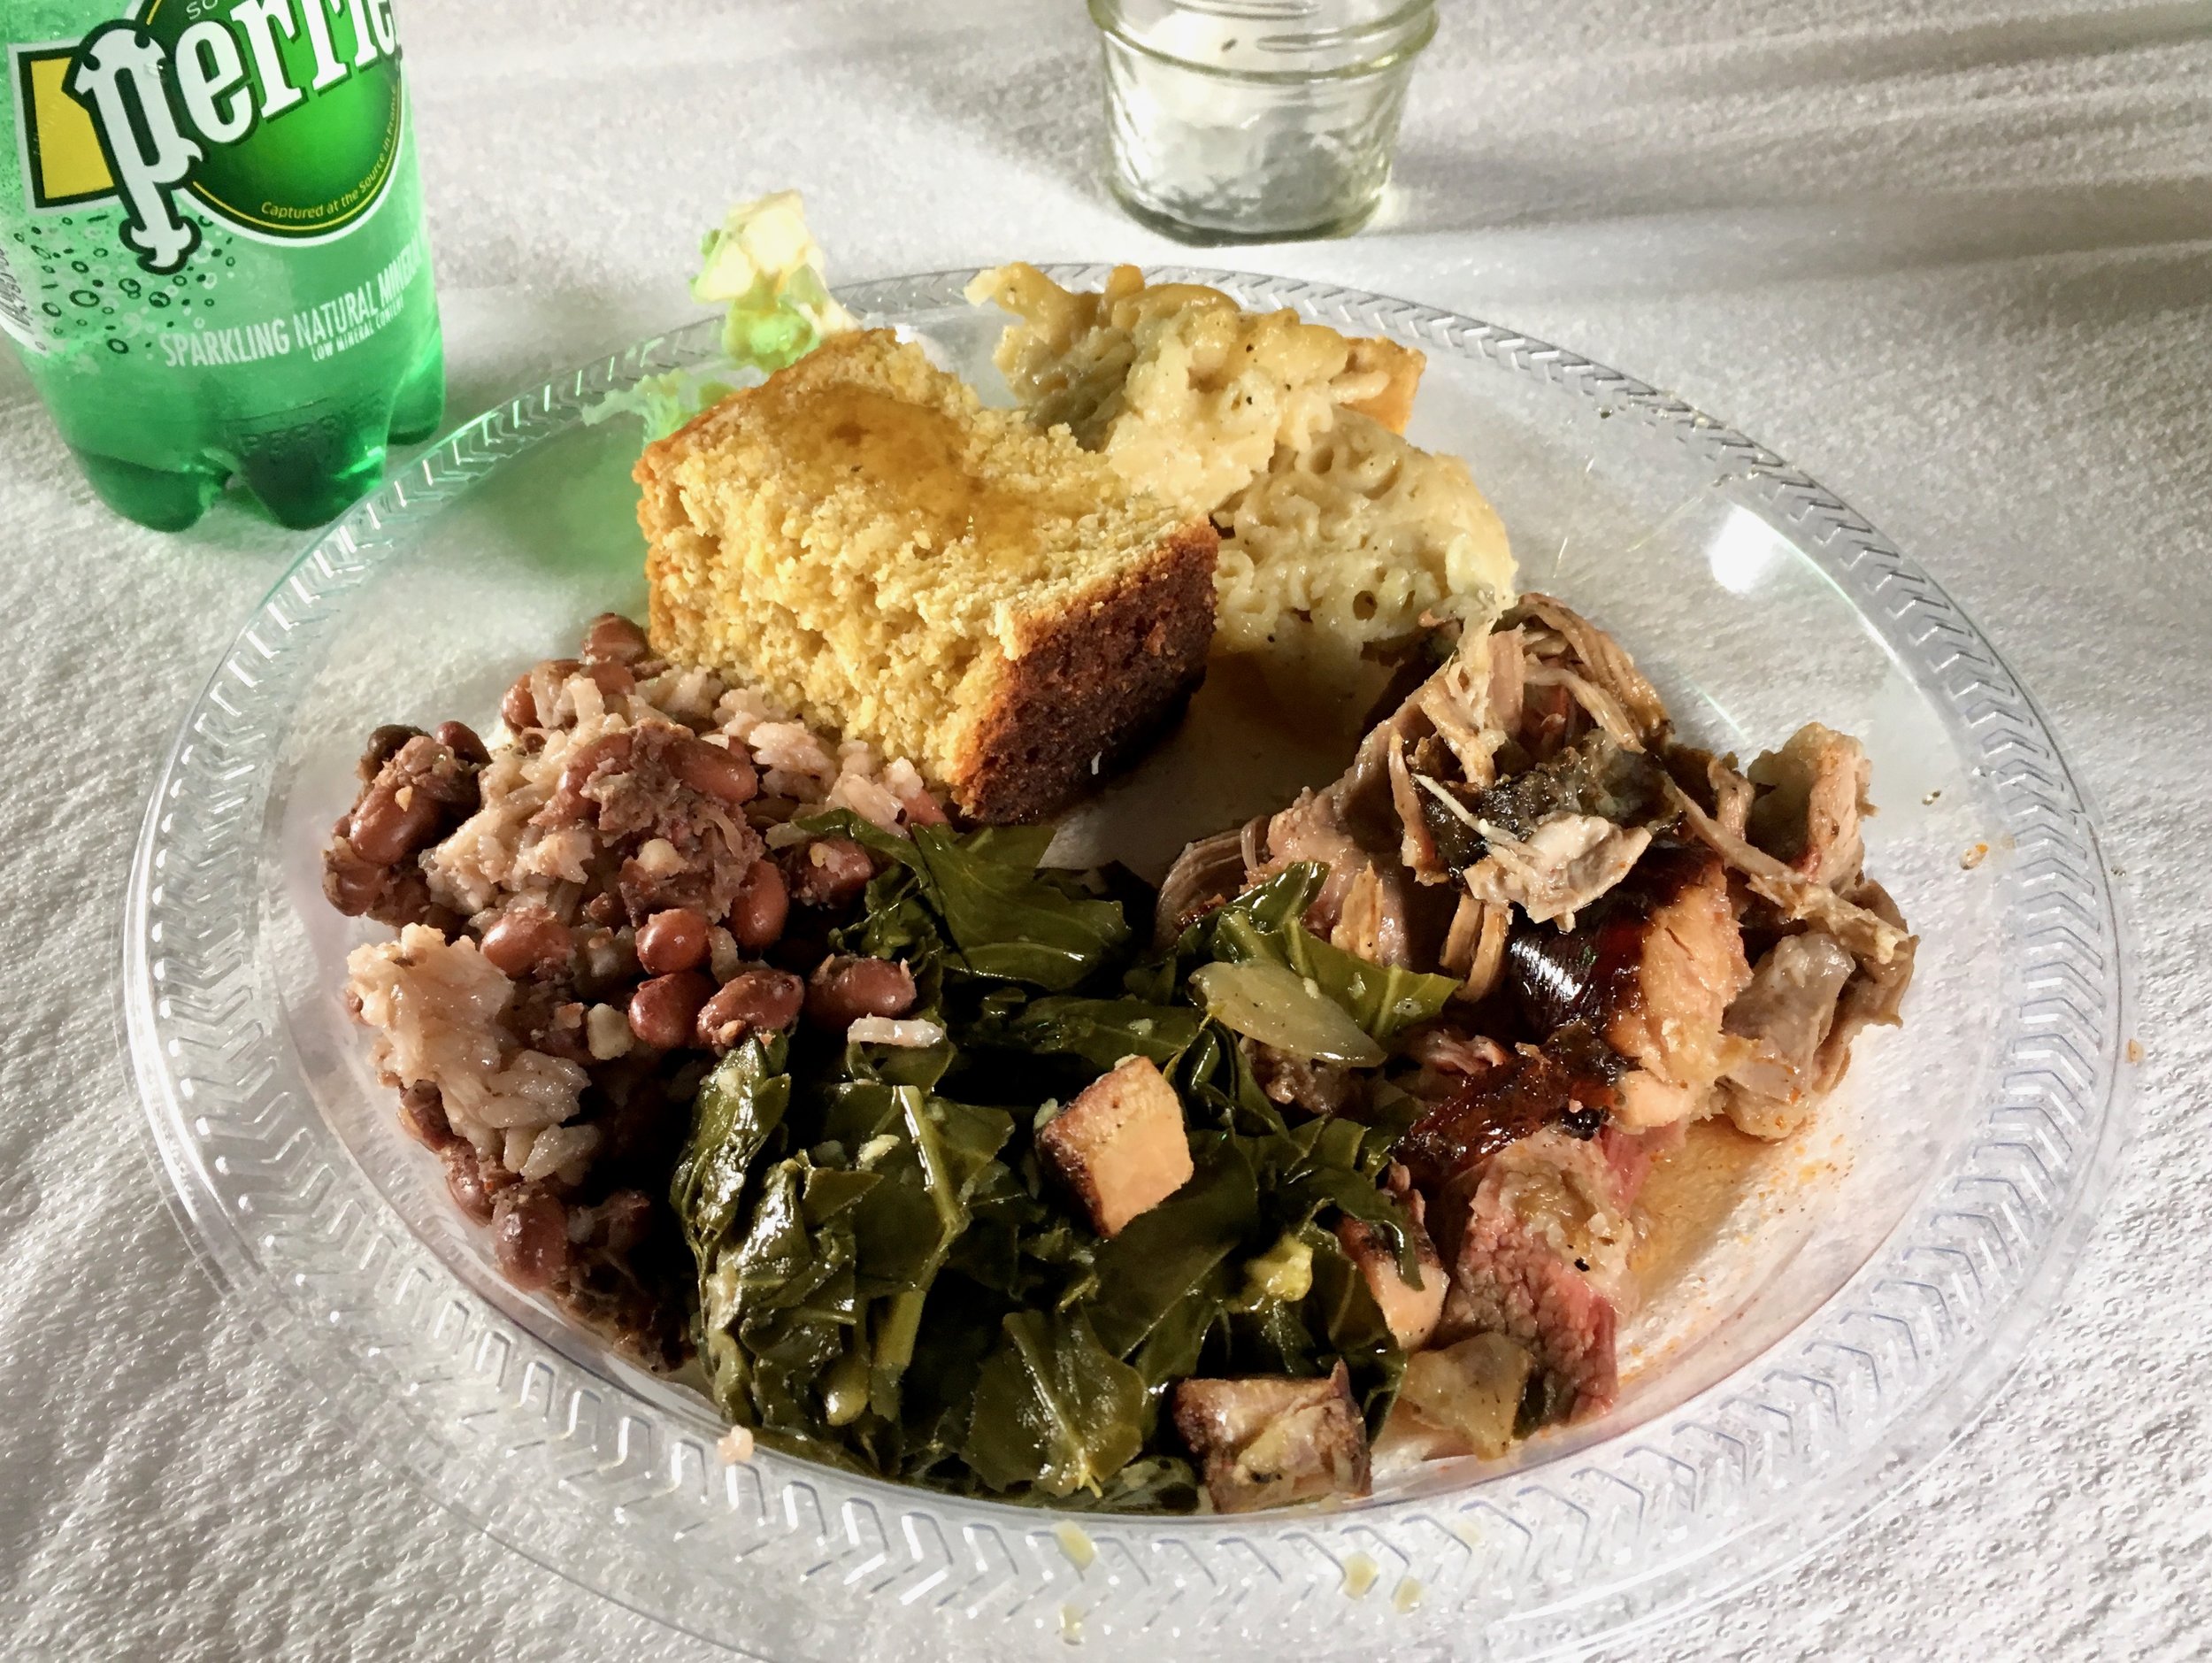
Half of the turkey was the perfect size for our group of 6 adults (several light eaters) and 3 children. It was also super easy to roast. One leg/thigh combo, one wing, and 1/2 the breast. I dry brined it overnight (uncovered) with salt, thyme and lemon zest. On Thanksgiving day, I added butter under the skin and then roasted on a cooling rack placed over a baking sheet that was lined with (3 layers) of foil. I started the turkey at 425 degrees for 20 minutes, then decreased the oven to 325 and roasted another 30-50 minutes until everything was done. The wing was done first, followed by the leg and then the breast. I was able to take them out as they were done to ensure nothing overcooked. (breast done at 155-160 degrees, dark meat done at 170 degrees).

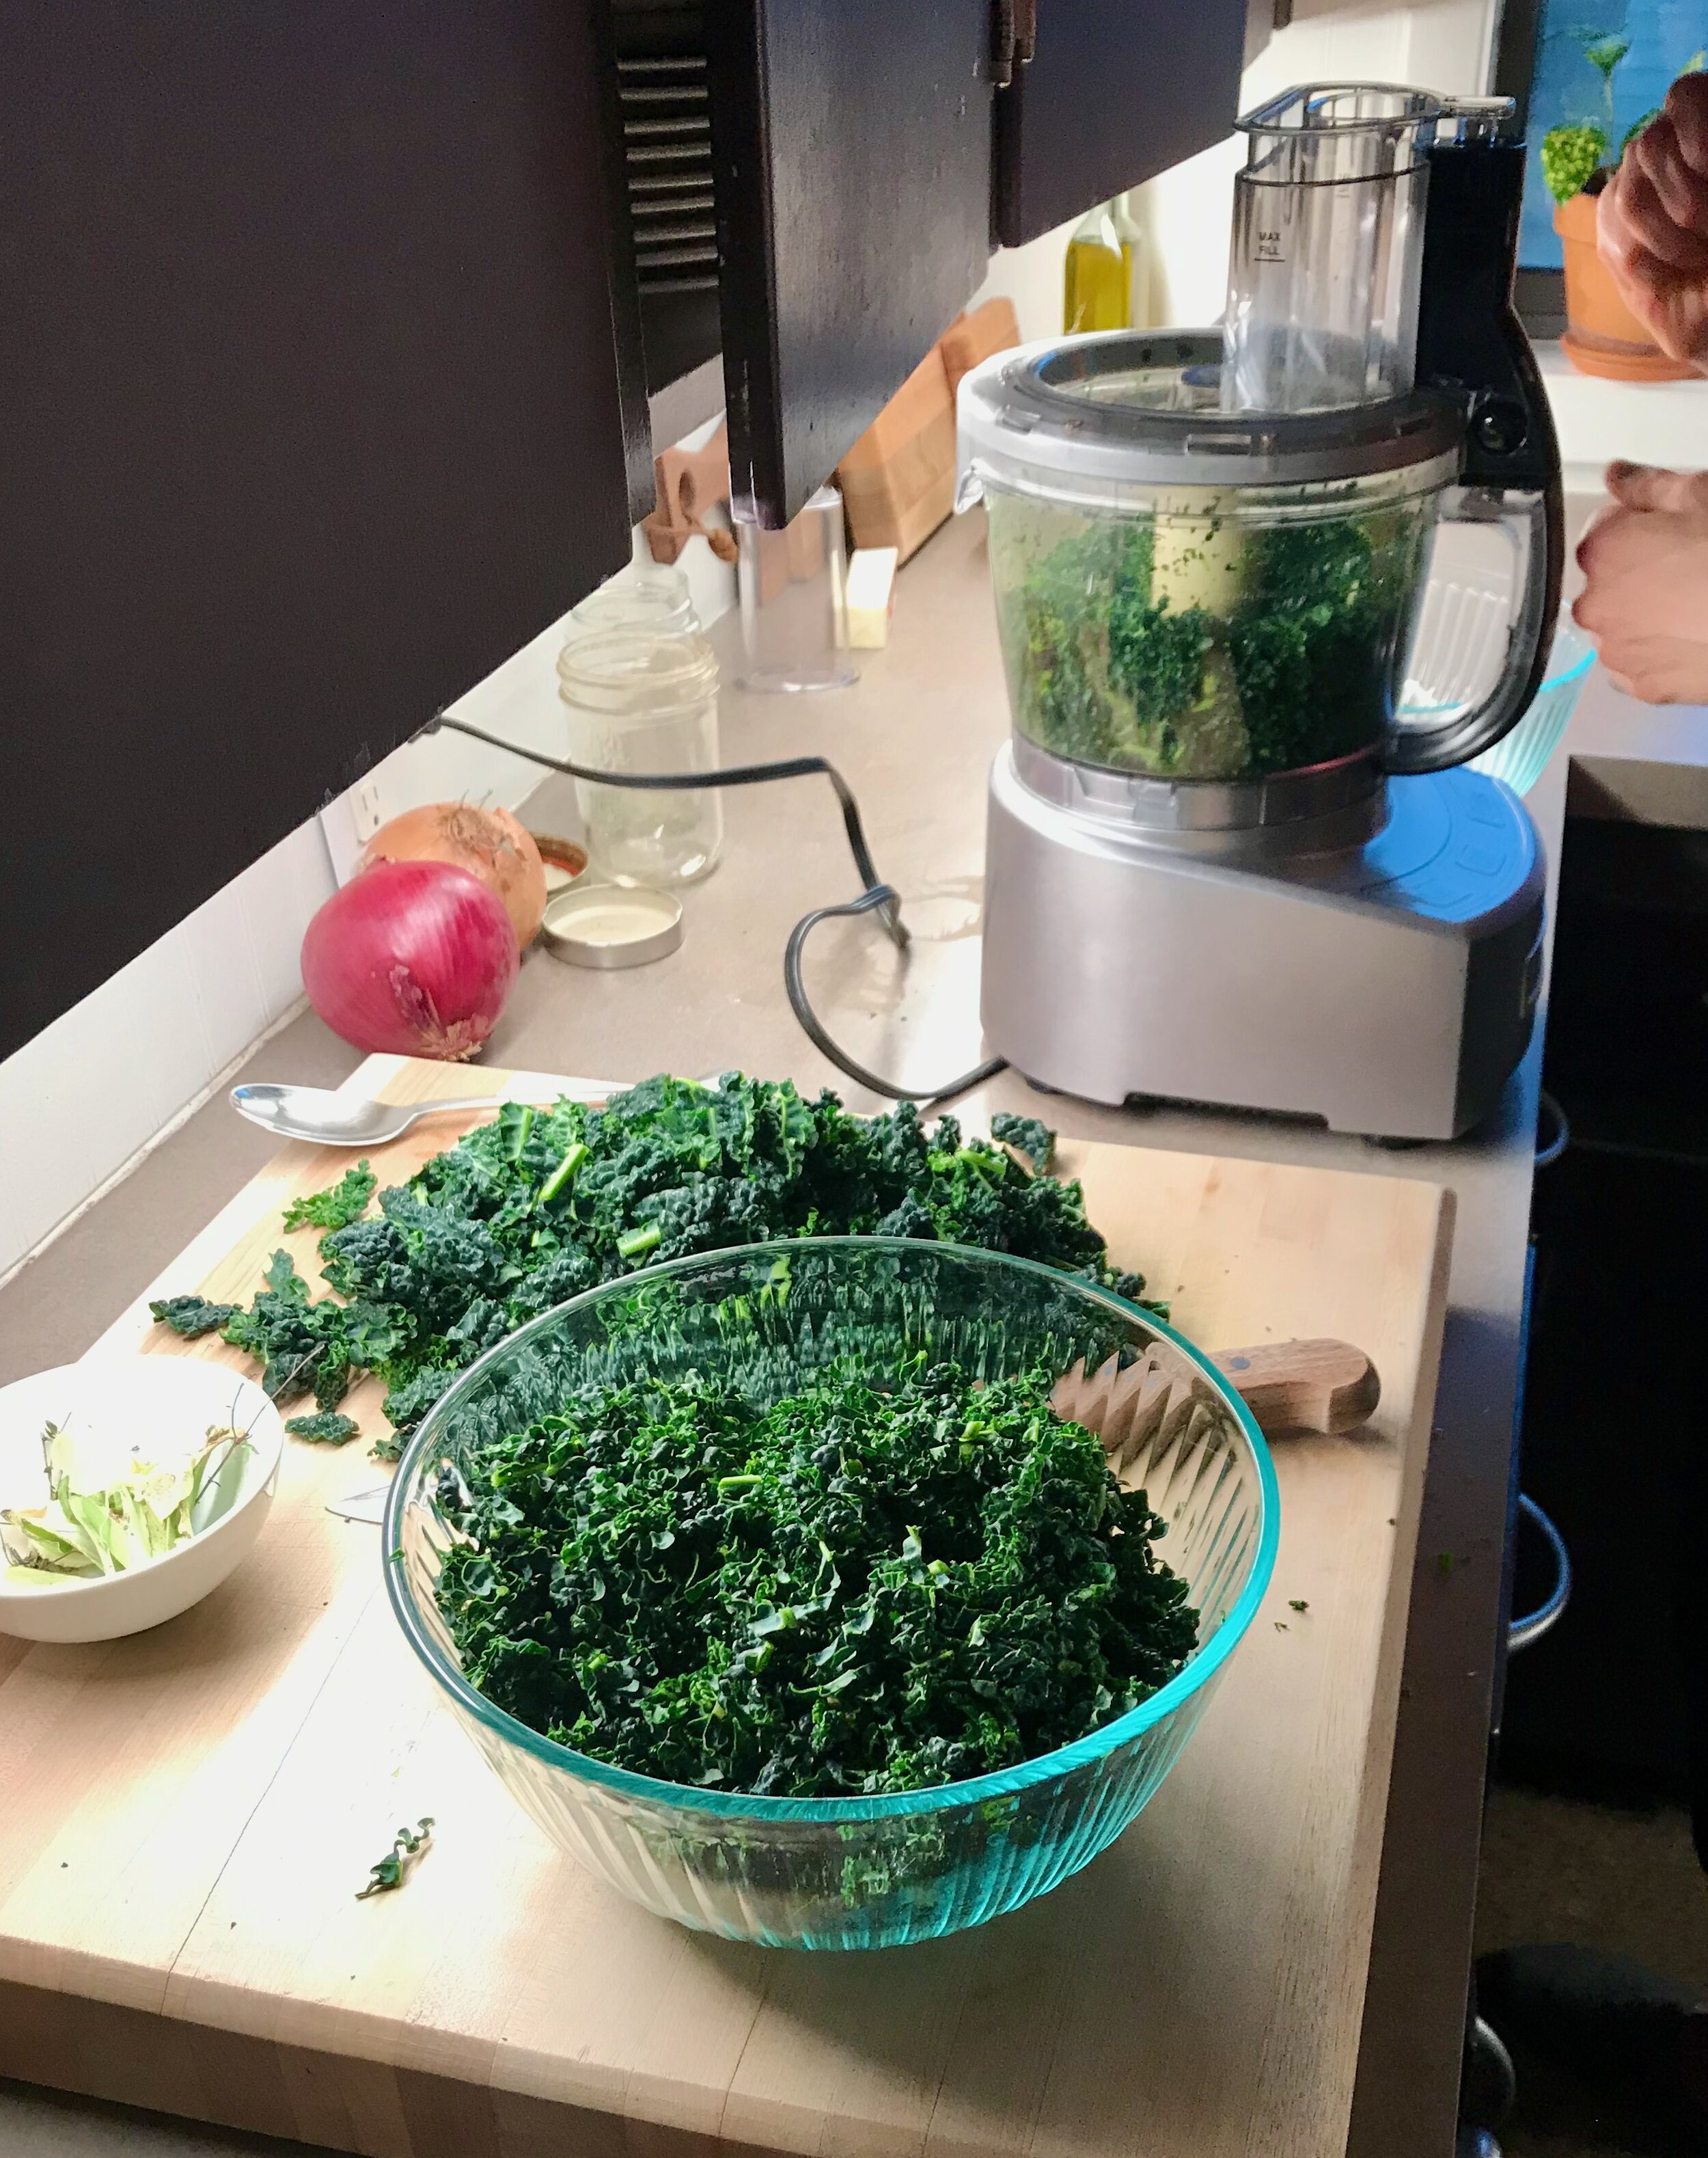
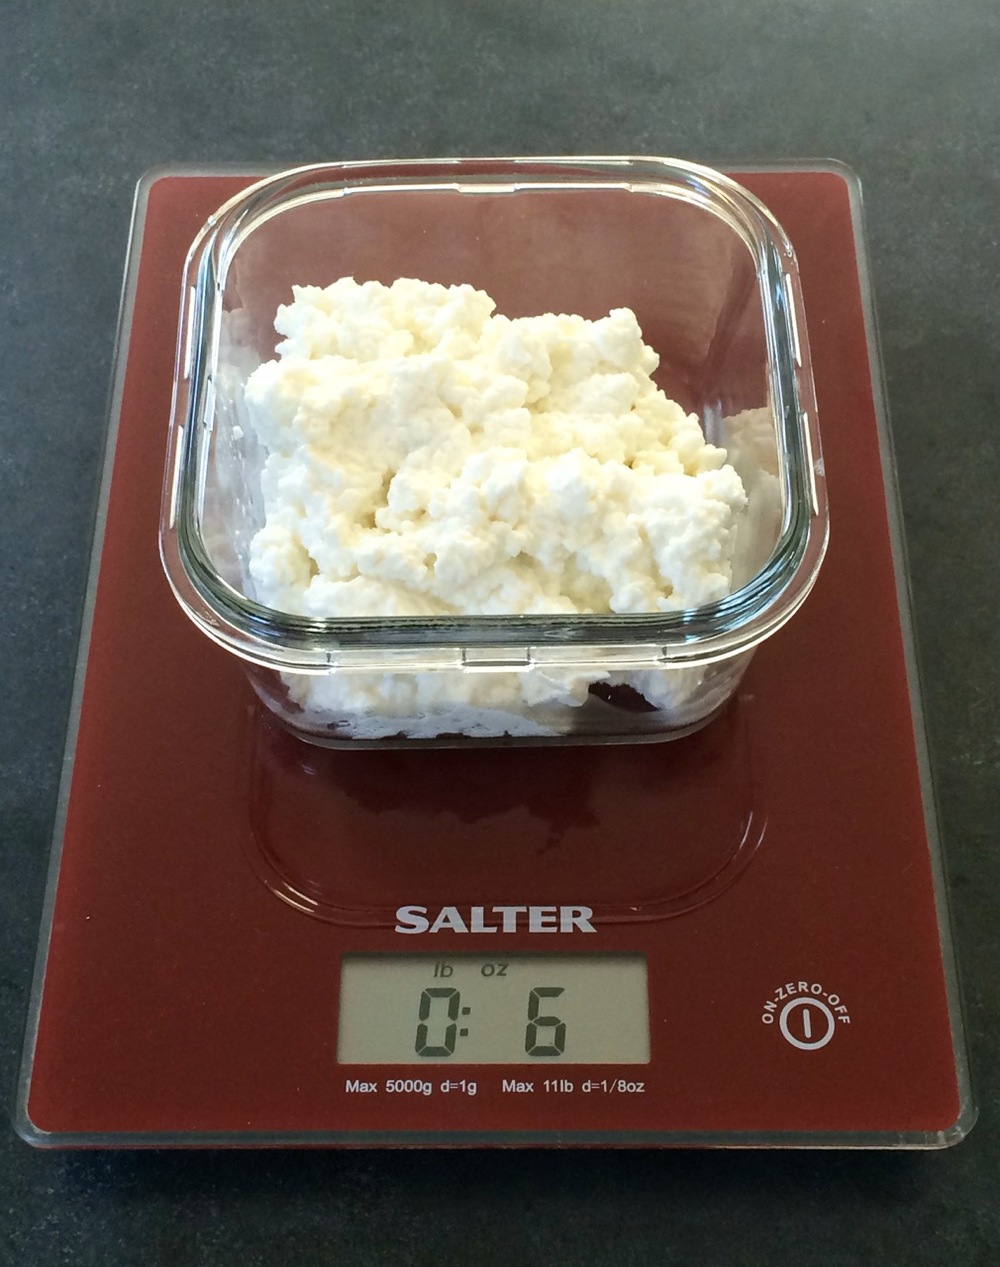
I also made a chopped kale salad with parmesan cheese and bread crumbs. This was modeled after Joshua McFadden’s recipe, The Kale Salad that Started it All from the cookbook Six Seasons (which I LOVE and highly recommend!). I didn’t follow the recipe exactly this time, but used it as inspiration, and then added a mixture of shredded Brussels sprouts and leeks that I broiled with salt and oil (one of my favorite things to do).

Next was cranberry sauce which I love at Thanksgiving. I do a very simple sauce, typically I use just cranberries, water and sugar, but this year I switched it up slightly and instead of using sugar, I added in my last small jar of homemade orange marmalade from one or two years ago. Lara had made it for our dad for his birthday, but we had a jar leftover. Neither of us is a huge orange marmalade fan, but an orange marmalade/cranberry sauce was great!

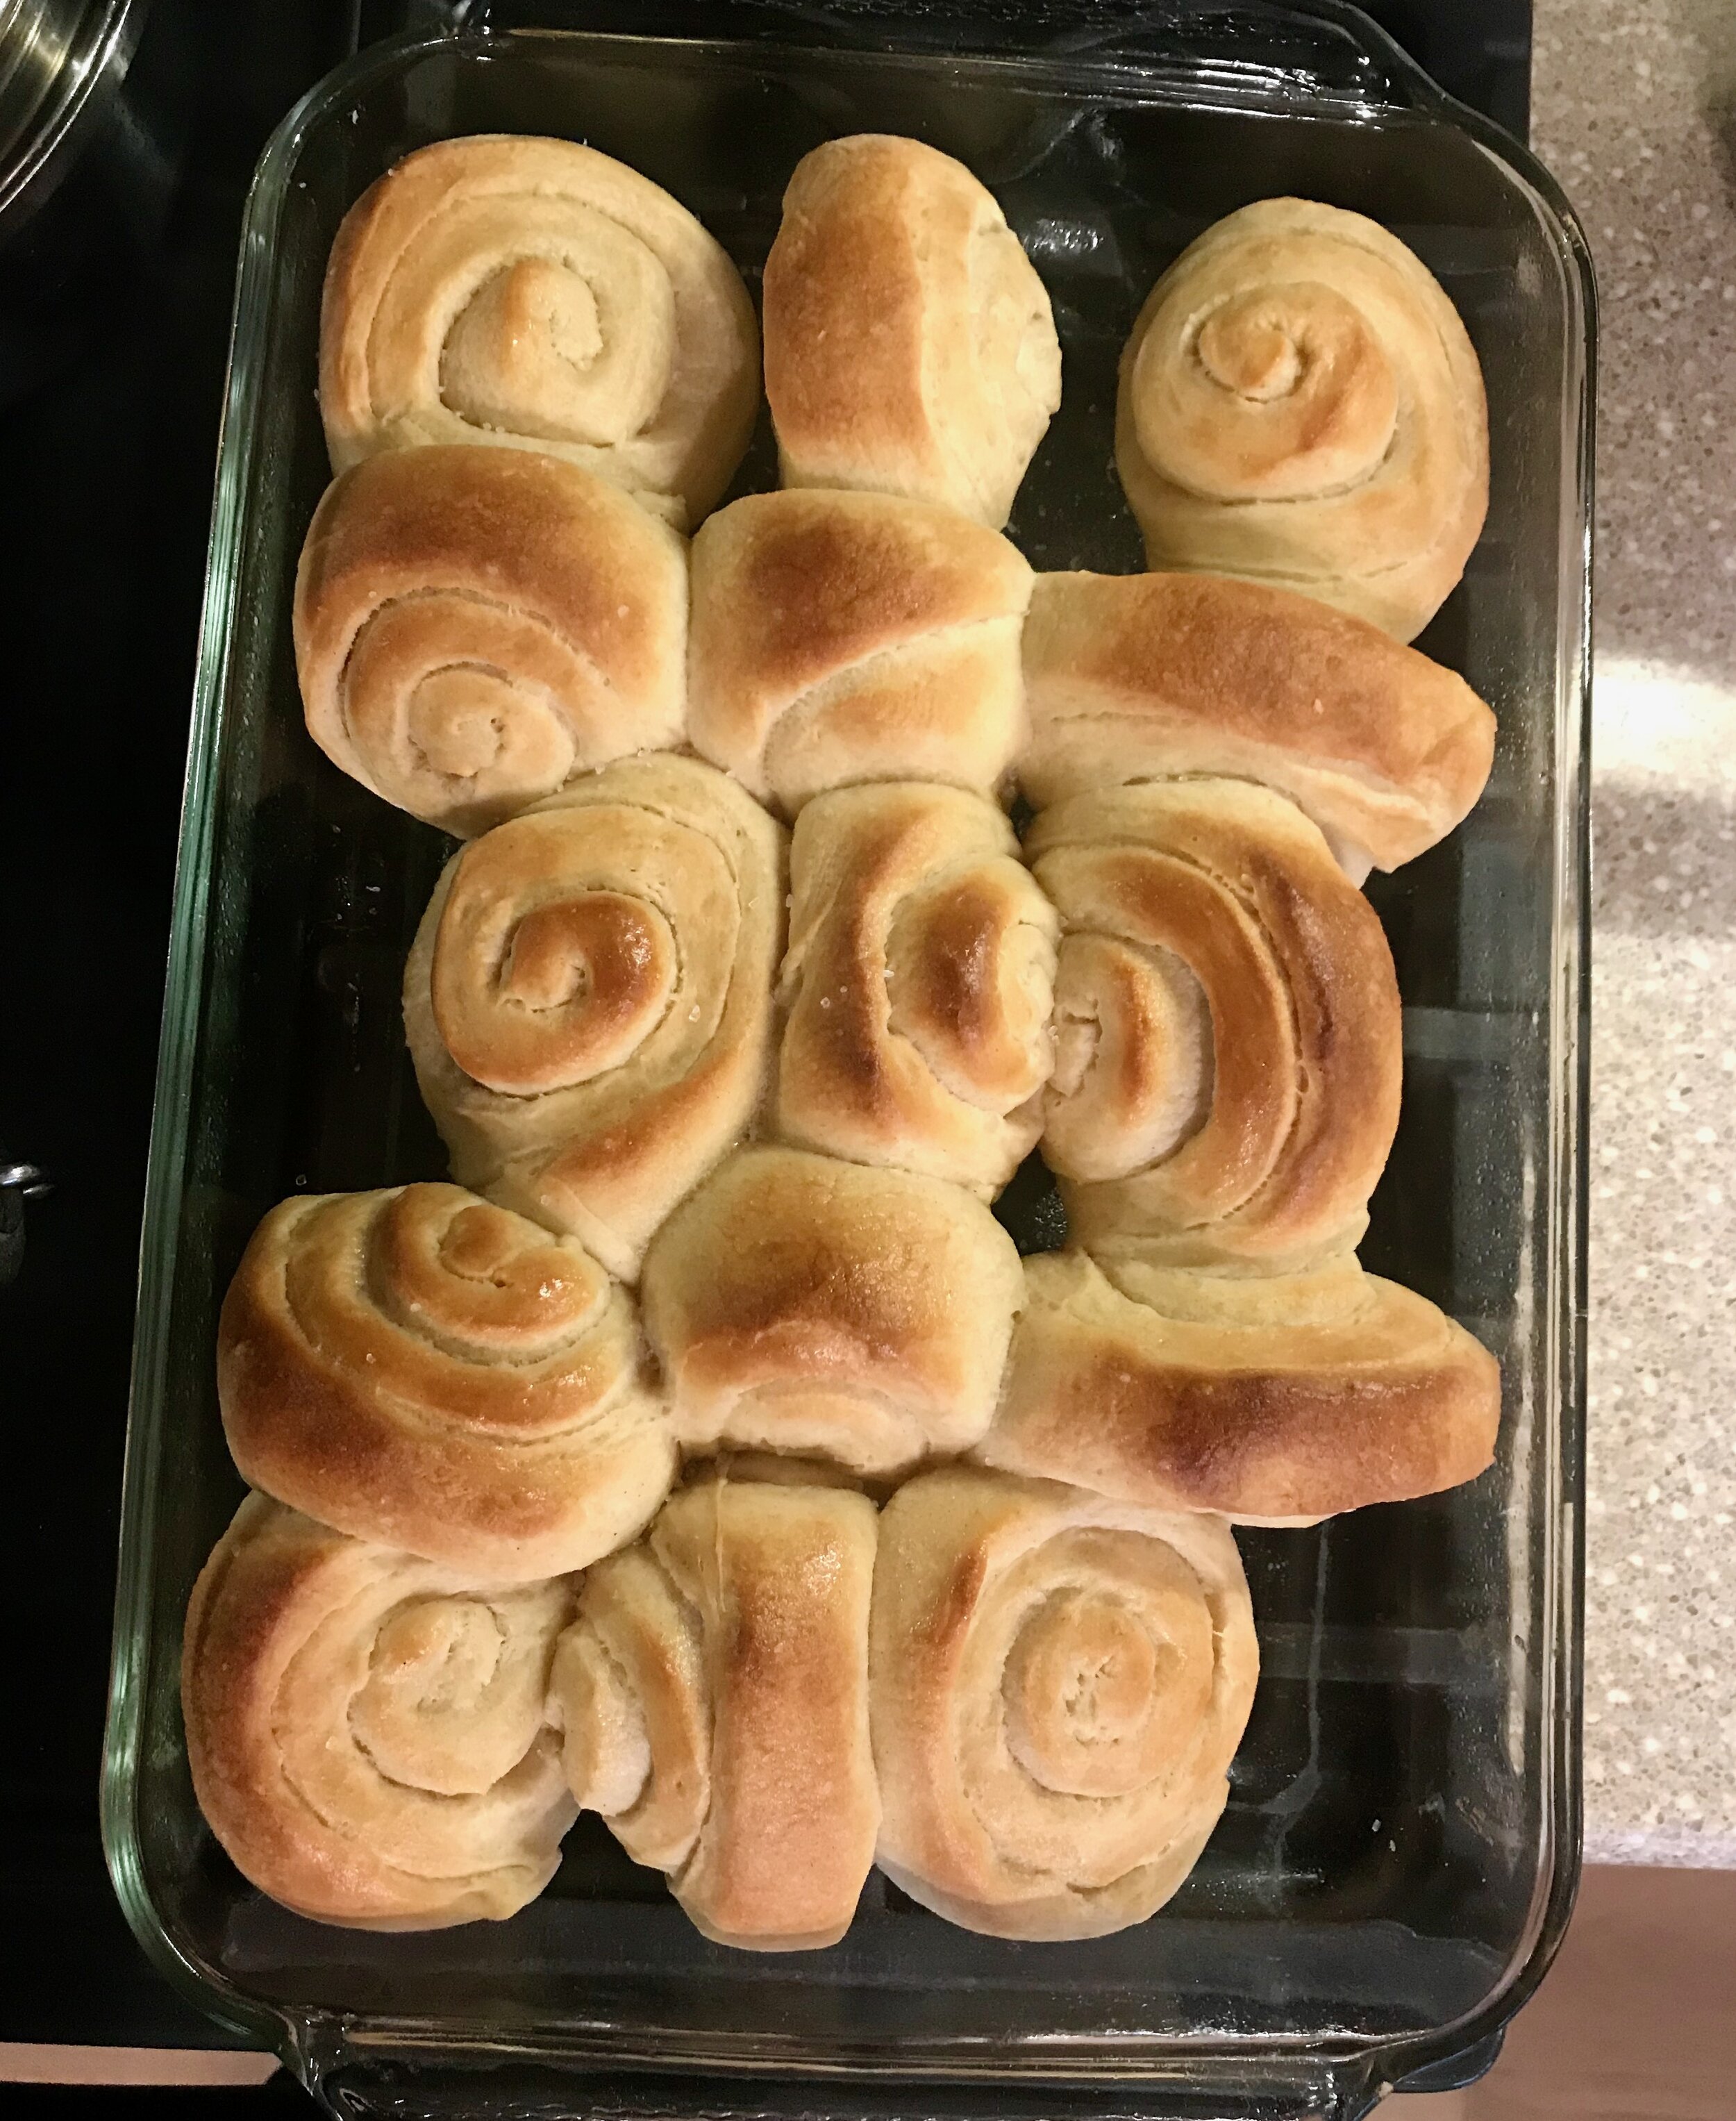
Finally, I made dinner rolls. I used the same recipe as last year. A nice rich, butter, and slightly sweet roll. Nice and soft. Lara wanted to try shaping them a little differently, so we rolled them out like a cinnamon roll and brushed melted butter on them before rolling up. Once they baked up they were a little flakier and fun to pull apart. I would try this again for sure, but I’d try switching up how I laid them in the pan. Nothing wrong with how they turned out, but they looked a little silly in the pan after baking. Some had fallen over, and some had stayed upright, and it all looked a little jumbled.

IMG_0364 2.jpeg
IMG_0366 2.jpeg

I decided to not make a dessert this year, but did pick up a few packages of Thanksgiving macaroons from my local macaroon shop. They do such an amazing job I figured I’d let them do the work this year! I got 6 flavors; pumpkin, pumpkin creme brulee, cranberry sauce, speculaas, maple walnut and apple pie. My mom made some chocolate chip cookie bars, and then made a homemade angel food cake that she frosted with a caramel whipped cream. It was delicious! I don’t love angel food cake, a cake without any fat seems pointless to me, but when you cover it in whipped cream this completely changes things. Plenty of fat in that case!

IMG_0378.jpeg

I couldn’t resist a little snack board as well, because I need to have cheese at any party! This year I got Cabot Clothbound Cheddar and Comte. I don’t think I’ve tried the cheddar before and I loved it! It was a lot different than I expected, crumbly and dry, carmely and a little sweet with some crystals. Complex and interesting without being funky (at least in my opinion). I will DEFINITELY get this one again. And Comte is always yummy!

The last item that Lara and I brought was one of Lara’s favorite wines, a Beaujolais that she’d enjoyed at a local restaurant a few times. Our family members aren’t huge wine drinkers, but they’ll sip on a glass, so we brought a couple bottles of one we like and everyone enjoyed.


Soft and Buttery Dinner Rolls
From Sally’s Baking Addiction
Ingredients

  • 1 cup (240ml) milk, around room temperature

  • 2 and 1/4 teaspoons instant yeast

  • 2 Tablespoons granulated sugar, divided

  • 1 large egg

  • 1/4 cup (60g) unsalted butter, softened to room temperature and cut into 4 pieces

  • 1 teaspoon salt

  • 3 cups (375g) all-purpose flour or bread flour

  • Optional topping: 2 Tablespoons melted unsalted butter mixed with 1 Tablespoon honey

Add flour, salt, sugar and yeast to the bowl of your stand mixer fitted with a dough hook. Whisk to combine. In a separate bowl whisk together the milk and egg - add to the flour mixture. Beat on low speed for 30-60 seconds, scraping down the sides of the bowl with a rubber spatula as needed until all of the flour is moistened. Then increase to medium speed and knead until the the dough is well developed and comes together to form a soft dough. It will be sticky. Add flour as needed to make it manageable but don’t add too much so it becomes too dry.

Lightly grease a large bowl with oil or nonstick spray. Place the dough in the bowl, turning it to coat all sides in the oil. Cover the bowl with plastic wrap, or a clean kitchen towel. Allow the dough to rise in a relatively warm environment for 1-2 hours or until double in size.

Grease a 9×13 inch baking pan or two 9-inch square or round baking pans. Set aside.

When the dough is ready, turn it out onto a lightly floured surface. Divide the dough into 14-16 equal pieces. Shape each piece into a smooth ball. Arrange in prepared baking pan. (For a 9x13 inch pan, 15 rolls is nice to arrange in 3 rows of 5 rolls each).

Cover shaped rolls with plastic wrap, or a clean kitchen towel. Allow to rise until puffy, about 1 hour. Near the end of the rising time, preheat oven to 350°F. Bake for 20-25 minutes or until golden brown on top, rotating the pan halfway through. If you notice the tops browning too quickly, loosely tent the pan with aluminum foil. Remove from the oven, brush with optional honey butter topping, and allow rolls to cool for a few minutes before serving.


Butcher Dinner on the farm: A Southern Style Barbecue Picnic

Last weekend I was lucky enough to be part of an absolutely amazing dining experience. My favorite local butcher held a farm dinner on one of the farms that they source their meet from. Lara and I took a little drive out to Coopersville and arrived at Hehlden Farm last Sunday night, where we experienced real farm to table eating. The whole meal was styled after a southern BBQ picnic, and it all centered around an entire smoked pig that was raised right there on the farm. Words cannot describe how delicious this meal was. We ate right there in one of the barns, enjoyed appetizers on hay bales, and got to walk out into the fields and meet the chickens. The food was amazing, the atmosphere could not have been better, and the entire experience was one to remember. Anyone who lives in Grand Rapids, or is driving through, should check out Louise Earl Butcher on Wealthy St to get a little taste of the amazing work they do. Until you do that, enjoy some shots of the wonderful night!

IMG_0723.jpg

Apps! House made charcuterie, local bread, and a lovely selection of wine and beer. 


<-- Checking out the chicken coops


The Menu:

Pig Roast, mopped with a Carolina BBQ sauce, mac & cheese, collards with tasso ham, red beans & rice, fried gizzards, and cornbread with cultured butter and honey. 


So excited to eat!! Bring on the pig!!

A big thank you to Matt and Cindy and the rest of the gang from Louise Earl Butcher for putting on such a wonderful event, and Matt and Amy from Hehlden farms for hosting! It really was a special night!

Homemade Ricotta

I don't know if I've made it clear before, but if not, let's set the record straight, I absolutely love cheese. All kinds of cheese, it doesn't matter, I have never met a cheese I didn't like. So of course I've been interested in making my own. Now I know that making any aged cheese takes a lot more work, and is a bigger investment then I want to make right now, so currently I'm sticking to fresh cheeses that are quick and easy to make, and are ready right away.

Homemade ricotta is about as easy as it gets. You don't need any fancy ingredients or tools and it can be ready to eat in less than an hour. All you need to start is some milk and an acid such as vinegar or citrus juice. A thermometer of some kind and a small amount of cheesecloth are the only other tools that you really do need (and you can get by without the cheesecloth if you have too, that's what happened to me the first time!). After you have this all set, all it takes are some heat and a little time and you'll have a bowl of fresh, homemade ricotta, ready for anything you might imagine!

Traditionally, ricotta is actually made from the whey that is leftover from cheesemaking. But since I don't generally have a lot of whey sitting around ready and waiting, this alternative using milk does the trick. I've heard some people complain that this is not actually ricotta then, but in the end I don't really care. Call it whatever you want, but it's close enough to ricotta for me. All I know is that it is easy to make and absolutely delicious to eat! If you've ever been interested in making your own cheese, this is definitely the place to start!

Heating the milk and vinegar over medium heat

You can see some nice curds forming

Straining the cheese in a cheesecloth lined colander 

(or in my case, an old cotton t-shirt lined colander, definitely 

not ideal, but sometimes you have to improvise!)

All strained with the salt mixed in

A beautiful bowl of cheese!

(don't look too closely at the 6 ounce measurement, 

I actually lost some cheese down the drain while I was

straining it :( so you should actually get more than this!)

Ready to eat!

Homemade Ricotta

Adapted from

One Hour Cheese

by Claudia Lucero 

Ingredients

  • 1/4 cup white wine vinegar (can also use lemon juice)
  • 6 cups whole milk, not ultra-pasteurized (I highly recommend whole milk, you can use other milks, but they will result in a less creamy final product and a lower yield, whatever you do, don't use skim milk)
  • 1/4 teaspoon flake salt

Directions

Pour the milk and vinegar into a large pot and set over medium heat. Heat the milk and vinegar mixture to 190 degrees, gently stirring occasionally to prevent a skim from forming and to prevent any milk from sticking to the bottom of the pot. Don't stir so vigorously that the curds are not broken up. Some curds will begin to form right away, and will begin to form more rapidly as the milk approaches the target temperature of 190 degrees. It should look like thin oatmeal. 

Once the mixture reaches 190 degrees, turn the heat off and take the pot off the burner. Allow the curds to sit undisturbed for 10 minutes. They will release more whey this time. 

While you wait, line a colander with cheesecloth  and either set over a large bowl (if you want to save the whey) or in the sink. 

After the 10 minutes are up, pour the curds and whey into the cheesecloth lined colander. Allow the whey to drain for about 10 minutes, or until you get the creamy smooth texture of smooth mashed potatoes. 

Gather the cheesecloth into a bundle and give it a gentle squeeze to remove the last bit of whey. Place the clothe of fully drained ricotta back in the colander and add the salt. Stir the salt into the ricotta gently until thoroughly mixed. The salt will help release more whey, but air will dry out the cheese so if you stir too long the cheese will become crumbly instead of creamy. 

The ricotta is ready to eat. It will be loose and creamy while warm, but will firm up after being chilled in the fridge. 

Yield: about 7-8 ounces cheese

Foolproof Oven-Baked Brown Rice

This may not look like a very exciting recipe to some people, but honestly it's one of my favorites. Over the last couple of years I have grown to absolutely love brown rice. It is extremely healthy, it's super versatile and I think it's absolutely delicious. If you've ever looked up directions on how to make brown rice, you may have noticed that there are so many different methods. Each with it's own ratio of water to rice. Now I'm sure most of them will turn out a fine batch of brown rice, I personally am not too picky as long as it's cooked through. However, once I found this recipe I never turned back. Not only does it turn out a perfect pan of brown rice every time, it also makes a really nice big batch so I can have it on hand all week long. This is the only recipe I ever use so I wanted to share it in case anyone else is looking for a foolproof method of cooking brown rice. Well look no further, this is it. 

My favorite part of this recipe is the fact that it's baked in the oven, not cooked on the stovetop. This means I throw it in the oven and can completely forget about it for the next hour. It does take the whole hour to cook, so if you need something at the last minute, this isn't going to work. But you only need to think ahead a little bit and you can have fresh, perfectly cooked brown rice on the table for dinner. 

The actual hands on time in this recipe is so minimal making it super easy and quick to throw together. You can get the rest of your meal ready while it cooks, or get a couple of chores done, whatever. I also make this rice ahead a lot so that it will be ready for me when I need it. Sprinkled with a little water for moisture and zapped in the microwave for a couple of seconds and it's pretty much as good as new! If you couldn't already tell, I highly recommend adding this simple recipe to your repertoire. I can guarantee that you'll use it over and over again.  

Foolproof Oven-Baked Brown Rice

Adapted from 

A Veggie Venture

, originally from Cook's Illustrated

Ingredients

  • 1 1/2 cups long-, medium- or short-grain brown rice
  • 2 1/3 cups water
  • 2 teaspoons unsalted butter or vegetable oil (optional)
  • 1/2 teaspoon salt

Directions

Preheat oven to 375 degrees. Spread rice in 8-inch square baking dish or similar size casserole dish with lid. Add salt and give it a quick mix. 

Bring water and butter or oil to boil; once boiling, immediately pour water over rice. Alternatively, bring a kettle to boil. Once boiling, measure out 2 1/3 cup and pour over rice. Cover baking dish tightly with a layer of aluminum foil or place lid on top of casserole dish and place in oven. Bake rice 1 hour, until tender.

Remove baking dish from oven and uncover. Fluff rice with dinner fork, then recover dish and let rice stand 5 minutes. Uncover and let rice stand 5 minutes longer; serve. 

Preserving Summer - Canning Tomatoes

Growing up, there was a day or two every August set aside by my mom for a marathon canning session. She would spend all day in the kitchen canning jar after jar of beautiful Red Haven peaches to have on hand all winter long. It seemed like whatever day she decided to can was the hottest day of the whole summer. There she would be, spending all day in the hot, hot kitchen, stove burners on high, boiling water steaming up the entire room, sticky peach juice everywhere. It was worth all the effort however when, in the middle of the winter, she would head to the basement and come back up with a jar, one of these labors of love, adding peaches to the dinner menu and reminding us of the joys of summer produce. 

Over the last few years I've started to do some canning every summer. I've been trying out different recipes, deciding what I find worth while, and what I don't. While I haven't followed in my mom's footsteps by canning peaches, I have found some of my own favorites. My top food to preserve so far has been tomatoes. Tomatoes are probably my favorite fruit/vegetable (however you want to classify them). They are so utterly versatile and fantastically delicious when perfectly ripe. You can use them in so many different ways and in all kinds of different foods from countries all over the world. I just love them, so preserving them via canning has been a no brainer. 

Canning tomatoes is not a difficult task, but it definitely takes some time, and involves quite a few different steps. Just know ahead of time that you'll be spending a few hours in the kitchen, but that's okay because it will all be worth it in the end, on those cold winter days when you can pull out some preserved summer produce and enjoy the product of all your hard work. It brings  a little bit of light to some of those long, cold, dark winter nights. 

Tomatoes Whole, Halved or Quartered - Packed in Juice

From 

Ball

Ingredients

  • 2-­1/2 to 3-­1/2 lb ripe tomatoes (about 8 to 11 medium) per quart 
  • Water
  • Citric Acid or bottled lemon juice
  • Salt, optional 

Directions 

Prepare  boiling water canner. Heat jars and lids in simmering water until ready for use. Do not boil. Set bands aside. 

Wash  tomatoes. Dip in boiling water 30 to 60 seconds. Immediately dip in cold water. Slip off skins. Trim away any green areas and cut out core. Leave tomatoes whole or cut into halves or quarters. 

Add  1⁄2 teaspoon citric acid or 2 tablespoons bottled lemon juice to each hot quart jar, or 1⁄4 teaspoon citric acid or 1 tablespoon bottled lemon juice to each hot pint jar. 

Pack  tomatoes in hot jars until space between tomatoes fills with juice leaving 1/2 inch headspace. Add 1 teaspoon salt to each quart jar, 1/2 teaspoon to each pint jar, if desired. Remove air bubbles. Wipe rim. Center hot lid on jar. Apply band and adjust until fit is fingertip tight. 

Process  filled jars in a boiling water canner 1 hour and 25 minutes for pints and quarts, adjusting for altitude. Remove jars and cool. Check lids for seal after 24 hours. Lid should not flex up and down when center is pressed.

Soft Flour Tortillas

I have now past the point of no return. I have finally found the perfect homemade tortilla recipe, I will never buy tortillas from the grocery store again. For the past year or two I have been wanting to be able to find a good tortilla recipe. Have you ever looked at the ingredient list on a package of flour tortillas? If not, let me warn you now, it's not a pretty sight. Knowing that fantastically fresh and delicious tortillas can be made with just 5 ingredients (one of which is water), it disturbs me when I see the list of 20+ ingredients on the packages at the store, most of which I can hardly pronounce. This recipe makes it possible to never again pick up one of those packages of chemicals again. 

Ever since I found this recipe a few months ago, I've probably made it at least once, if not twice a week, ever since. It is just so good and easy. There are so many things you can fill tortillas will; some of my favorite ideas are eggs and cheese, sweet potato black bean, hummus and veggies, not to mention the basic seasoned ground beef with cheese, sour cream and salsa. I really think you can put anything at all in a tortilla, and it seems to always taste good! So grab your rolling pin and get to work, be creative, and have some fun! 

Soft Flour Tortilla

From 

King Arthur Flour

Ingredients

  • 2 1/2 cups All-Purpose Flour, plus additional as needed
  • 1 teaspoon baking powder
  • 1/2 teaspoon salt
  • 1/4 cup lard (traditional); or butter, shortening, or vegetable oil
  • 7/8 to 1 cup hot tap water (about 110°F to 120°F)

Directions

To make the dough: In a medium-sized bowl, whisk together the flour, baking powder, and salt. Add the lard (or butter, shortening or oil). Use your fingers or a pastry blender to work the fat into the flour until it disappears (I used vegetable oil which didn't completely disappear, but left small lumps of fat; this didn't seem to have any effect on the finished product so don't worry). Coating most of the flour with fat inhibits gluten formation, making the tortillas easier to roll out.

Pour in the lesser amount of hot water, and stir briskly with a fork or whisk to bring the dough together into a shaggy mass. Stir in additional water as needed to bring the dough together.

Turn the dough out onto a lightly floured counter and knead briefly, just until the dough forms a ball. If the dough is very sticky, gradually add a bit more flour.

Divide the dough into 8 pieces. Round the pieces into balls, flatten slightly, and allow them to rest, covered, for about 30 minutes. If you wish, coat each ball lightly in oil before covering; this ensures the dough doesn't dry out.

While the dough rests, preheat an ungreased cast iron griddle or skillet over medium high heat, about 400°F.

Working with one piece of dough at a time, roll into a round about 8" in diameter. Keep the remaining dough covered while you work. Fry the tortilla in the ungreased pan for about 30 seconds on each side. Wrap the tortilla in a clean cloth when it comes off the griddle, to keep it pliable. Repeat with the remaining dough balls.

Homemade Marshmallows

A couple of summers ago I made a batch of homemade marshmallows that were really quite tasty, but the texture wasn't what I had been hoping for. They had been incredibly soft, delicious but soft. I had been hoping to be able to roast them over the campfire for a s'more, but there was not way they were going to not immediately melt off the stick and into the fire. But recently I've been wanting to try them again. Not because I'm a marshmallow fanatic, but just because I thought it would be kind of fun to try again. Since it was Christmas I thought that they would also make a fun gift, alongside my favorite homemade hot chocolate mix. A couple of soft and creamy homemade marshmallows floating on top of a mug of rich, decadent hot chocolate sounded divine. 

I searched around for a recipe that sounded good to me and settled on this one from King Arthur Flour. The recipe stated that these marshmallows were more on the 'stiffer' side which was exactly what I was looking for. So I whipped a batch together and was extremely pleased as to how they turned out, stiff, yet still creamy and soft, just not oozingly soft which I did not want. They were exactly what I was looking for. And I have to admit, I did try some of the leftovers in a mug of hot chocolate, for quality control of course, and it was an outstanding combination. With a recipe like this, I may have to make marshmallows more often. 

This recipe really couldn't be easier. It does require a candy thermometer and an electric mixer, but all the steps are very simple. I'm definitely not a candy maker, and they still turned out great. You will also need a package of unflavored gelatin, not something I normally have lying around, but easy enough to get your hands on. Other than that all you need is some sugars; granulated sugar and light corn syrup. Throw in whatever flavor you want after that (I stuck with straight vanilla for a classic taste, but I think some peppermint extract would be wonderful). That's it. Heat it up, mix it together and let it cool. Then you can cut it into whatever size or shape you want. A fun project for the holidays, or really any time of year!

Homemade Marshmallows 
From King Arthur Flour
Ingredients

  • 3 packages (1/4-ounce each) unflavored gelatin

  • 1 cup (8 ounces) cool water, divided

  • 1 1/2 cups (10 1/2 ounces) granulated sugar

  • 1 cup (11 ounces) light corn syrup

  • 1/8 teaspoon salt

  • 1 tablespoon (1/2 ounce) vanilla extract

  • Confectioners' sugar, to sprinkle on top

Directions
Combine the gelatin and 1/2 cup cool water in the bowl of an electric mixer fitted with the whisk attachment. Combine the sugar, corn syrup, salt, and 1/2 cup cool water in a small, deep saucepan. Cook the mixture over medium heat, stirring, until the sugar dissolves. Raise the heat to high and cook, without stirring, until the syrup reaches 240°F on a candy thermometer. Remove from the heat.

With mixer on low speed, slowly pour the sugar syrup into the softened gelatin. Increase the speed to high, and whip until the mixture is very thick and fluffy, and has cooled to lukewarm, 3 to 10 minutes (depending on the mixer and attachment you use; a stand mixer using the whisk attachment will work more quickly than a hand mixer equipped with beaters). The mixture should be cool enough that you can spread it into the pan without burning your fingers, about 95°F. Add vanilla towards the end of the mixing time.

Spread the marshmallow mixture into a greased 9" x 13" pan (glass or ceramic is best). Use your wet hands to smooth and flatten the marshmallows. Sprinkle confectioners' sugar over the top, and let sit for several hours (or overnight) before cutting. Use a greased knife or cookie cutters to make squares or other shapes. Yield: about 100 1" squares.

Wedding Cupcakes (Part 2)

After Day 1 of making wedding cupcakes I was super excited to start on day two. Frosting and decorating cupcakes is the most fun part of the whole process. Taking a squat little cake and covering it in a beautiful layer of buttery, sugary goodness and adding a few decorative touches to finish them off makes me smile. They can be so beautiful. As day two dawned, I was ready to go!

The whole day turned out beautifully, the weather was perfect, the ceremony was lovely, and the reception was fun and enjoyable, an all around good time. And of course, one of the highlights of the night was dessert! :)

The finished product, at the reception

On the day of the wedding, I was alone in the house for a few hours, and my morning consisted of making something like 10 batches of frosting (this is a time when an industrial sized mixer would have come in quite handy). That was really the time consuming part. Once that was out of the way it was a cinch to fill the pastry bags and pipe the frosting on the top of the cupcakes. By that time Lara was back and we flew through the decorating. It is always so exciting to see the finished product, especially when they turn out just as well as you imagined.

Lots and lots of frosting!

Piping it all on 

We made it to the reception in one piece, all of the cupcakes intact, no big accidents thank goodness. Whoever was in charge of the dessert tables had done a beautiful job laying out platters and stands for the cupcakes. Hanging up behind the sweets were the wedding dresses from all four of my cousin's grandmas along with photos of those four brides in their wedding dresses. The dresses hung down onto the table creating a beautiful tablecloth of sorts. The whole display was gorgeous, the perfect back drop for the cupcakes. 

Another shot of the beautiful table

The Cupcakes

 Cherry Limeade Cupcakes

 Chocolate Chip Cookie Dough Cupcakes

Classic White Cupcakes

A cute sign Lara made to help people 

with their difficult dessert decision

Just some more pictures of the table

Yum!

It all looked so pretty

There was also a candy table

This beautiful bride (with a reflection right on 

her face, sorry) is my grandma

Just a couple more pretty pictures

So fun and pretty

The cupcake bakers with the bride at the end of the night, what a wonderful time we all had!

The whole process was fun and pretty much went without a hitch. We managed to do it all in just two rather full days of baking and decorating. It took a lot of time, but was still very doable. I managed to jot down a few things that I learned through this whole thing:

  • Have double the number of pans that you are going to bake together. For example, we baked 30 cupcakes at a time, so it was great that we had enough pans so that we could get another batch of 30 filled and ready for the oven while the first batch baked. This cut down on the time a lot. 
  • Have two bowls for your stand mixer. This way you can have a clean on ready to go if you need it and don't have to waste time washing the same one over and over. We actually had two Kitchen Aid mixers, but found that while it wasn't really necessary to have two mixers, having the two bowls was a big help. 
  • You really need a stand mixer. While it would be physically possible to make this many cupcakes without a stand mixer, I wouldn't try it. It would take forever and be a mess.
  • Make sure you have something to store and carry your cupcakes in. I ordered some plastic cupcake holders online that were not that expensive and they were worth it. I didn't have to worry about how to transport them without falling over, or where to store them until they were needed. And, when the night is over, you don't have to worry about getting all of you own plastic containers back, you can just throw them away.