Christmas Cookies 2016

Although they were a little late this year, I made sure to decorate my yearly batch of Christmas cookies. I whipped these together with my sister, and we went with a couple simple designs that would be simple to create; some cute little snowmen, and some festive gloves. I wanted to do mittens, but we didn't have a mitten cookie cutter, just a glove, so that's the route we went. Decorating Christmas cookies has become one of my favorite Christmas traditions so I was glad that we were able to find the time to do it again this year!


I had a great time the rest of my Christmas; going to the IMAX with my whole family to see Star Wars on the
big screen was tons of fun. 


And our family Christmas party is one of my favorite times of the year. We've made it a tradition to have homemade pizza for our get together. It's fun, casual and delicious. We've done personal pizzas in the past, but this year I just made two big pizzas that we all shared. They turned out delicious!


Try out this delicious homemade French onion dip from How Sweet Eats


Merry Christmas and a blessed New Year to everyone out there! I hope your Christmas season was as wonderful as mine!

Vanilla Sablé

When I went to the Netherlands earlier this year I loved the fact that every cup of coffee I ordered (and let's just say there were a LOT of them!) came with some kind of cookie on the side. Just a small little sweet bite to complement the dark, roasted flavor of coffee. Having been raised in a Dutch American home, I was already quite accustomed to "coffee-time" at home always having accompanying cookie of some sort (windmill cookies were always the go-to) , but seeing the same principle in action in everyday Dutch life was simply wonderful. After getting back from Europe I was inspired to whip together a couple batches of coffee-time cookies for myself. This vanilla sablé recipe was one of the cookies I happened to try out and it turned out to be an amazing choice. It was a fitting choice after my trip to the Netherlands and France; a French cookie to go along with my Dutch cookie culture inspiration! 

These cookies may look simple and humble but they are absolutely delicious! Super easy to make with just a few simple and basic ingredients, but the end result is heavenly. They are rich yet crisp and light, and melt-in-your-mouth buttery. If you have some good butter to spare, this is the place to use it and really let it shine. A perfect cookie to stand alongside a cup of strong dark coffee. 

The recipe I used for these cookies originally called for lemon and lime zest to make citrus sablé, but this time I just wanted something super simple and classic and so I flavored mine with just a little vanilla (vanilla bean would also be amazing if you have one). I also made a few little adjustments in order to not be left with 1/2 and egg. As far as I can tell these adjustments did not end up harming the final cookie one bit. Another great thing about these cookies is that you can make the dough ahead, and shape it into a long and then freeze the log of dough for up to a couple months before thawing and baking. I love finding ways I can work ahead and make life easier for myself in the future. 


Vanilla Sablé
Adapted from Joy the Baker
Ingredients

  • 1 stick butter
  • 1/4 cup (50 grams) granulated sugar
  • 2 tablespoons (15 grams) powdered sugar
  • 1/4 teaspoon salt
  • 1 egg, separated
  • 1 teaspoon vanilla extract
  • 1 cup (130 grams) flour
  • Turbinado sugar, for decorating

Directions
Working in a mixer fitted with a paddle attachment, beat the butter at medium speed until it is smooth and very creamy.  Add the sugars and salt to the butter and continue to beat until smooth and velvety, not fluffy and airy, about 1 minute. Reduce the mixer speed to low and beat in the egg yolk until well blended.

Turn off the mixer, pour in the flour and mix on low speed just until the flour disappears into the dough and the dough looks uniformly moist. If you still have some flour on the bottom of the bowl, stop mixing and use a rubber spatula to work the rest of it into the dough. (The dough will not come together in a ball — and it shouldn’t. You want to work the dough as little as possible. What you’re aiming for is a soft, moist, clumpy dough. When pinched, it should feel a little like Play-Doh.)

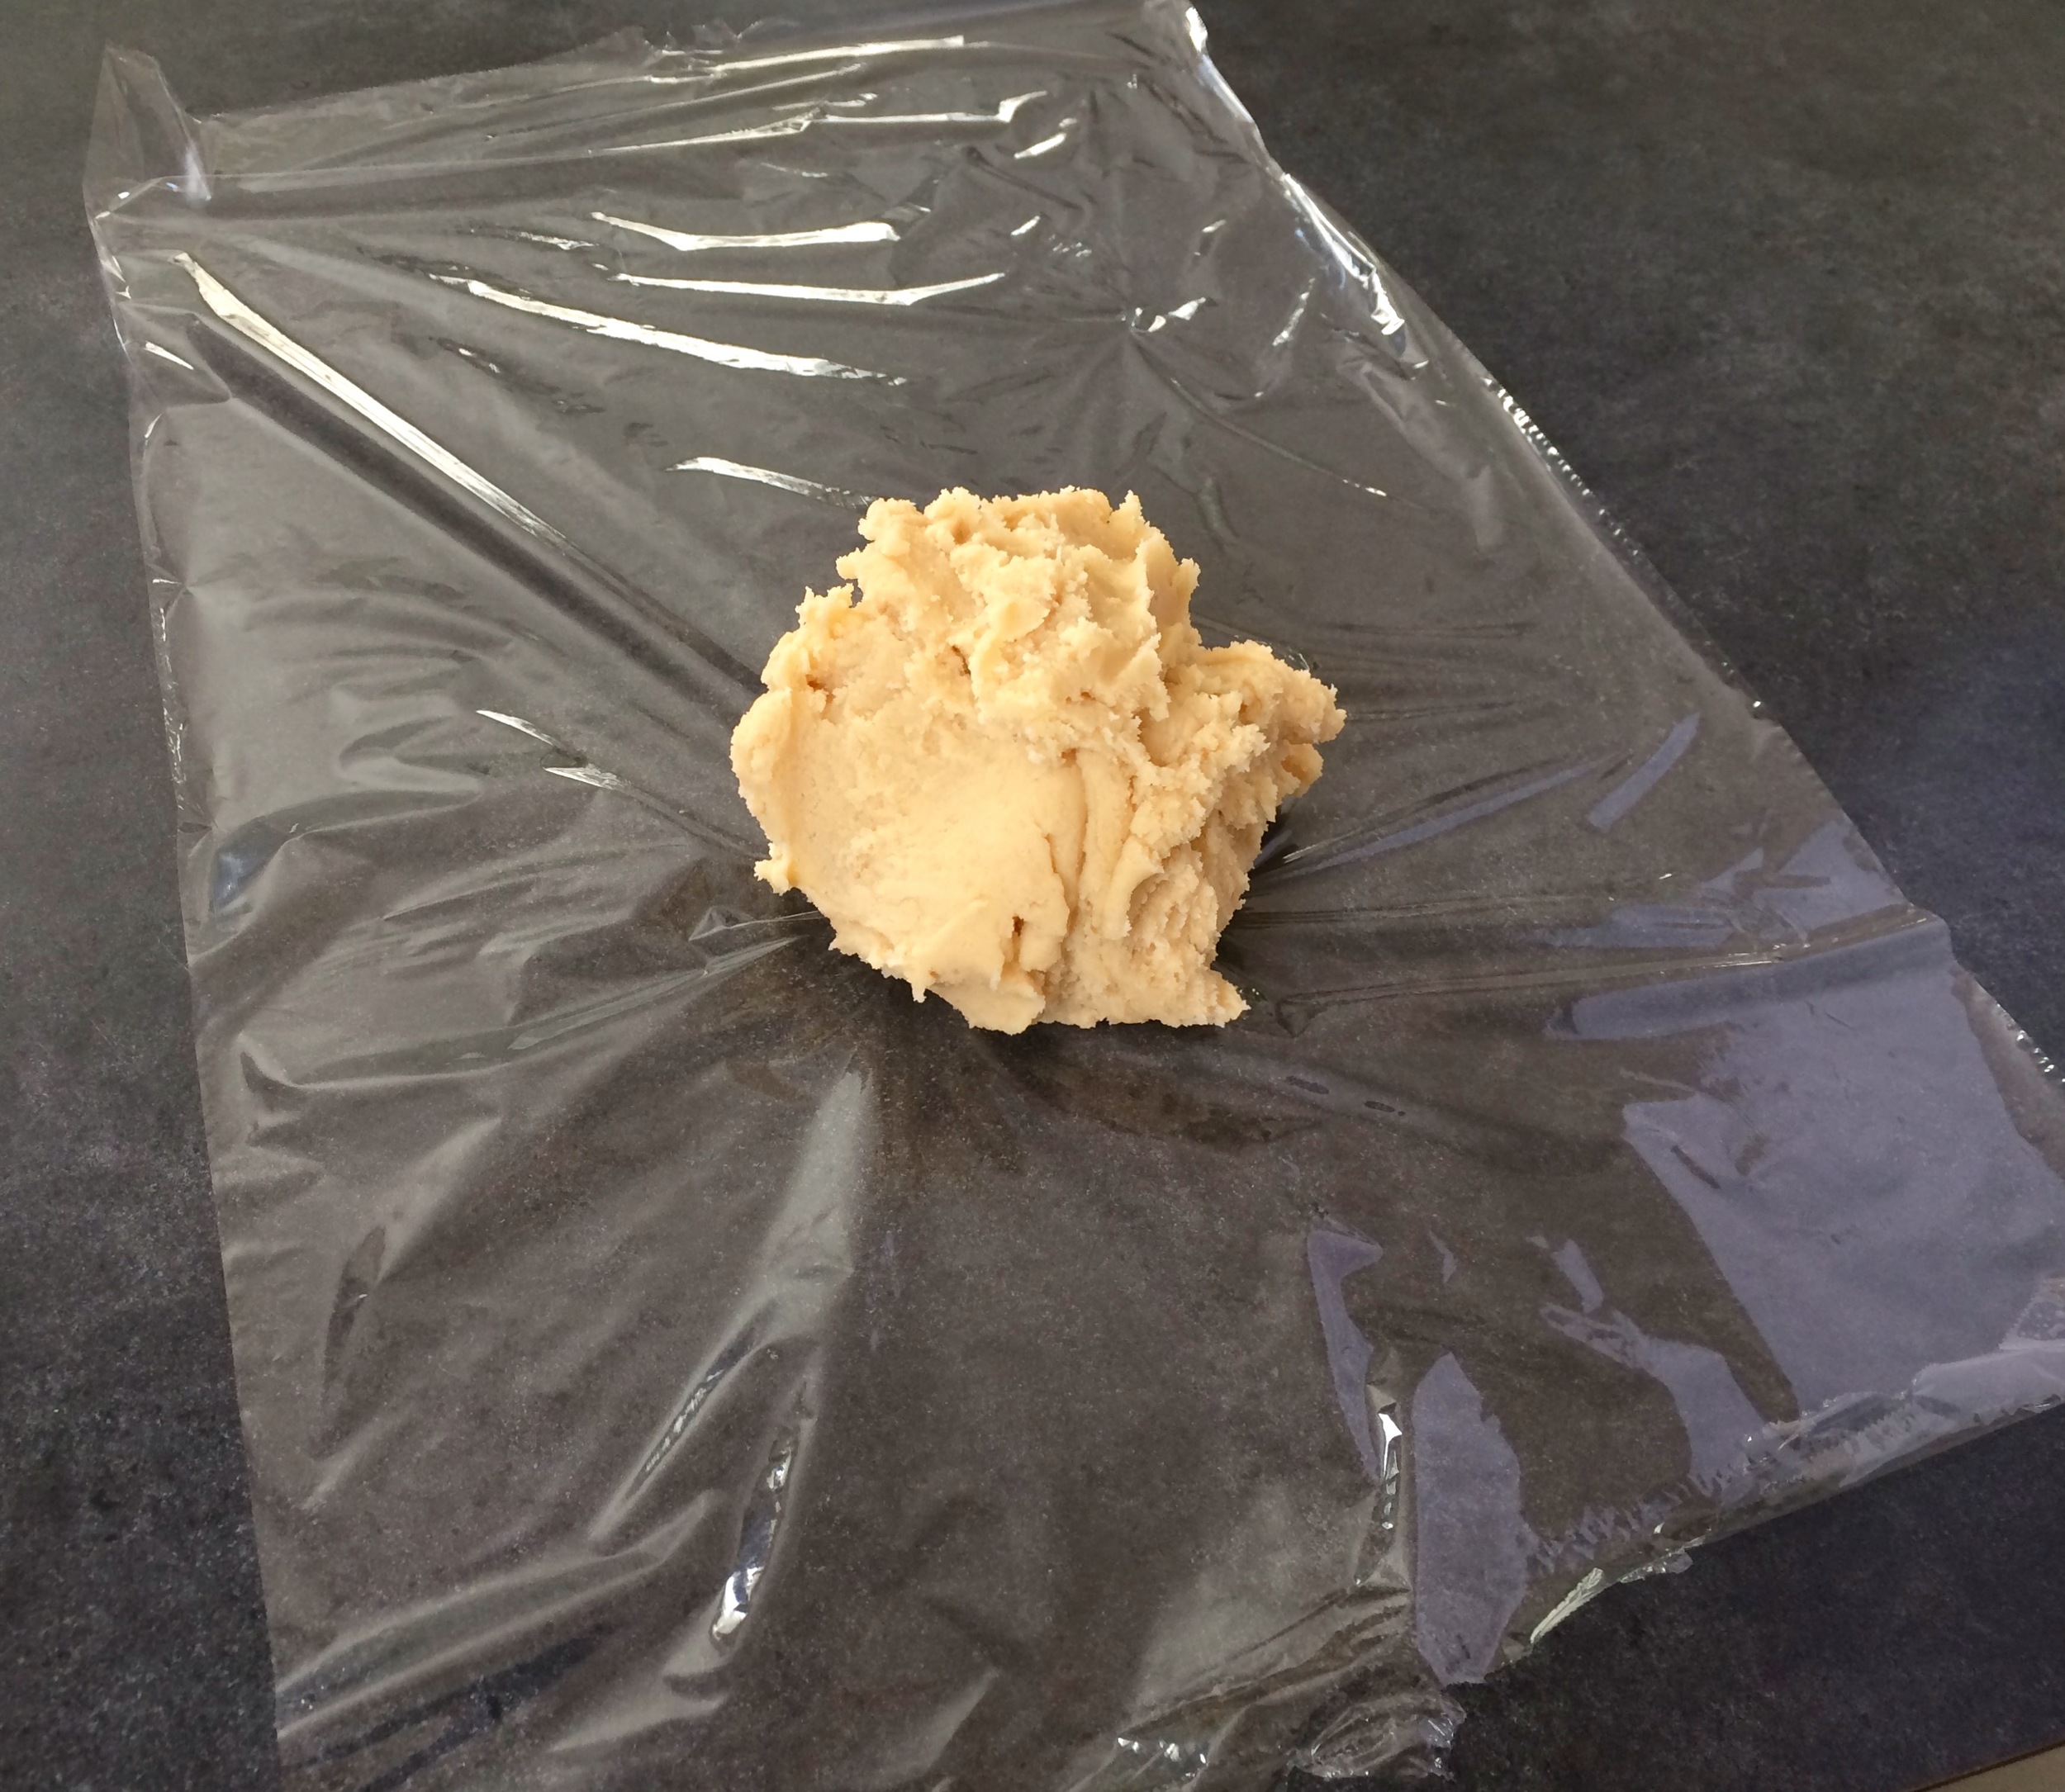
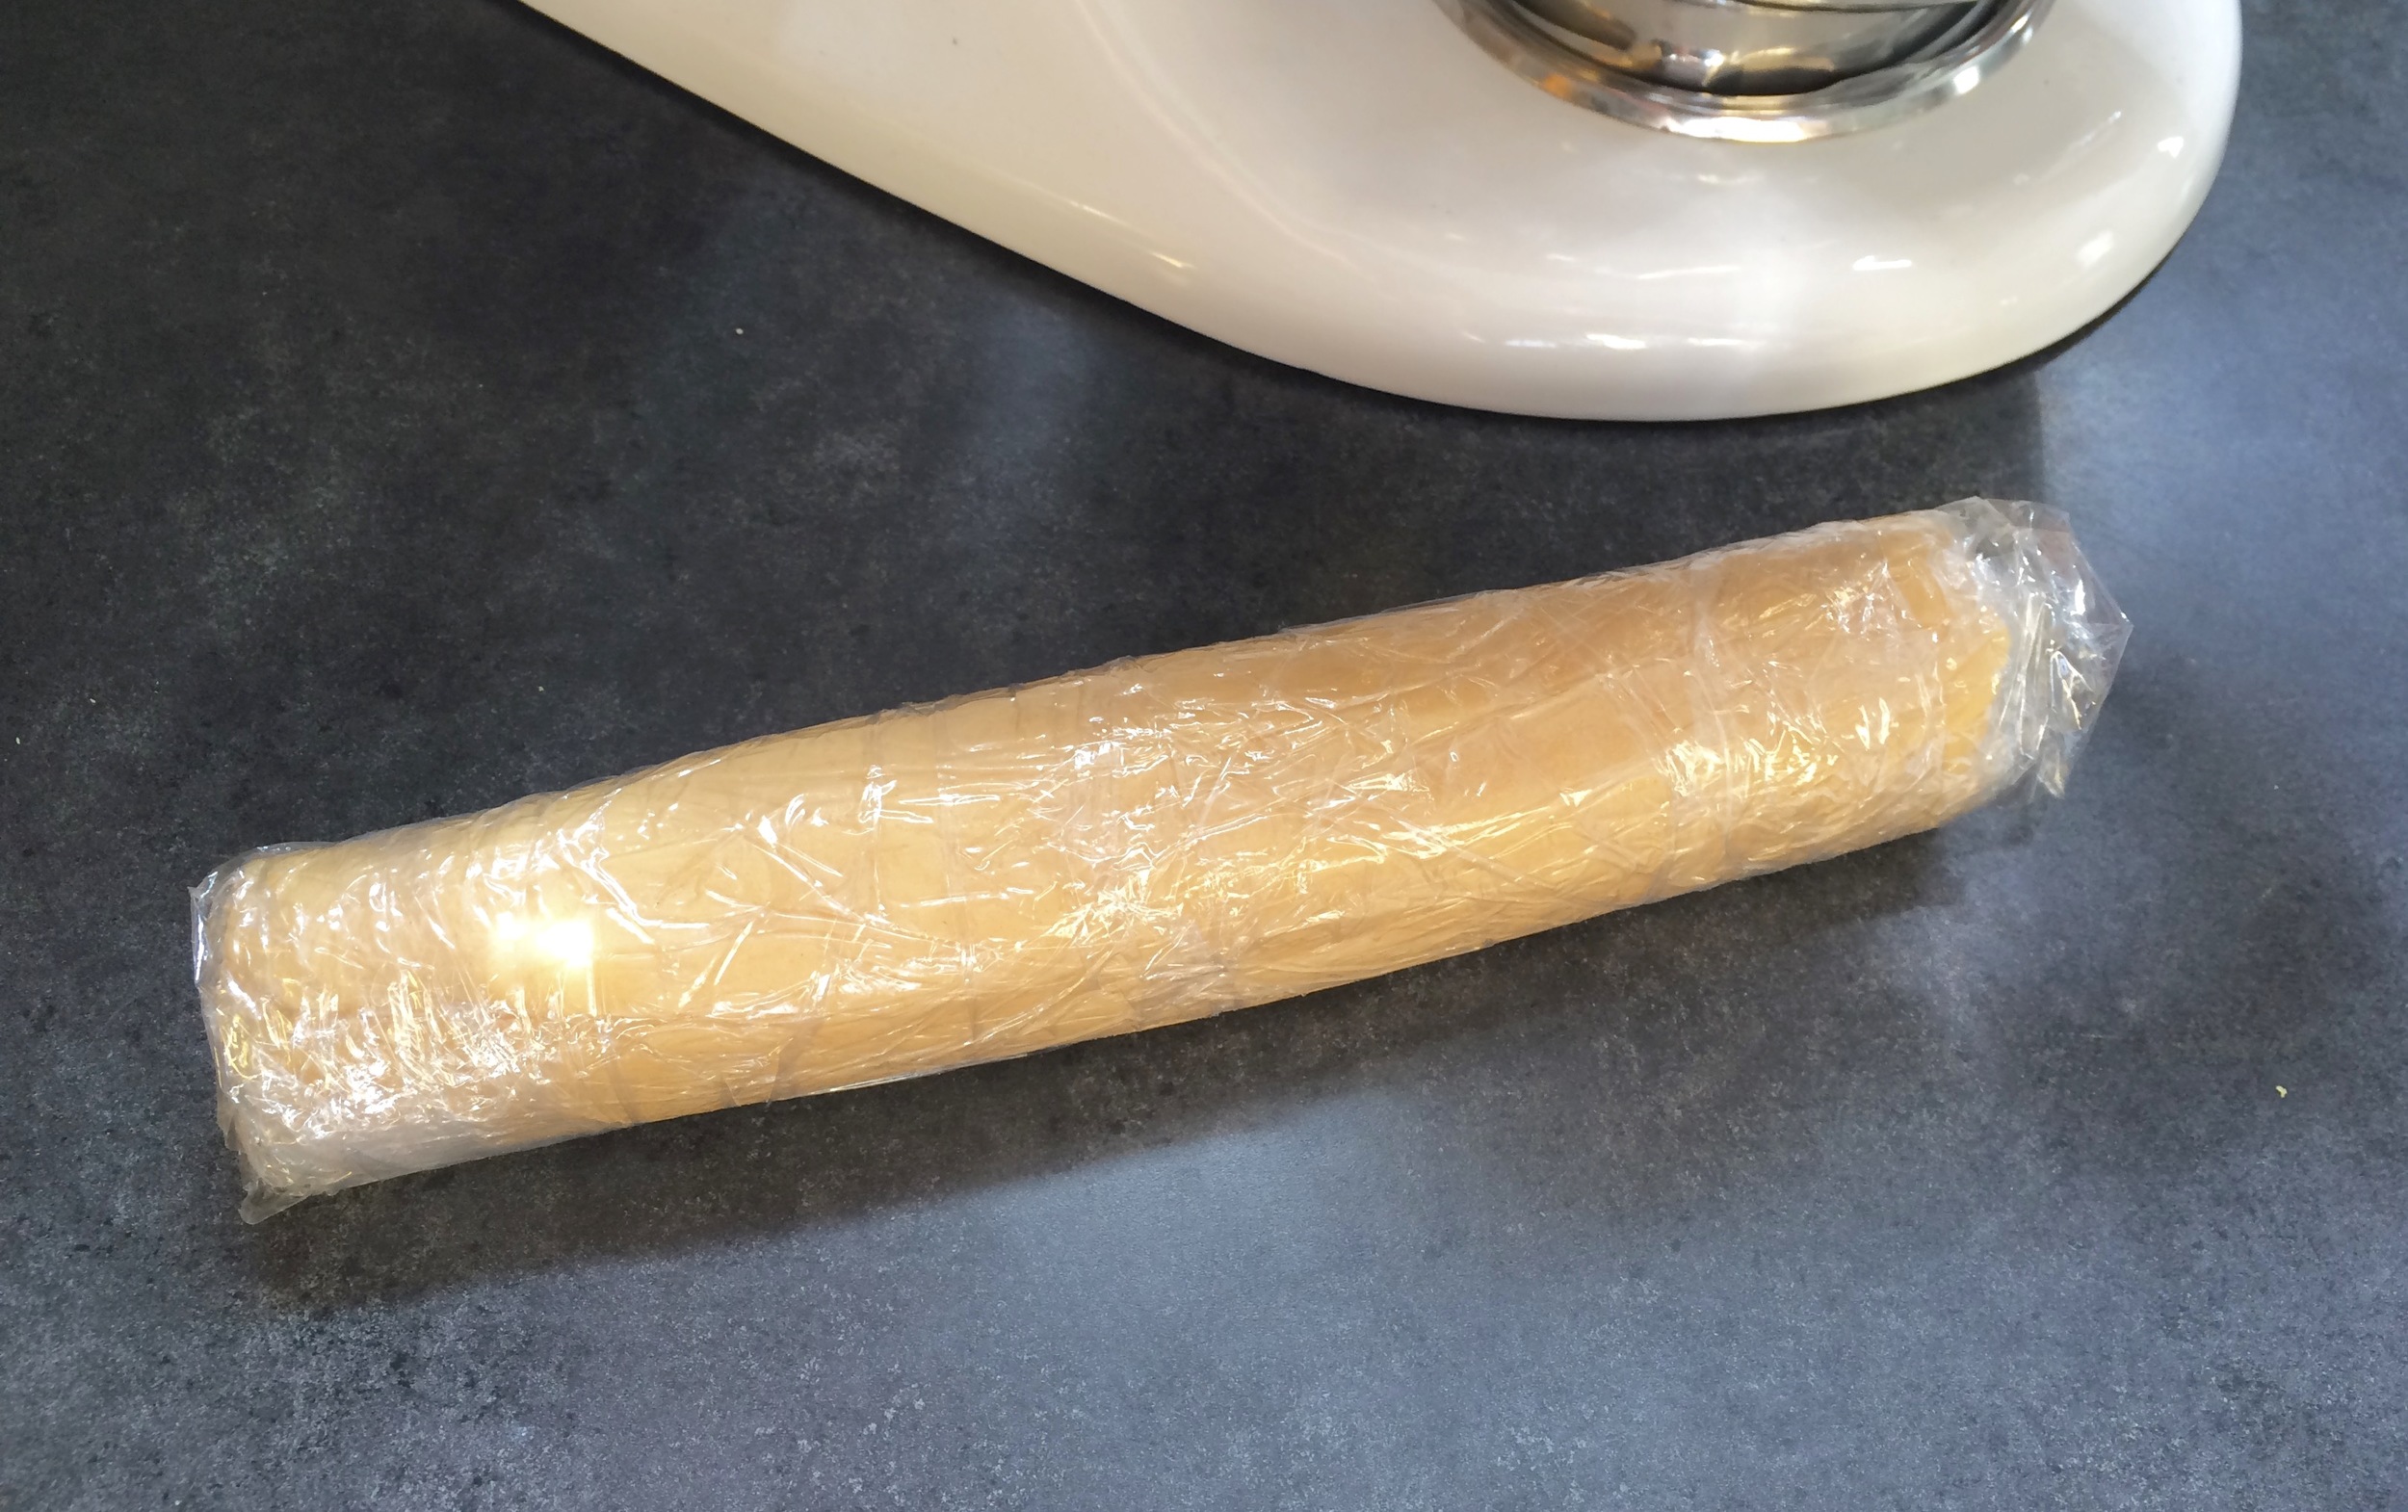
Scrape the dough onto a work surface and gather it into a ball. Shape into a smooth log about 9 inches long (it’s easiest to work on a piece of plastic wrap and use the plastic to help form the log). Wrap the log well and chill for at least 2 hours. The dough may be kept in the refrigerator for up to 3 days or frozen for up to 2 months.

When ready to bake, center a rack in the oven and preheat the oven to 350 degrees. Line a baking sheet with a silicone baking mat or parchment paper and keep it at the ready.

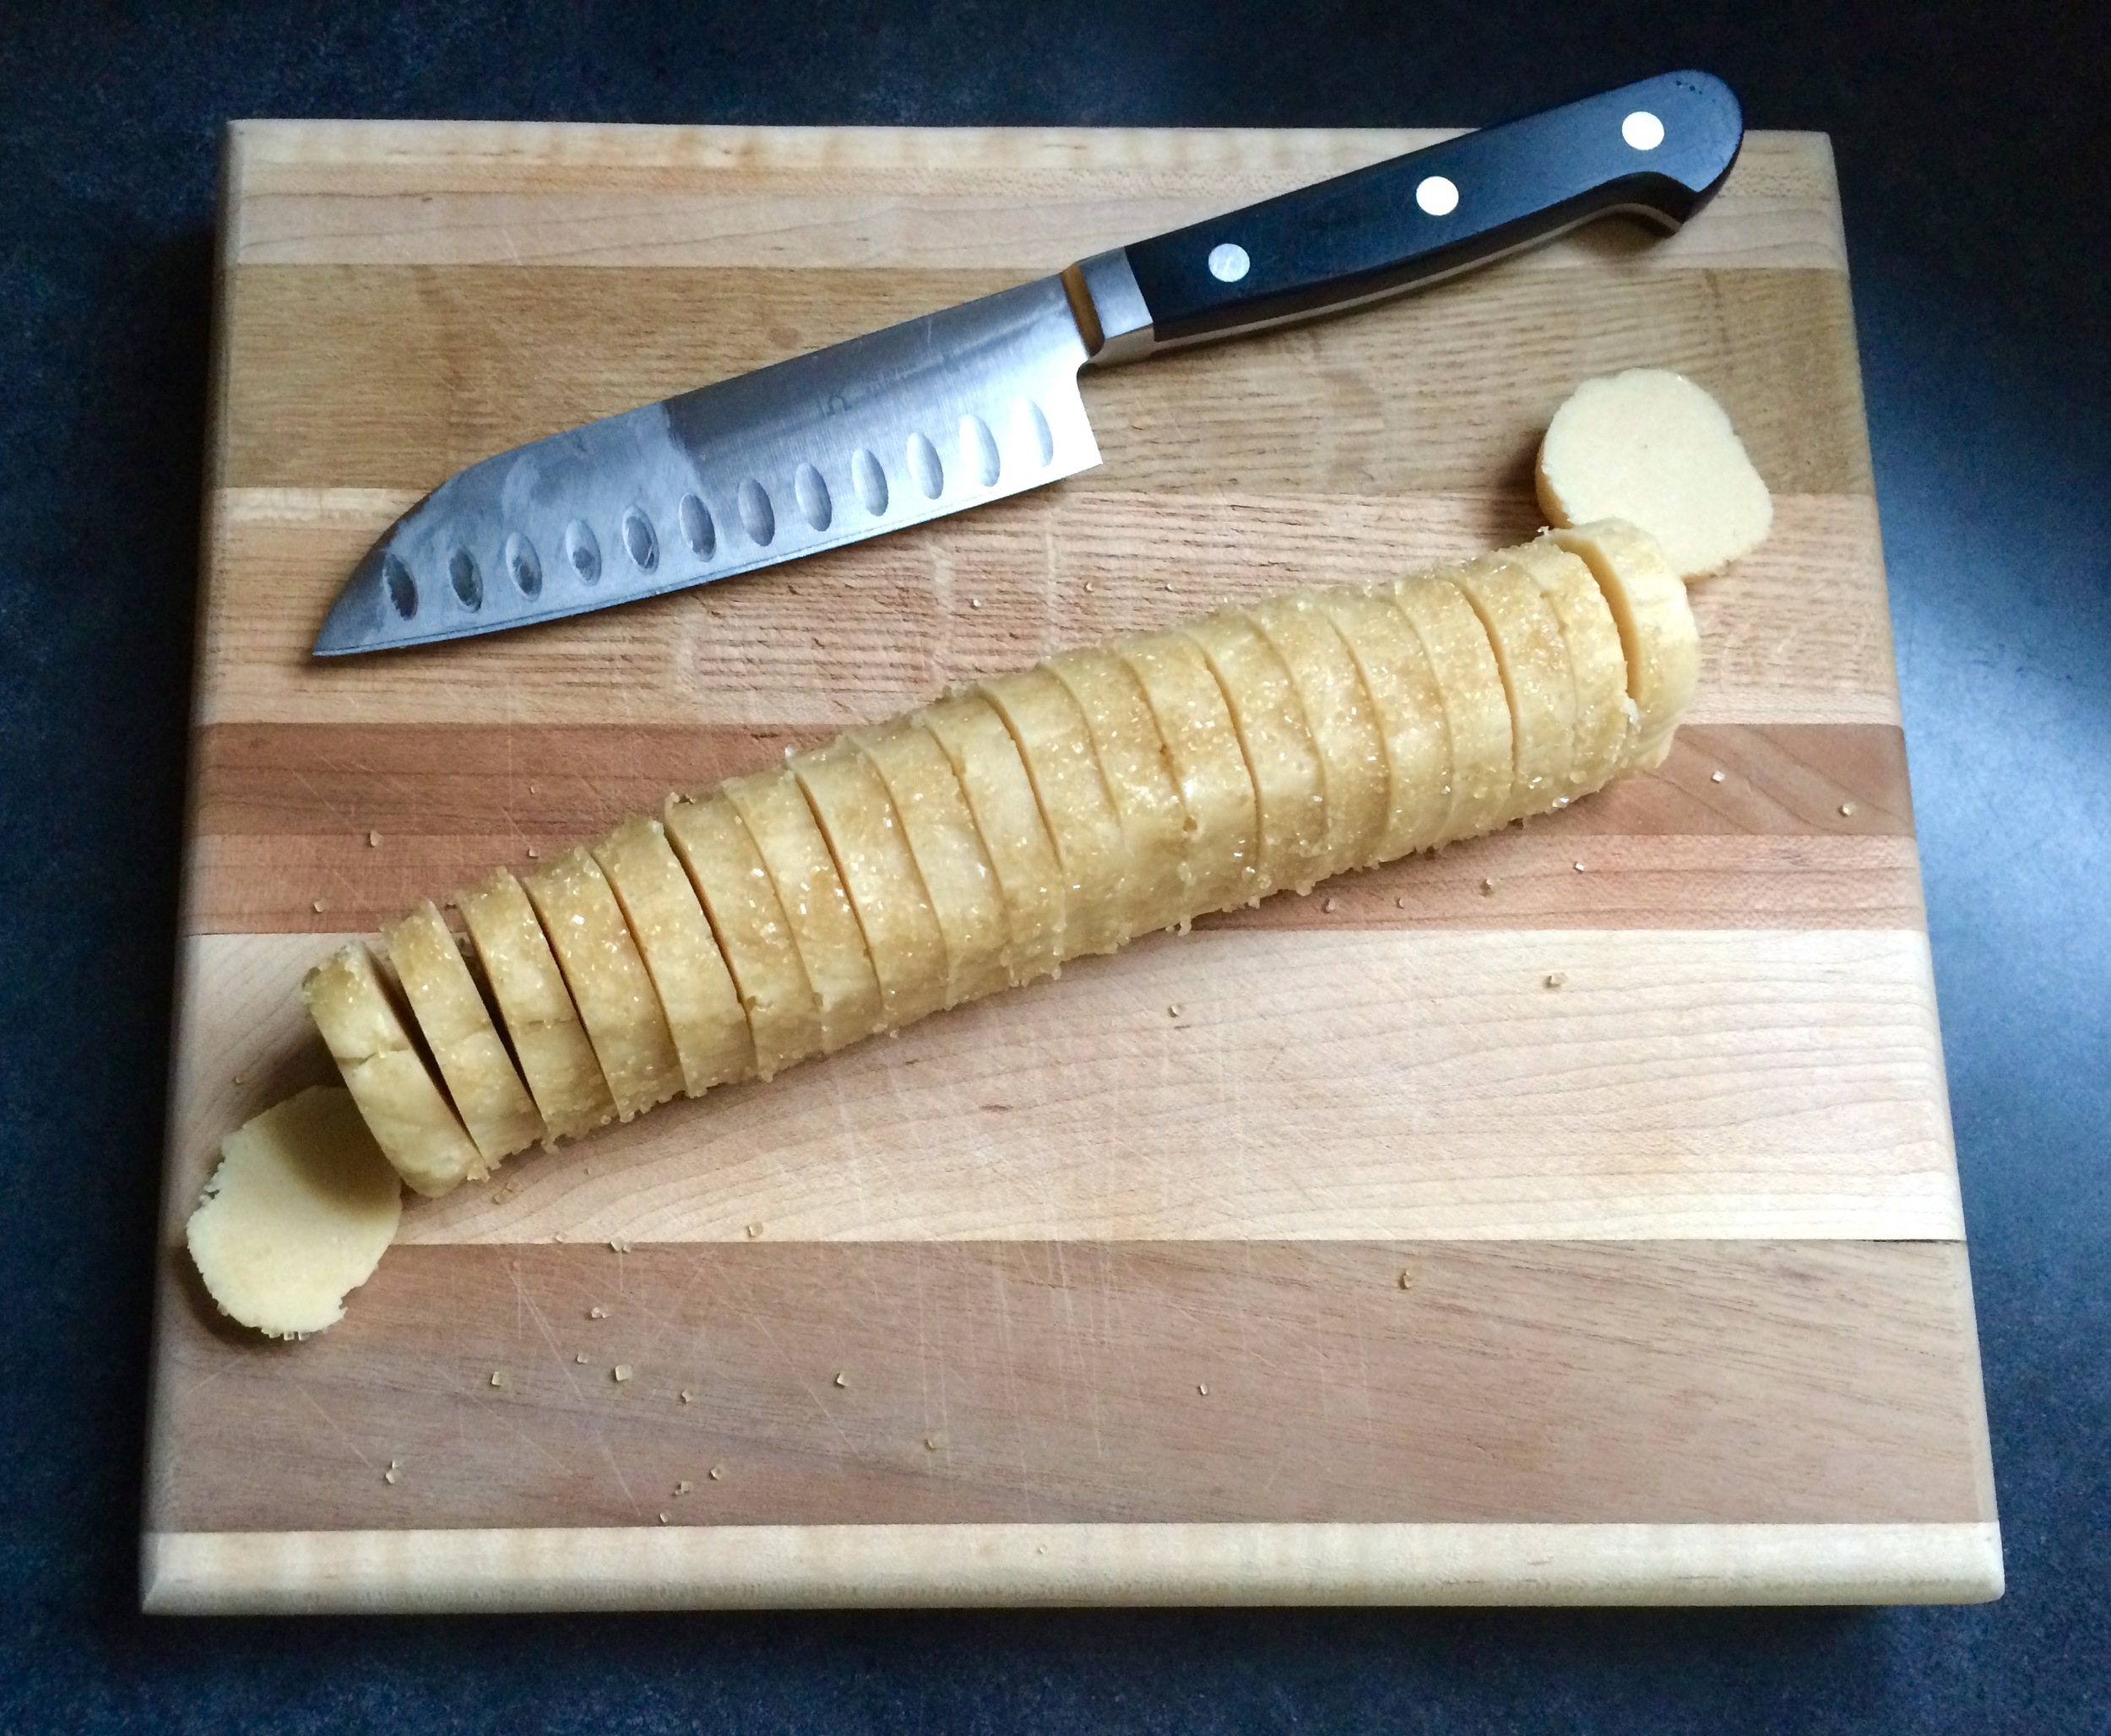
To decorate the edges of the sables, whisk the egg white until smooth. Place chilled log of dough on a piece of waxed paper and brush it with the white, and then sprinkle the entire surface of the log with turbinado sugar. Trim the ends of the roll if they are ragged and slice the log into 1/3-inch-thick cookies (I got around 18 cookies). May chill the dough again at this point if desired, or proceed directly on to baking. 

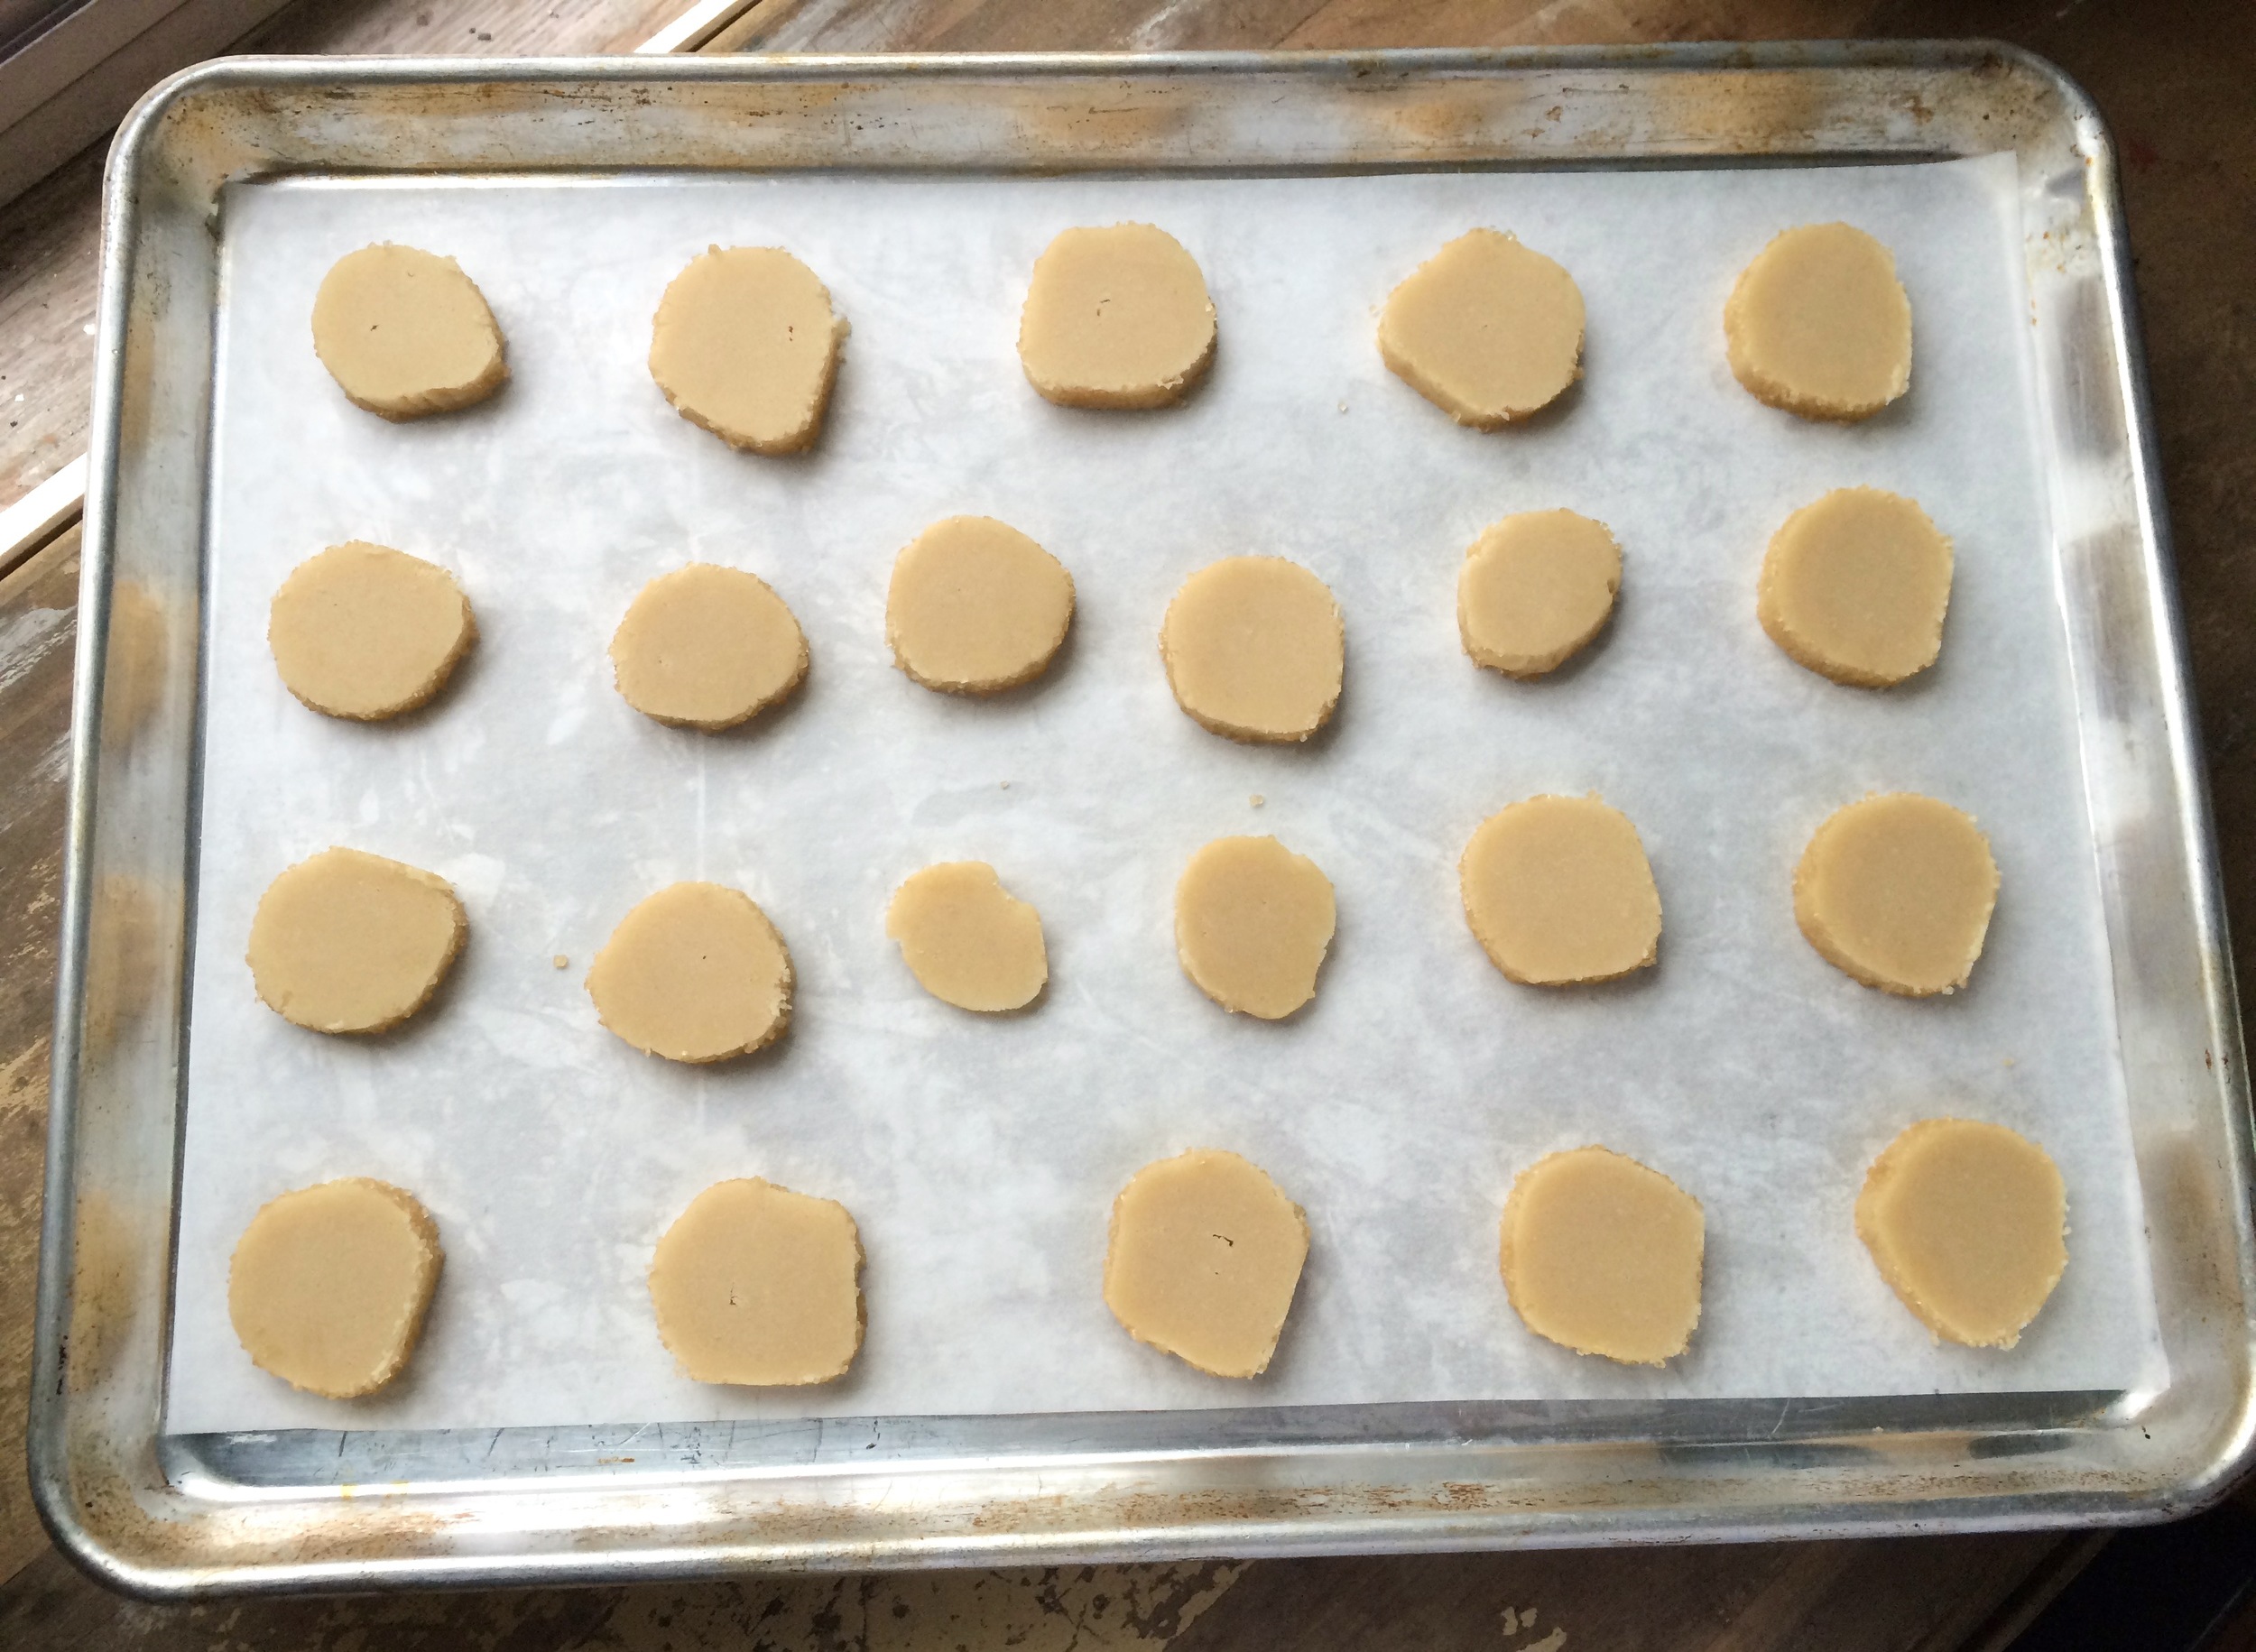
Place the rounds on the baking sheet, leaving an inch of space between each cookie, and bake for 17 to 20 minutes (mine went the whole 20), rotating the baking sheet at the halfway point. When properly baked, the cookies will be light brown on the bottom, lightly golden around the edges and pale on top. Let the cookies rest 1 or 2 minutes before carefully lifting them onto a cooling rack with a wide metal spatula. Repeat with the remaining log of dough. 

Christmas Cookies - 2015

Almost a week later, but here it is, the last of my Christmas cookie posts, and probably the most anticipated! Every year my sister Lara pulls out the meringue powder and whips up a batch of sugar cookies beautifully decorated with royal icing. This year was no exception. And even though she had to whip these together pretty quickly this year, they still turned out just as gorgeous as ever. Enjoy!

Check out previous year's decorated Christmas cookies for ideas and recipes

2011

2012

2013

Christmas Cookies, 2013 Edition

Merry Christmas everyone! I had to put up a quick Christmas post today to share the annual Delectably Mine Christmas cookies. Once again my sister gets almost all the credit. She was the baker and artist in charge of all the sugar cookies, baking and decorating. I was in charge of baking the gingerbread men, but I asked Lara to do a little quick decorating for me once they were done baking since she's had a lot more practice than me and could whip them out quickly. All in all I think they once again turned out great. I hope you all have a wonderful day!

When Lara showed me the idea for reindeer Christmas cookies we both decided that they were happening this year. They were just too cute to pass up. In case you didn't notice, I certainly didn't, you don't need a special cookie cutter for the reindeer, all you need is a gingerbread man cutter that you flip upside down. Once it's decorated you can't tell the difference! You can find a great tutorial for these cookies at  Sweet Sugar Belle. She has such amazing ideas, this was definitely another winner!

Vanilla Almond Sugar Cookies and 

Royal Icing
Recipes can be found here

————————————————

Gingerbread Cookies
From King Arthur Flour
Ingredients

  • 3/4 cup unsalted butter

  • 3/4 cup brown sugar, packed

  • 3/4 cup molasses

  • 1 teaspoon salt

  • 2 teaspoons cinnamon

  • 2 teaspoons ground ginger

  • 1/4 teaspoon allspice or cloves

  • 1 large egg

  • 1 teaspoon baking powder

  • 1/2 teaspoon baking soda

  • 3 1/2 cups flour

Directions
In a saucepan set over low heat, or in the microwave, melt butter, then stir in the brown sugar, molasses, salt, and spices. Transfer the mixture to a medium-sized mixing bowl, let it cool to lukewarm, and beat in the egg. Whisk the baking powder and soda into the flour, and then stir these dry ingredients into the molasses mixture. Divide the dough in half, and wrap well. Refrigerate for 1 hour or longer.

Preheat your oven to 350°F. Get out several baking sheets and line with parchment. Once the dough has chilled, take one piece of dough out of the refrigerator, and flour a clean work surface, and the dough. Roll it out as thin or thick as you like; for slightly less crisp cookies, roll it out more thickly. I like mine gingerbread nice and soft, so I rolled them quite thick.

Cut out shapes with a cookie cutter. Transfer the cookies to cookie sheets. Bake the cookies just until they're slightly brown around the edges 8 to 12 minutes, or until they feel firm. Let the cookies cool on the baking sheets for several minutes, or until they're set. Transfer them to a rack to cool completely. Repeat with the remaining dough.

Once cool, decorate the cookies with Royal Icing or whatever frosting you prefer. 

Thick and Chewy Sugar Cookies

Lara and I have been on the search for the perfect sugar cookie for some time now. I've tried many different recipes, and while they are all tasty, none of them could deliver the cookie of my dreams. The real problem with all of these recipes wasn't the taste, they all taste like butter and sugar, nothing wrong there, but what was missing was the perfect texture. I like my sugar cookies to be thick and fat, something you can really sink your teeth into, chewy and dense. Not an airy, light and crispy sugar cookie, but that seemed to be all that I could find.

In desperation Lara and I turned to the chowhound forums to see if anyone out there in cyberspace had the answer. There were several people who had ideas for the cookie we were looking for. This recipe was the first one we turned to, and I am glad that we did. They turned out deliciously!! Pretty much exactly what I wanted. They were thick and chewy and so buttery and sweet, with a hint of salt, the perfect combination.

For the first batch of these cookies I just shaped the dough into balls and baked them as is. They turned out fine, but since they didn't spread AT ALL they looked kind of funny, like little buttery rocks. For the subsequent batches then, I pressed the dough down to flattened the cookies a little before baking. This worked great and they turned out wonderfully. This one was a smashing success, it was everything I was looking for in a sugar cookie.

Thick and Chewy Sugar Cookies
Adapted from Emme, via Chowhound
Ingredients

  • 1 1/4 cup (250 g) granulated sugar 
  • 2 sticks (225 g) butter, melted
  • 3 egg yolks (large)
  • 2 teaspoon vanilla extract
  • 1 1/2 cups (180 g) all-purpose flour
  • 1 cup (127 g) bread flour
  • 1/4 cup (20 g) nonfat dry milk powder
  • 1/4 cup (30-35 g) cornstarch
  • 1 1/2 teaspoon baking powder
  • 1/4 teaspoon kosher salt

Directions
Cream together the butter and sugar. Add in eggs and vanilla. 

In a separate bowl mix together the dry ingredients. Add to the wet mixture and mix until combined. Chill the dough in the fridge for at least an hour. 

Roll the dough between your hands, forming them into smooth balls. Roll each ball in granulated sugar. Press down each ball of dough with your hand, making them into your desired size cookie (they won't spread much during baking, so don't expect them to change shape much after this). 

Bake at 350 for 8-10 minutes until almost done, then pull them out and let them finish baking and set  on the baking sheet (5-10 minutes). Transfer to a wire rack to cool completely. 

Christmas Cookies 2011

I absolutely love the Christmas season! It is basically over now so I'm a little sad. The Christmas music has for the most part stopped, and I saw three trees on the side of the road last night ready for the garbage pickup. Posting these pictures is therefore making me happy, remembering the fun and excitement I felt last week when I was preparing for the parties ahead.

Christmas cookies have become a fun tradition in my house, every year my sister and I try something different. Each year the cookies get a little better as we learn more about how best to decorate them. This year is the second year we've tried royal icing for our Christmas cookies. It isn't the most flavorful icing, but it produces the best looking cookies in my opinion. I love the smooth shiny finish the cookies get, and I love how the icing hardens up completely so you don't have to worry about wrecking your labor intensive decorations.

Lara and I made two batches of cookies this year. For one of the batches we invited our cousin Bailey over to help decorate. We had a lot of fun trying all sorts of different designs. Some turned out really cool, and some not so much, but that's part of the fun. The second batch was all Lara. She spent a long time looking at different cookie designs all over the web and finally decided on two she wanted to try. I had nothing to do with this batch, it was all her. I just took the pictures. I love how they turned out, I think she did a fantastic job! It was a lot of fun, I can't wait until next year to do it all over again!

The dough, ready for rolling

New trick this year, roll the dough out between

two sheets of plastic wrap, it worked beautifully, 

no sticking and no need to use extra flour, making the 

cookie dense and tough

All rolled out and ready to cut

Circles and diamonds for this batch

Put the cut out dough on cookie sheets and refrigerate 

for 5-10 minutes to firm them up 

(so they don't spread as much during baking)

Cookies and icing all ready to go

Some of the creations

Swirls!

We did them all!

Lara's batch, first the trees

Then the bells

Piping a border

Aren't they cute?

Now for the trees

Ready for filling

Adding the dots while the green is still wet

Time to dry

The finished bells!

Add a gold garland and the trees are finished too

I liked the trees the best!

All done for another year :( 

Check out  Christmas Cookies 2012 for more great ideas

Vanilla Almond Sugar Cookies
From: Bake at 350
Ingredients

  • 3 cups unbleached, all-purpose flour
  • 2 teaspoon baking powder
  • 1 cup sugar
  • 2 sticks salted butter, cold
  • 1 egg
  • 3/4 teaspoon pure vanilla extract
  • 1/2 teaspoon pure almond extract

Directions
Combine the flour and baking powder, set aside. Cream the sugar and butter. Add the egg and extracts and mix. Gradually add the flour mixture and beat just until combined, scraping down the sides of the bowl. The dough will be crumbly, so knead it together with your hands as you scoop it out of the bowl for rolling

Roll out between two pieces of plastic wrap and cut into shapes. Place on parchment lined baking sheets. Put the unbaked cookies in the fridge or freezer for 5-10 minutes. Bake for 10-12 minutes at 350 degrees. Let sit a few minutes on the sheet, then transfer to a cooling rack.

Royal Icing
From sweetopia
Ingredients

  • 1 teaspoon cream of tartar
  • 1 kilogram (2.25 lbs.) powdered icing sugar 

*** Note; if your meringue powder has no vanilla flavour (vanillin powder) in it, add a teaspoon of clear vanilla to this recipe

Directions
In mixer bowl, pour in the warm water and the meringue powder. Mix it with a whisk by hand until it is frothy and thickened…about 30 seconds. Add the cream of tartar and mix for 30 seconds more.

Pour in all the icing sugar at once and place the bowl on the mixer. Using the paddle attachment on the lowest speed, mix slowly for a full 10 minutes. Icing will get thick and creamy.

Cover the bowl with a dampened tea-towel to prevent crusting and drying.

Tint with food colourings or thin the icing with small amounts of warm water to reach the desired consistency.