Dark Chocolate and Walnut Tahini Banana Bread

It’s quite fitting that one of the first things I made in my functioning kitchen was a loaf of banana bread, since it was the last thing I made in the old kitchen! The photos I saw of this recipe looked so yummy - a little gooey with big chunks of dark chocolate! I love baking with butter, but a good-old oil based banana bread is classic, and good to have a go-to version which I did not. This may be it! It uses vegetable oil, but also adds a little tahini for more fat which I love. The flavor of the tahini is super strong. The recipe did call for adding 1/2 teaspoon of sesame oil as well which would be lovely and I’m sure would bring out the tahini/sesame flavor. I did’t have any though so I just skipped it. Next time!

IMG_1935.jpeg

Brown sugar, buttermilk, a couple of eggs, round out the main ingredients. She calls for dark chocolate as the mix in. I used a combo of dark chocolate and walnuts which I think was great, but I would probably add a bit more chocolate next time. I used about 1/2 of the amount called for, and substituted the other 1/2 with the walnuts. I think next time I will leave the amount of walnuts the same, but amp up the chocolate.

IMG_1932 2.jpeg

Mine baked a little longer (I think!) than the recipe said, and it was fairly well cooked other than the very center of the top which was still a bit gooey. I like that part the best so I’m always okay with that in banana bread! The rest was well cooked but not dry which is nice. I think my pan was a bit smaller than what the original recipe calls for so that may be why.

Final verdict: Recommended!


Dark Chocolate and Walnut Tahini Banana Bread
From Butter and Brioche
Ingredients

  • 2 cups (240 grams) all-purpose flour

  • 1 ¼ teaspoons baking powder

  • ¾ teaspoon baking soda

  • ½ teaspoon salt

  • 350 grams ripe bananas

  • 1 cup (200 grams) brown sugar - I used 150 grams, 3/4 cup

  • 100 ml neutral vegetable oil

  • 70 g tahini

  • 1 teaspoon vanilla bean extract

  • ½ teaspoon sesame oil - I didn’t have any so I just skipped it

  • 2 large eggs, at room temperature

  • 190 ml buttermilk, at room temperature

  • 125 g dark chocolate, roughly chopped - I used about 65 grams dark chocolate and 65 grams chopped walnuts

  • 2 tablespoons granulated sugar, for sprinkling on top

Directions
Pre-heat the oven to 350 degrees Fahrenheit. Grease and line a 9 x 5 1/2 inch loaf tin with non-stick spray and line with parchment paper. Let the paper slightly over-hang the sides.

In a medium-size mixing bowl, sift together the flour, powder, soda, and salt. Set aside until needed.

Add the bananas into the bowl of a stand mixer fitted with the beater attachment. Beat until roughly mashed, about 30 seconds. Pause mixing and add in the light brown sugar and vegetable oil. Beat, on medium speed, until light in color and well combined, 3 more minutes. Add in the tahini, vanilla bean extract and sesame oil until incorporated. Add in the eggs, one at a time, beating well after each addition. Set the mixer speed to low and slowly stream in the buttermilk. Add in the dry ingredients and mix until just incorporated, no more than 15 seconds. Some dry flour pockets should remain throughout the batter. Add in the dark chocolate chunks (and walnuts if using), then, using a large wooden spoon, gently fold them throughout the batter until evenly incorporated.

Pour the batter into the prepared loaf pan. Scatter the granulated sugar on top.

Bake for 50 minutes, or until risen, golden brown, and fragrant (I believe mine took a little long, 55-60 minutes or so, although I can’t remember for sure!). A skewer inserted into the middle should come out with a few moist crumbs attached. Remove from the oven and leave the bread to cool in its pan for 15 minutes before transferring it out and onto a wire rack to cool further before slicing and serving.

Classic Hummus

I've been wanting to do a post on hummus for a long time now, but whenever I would make it I never ended up taking any pictures. Well, recently I decided that enough was enough, it was time for hummus pics. So here you are, my favorite, go-to hummus recipe from my favorite cookbook author and chef, Yotam Ottolenghi. To be honest, this is the only hummus recipe I've ever made, but I love it so much that I've never felt the need to search for another. It turns out super creamy, lemony hummus, full of garlic and tahini.

Homemade hummus is so incredibly good, and really quite easy. You will never want to go back to the watery, flavorless store-bought hummus again once you've tried making it yourself (even though, if in a pinch, the store-bought version makes an appearance, don't worry, I understand, sometimes convenience trumps all!). But seriously, this stuff is so good. If you've never tried making hummus before you really should give it a shot. Pull out that food processor and grab a bag of dried chickpeas and get going!

This recipe comes from Jerusalem by Yotam Ottolenghi which I've talked about before, so I won't wax poetic about this wonderful book again. The original recipe makes a massive batch of hummus, way more than I ever need for myself, so I usually halve it. You'll see the halved recipe below, so go ahead and double it if you need a big batch, just be sure you're food processor is big enough. As written below, the recipe makes approximately 2 1/4 - 2 1/2 cups of hummus in the end, so still a nice amount of hummus. 

Making hummus is really a simple process. You do have to think ahead in order to have time to soak and cook the chickpeas, but once that is done, the food processor takes care of all the hard work. And while I know you can make hummus with canned chickpeas, I highly recommend dried. They taste so much better, are not really any more work, and are cheaper, win-win! 


Classic Hummus
Adapted from Jerusalem by Yotam Ottolenghi and Sami Tamimi
Ingredients

  • 1/2 cup plus 2 tablespoons (125 grams) dried chickpeas
  • 1/2 teaspoon baking soda
  • 3 1/4 cups water
  • 1/2 cup plus 1 tablespoon (135 grams) tahini
  • 2 tablespoons freshly squeezed lemon juice (do not use bottled lemon juice)
  • 2 cloves garlic, crushed
  • 3 1/2 tablespoons ice-cold water
  • salt

Directions
The night before making the hummus, put the chickpeas in a medium-to-large saucepan and cover them with cold water at least twice their volume. Leave to soak overnight.

The next day, drain the chickpeas and return to the saucepan. Place the saucepan over high heat and add the baking soda. Cook for about 3 minutes, stirring constantly. Add the water and bring to a boil. Cook, scimming off any foam and any skins that float to the surface. The chickpeas will need to cook between 20 and 40 minutes, depending on how fresh they are, sometimes even longer. Once done, they should be very tender, breaking up easily when pressed between your thumb and finger, almost but not quite mushy. 

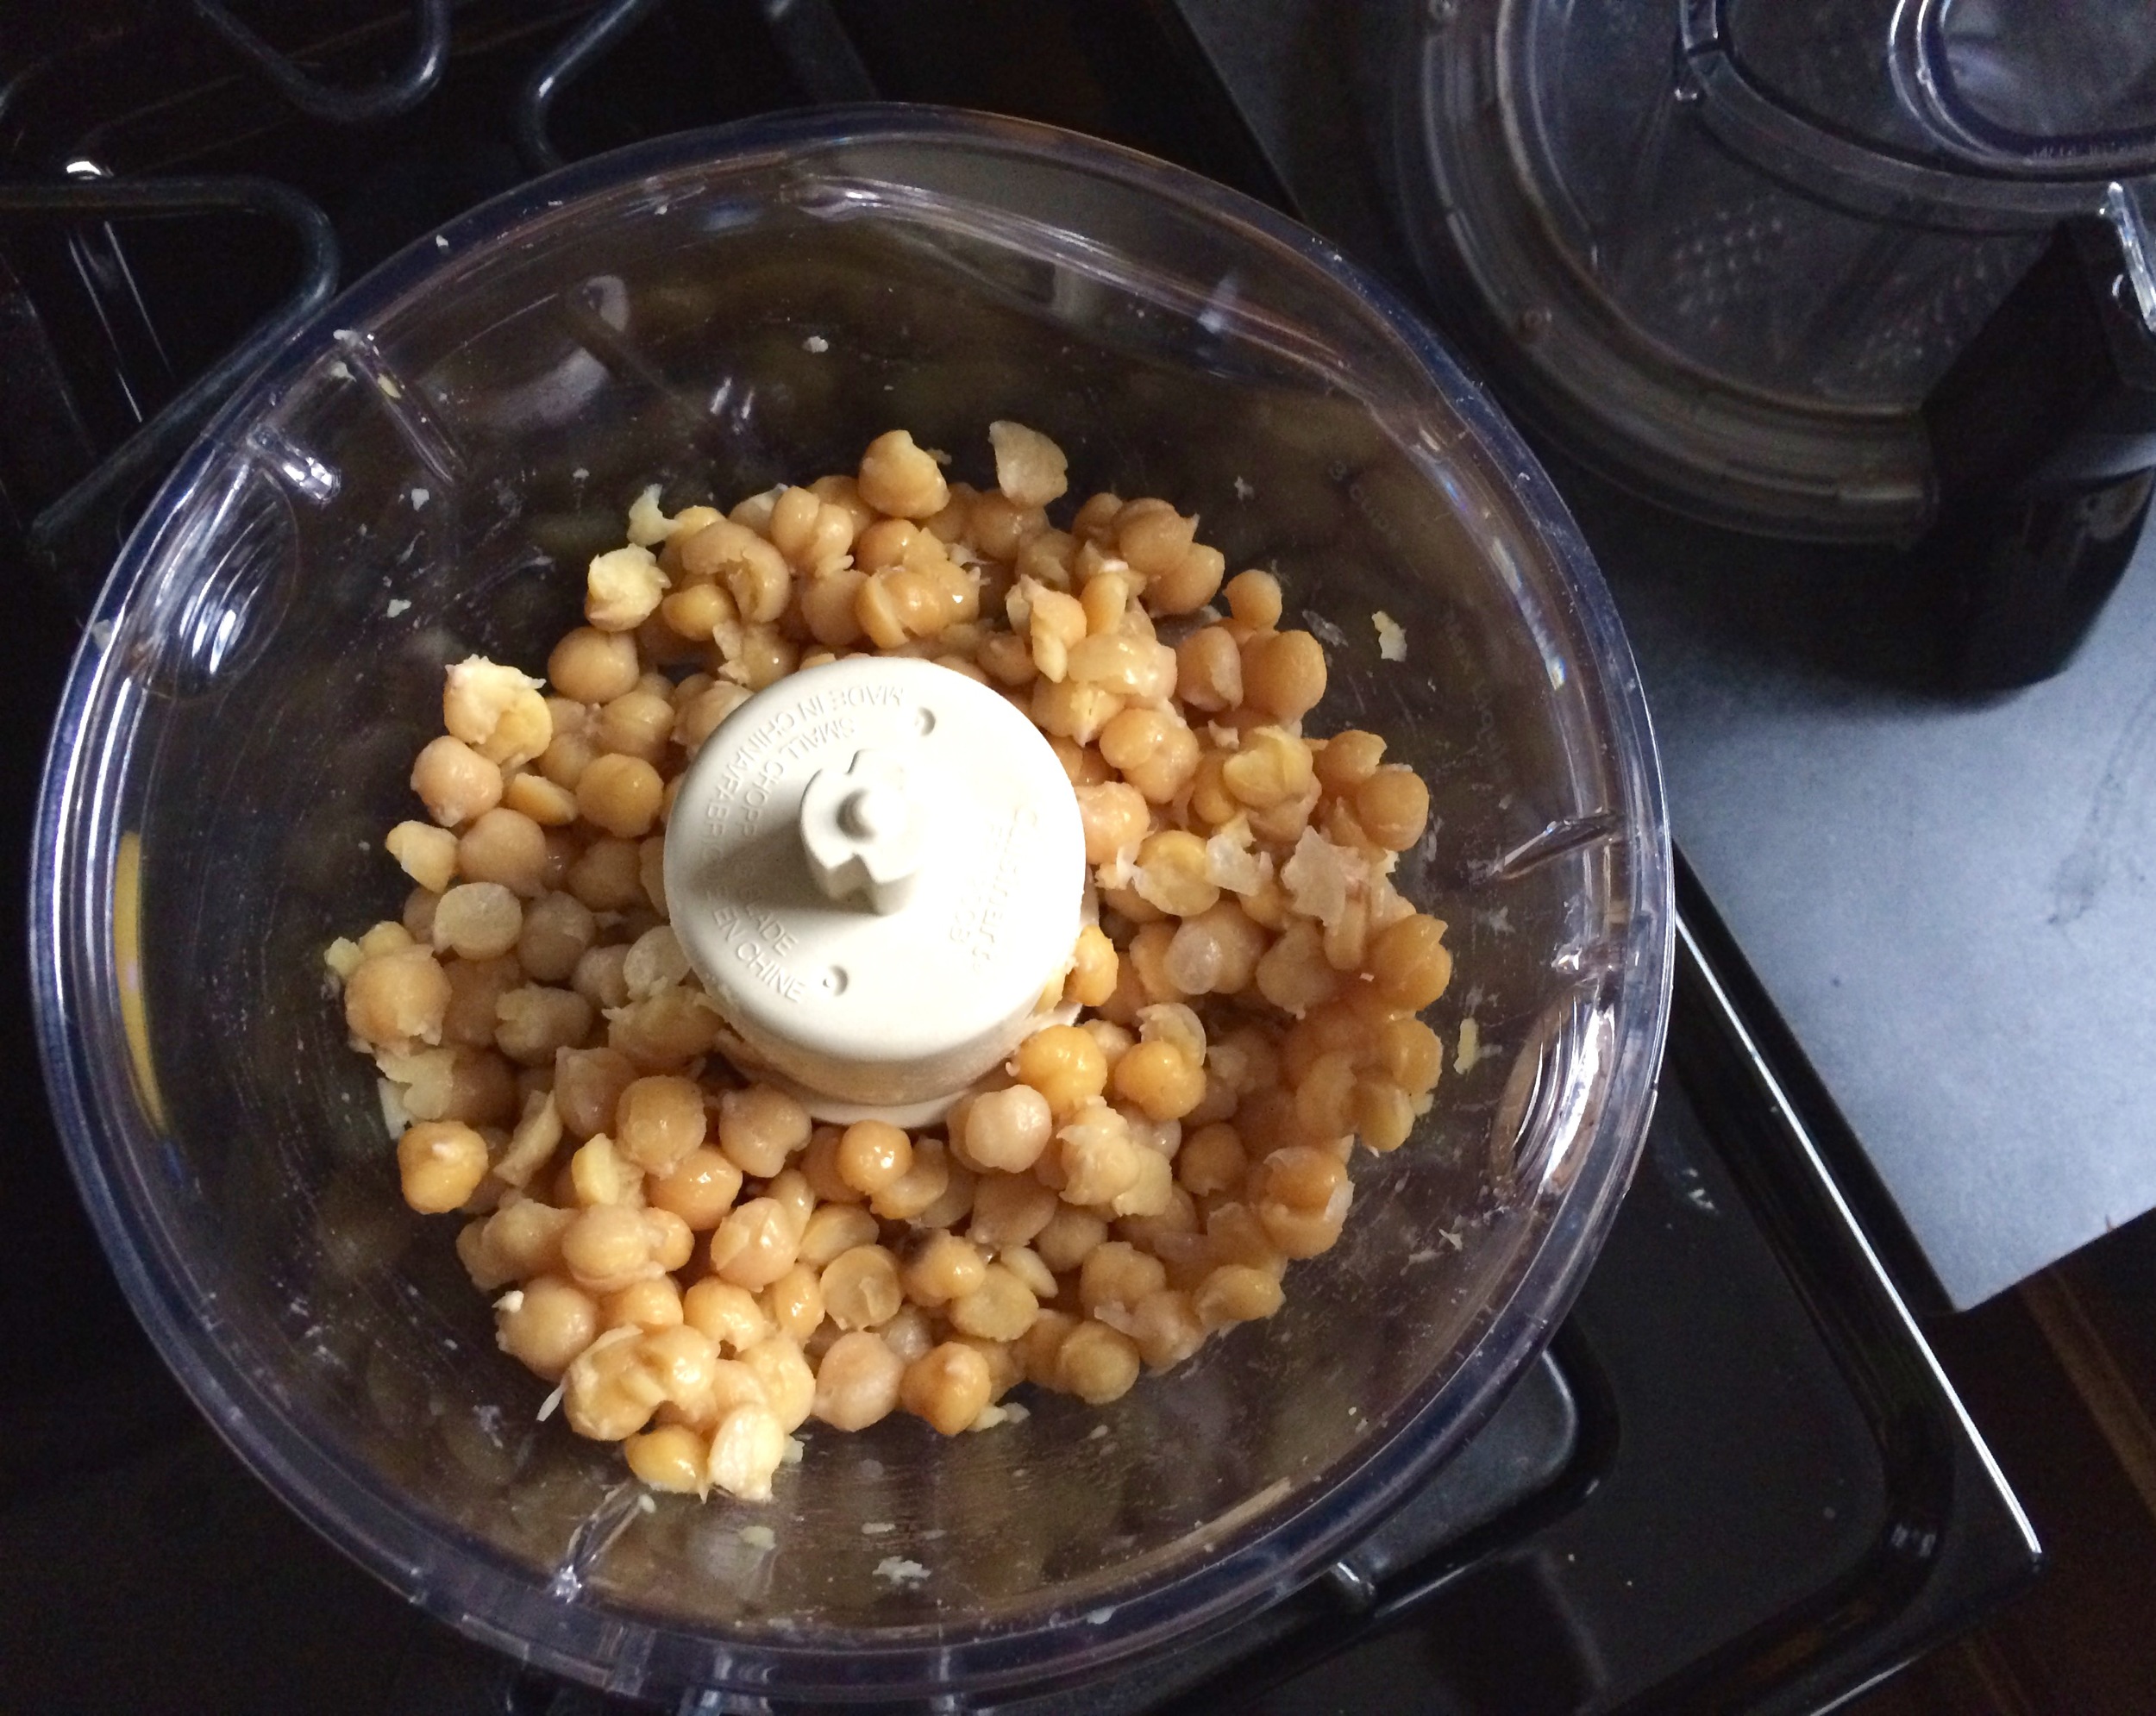
Drain the chickpeas. You should have roughly 1 3/4 cup (300 grams) now. Place the chickpeas in a food processor and process until you get a stiff paste. Then, with the machine still running, add the tahini, lemon juice, garlic and 3/4 teaspoon salt. Finally, slowly drizzle in the iced water and allow it to mix for about 5 minutes, until you get a very smooth and creamy paste. 

Transfer hummus (which will be quite warm at this point) to a bowl, cover the surface with plastic wrap, and let it rest for at least 30 minutes. If not using right away, refrigerate until needed. Make sure to take it out of the fridge at least 30 minutes before serving. 

Tahini Honey Granola

When I lived in Dearborn a couple of years ago I totally and completely fell in love with Middle Eastern food. There is no better place to have this happen, besides the actual Middle East that is. Because of this, I have lots of those Middle Eastern spices in my cupboard, I find myself drawn to various Middle Eastern cookbooks anytime I'm at the bookstore, and I crave some good shawarma, hummus, falafel and homemade pita more than I would like to admit. It is just all so good. 

One of the things I also know have in my fridge at all times is tahini. I first bought it to make hummus. I love my hummus full of lemon and tahini so I really have to have it on hand. Through the last few years though I've started using tahini in various other applications; sauce and dips, salad dressings, drizzled over roasted vegetables, on top of toast with a little honey, in my smoothies for a hint of nuttiness, you get the picture. I love creaminess it adds to everything, along with that nutty flavor. 

So the other day when I was almost out of granola I got to thinking about making a tahini granola. There are many recipes out there for peanut butter granola, so why not try tahini instead? I added honey for a little sweetness and cinnamon, allspice and cardamom for flavor. A little orange zest at the end adds a nice kick of brightness and almonds, pumpkin seeds, and sunflower seeds joined the oats for extra crunch and flavor. In the end it turned out a delicious batch of granola with all of these delicious flavors melded together to form a wonderfully balanced granola, one that I highly recommend trying. 

I don't love my granola to be overly sweet since I like to eat it for breakfast and not dessert. So I only added a couple tablespoons of honey, but if you like your granola a little sweeter I would add a little more. You might need to watch it a little closer to make sure it doesn't overcook with the extra sugar, but otherwise I think it should be fine. The flavor of the tahini is fairly mild. A nice nuttiness comes through, but if you are not sure about how much you like tahini I wouldn't worry, it's not overpowering. If fact you could add a little more if you want the flavor to come through a little more (I might do that next time!). 

I used almonds, pumpkin seeds, and sunflower seeds for my add-ins, but you could add whatever you want, any different nut or seed would work. I think pistachios or sesame seeds would also be nice! And if you like dried fruit in your granola go for it, just mix it in after the granola is baked and cooled. You can do whatever you like really to truly make this granola your own. 

Tahini Honey Granola
From Delectably Mine
Ingredients

  • 2 1/2 cups (200 grams) old fashioned oats
  • 1/4 teaspoon kosher salt
  • 1/4 teaspoon cinnamon
  • 1/8 teaspoon ground cardamom
  • 1/8 teaspoon allspice
  • 3/4 ounce almonds, chopped
  • 1/2 ounce pumpkin seeds
  • 1/2 ounce sunflower seeds
  • 2 tablespoons (28 grams) tahini
  • 2 tablespoons (35 grams) honey, or more to taste
  • 1/4 teaspoon grated orange zest
  • Water, as needed

Directions
Preheat the oven to 300 degrees. Place the oats in a large bowl. Add the salt, cinnamon, cardamom, almonds, pumpkin seeds and sunflower seeds.  Mix to combine. 

Combine the tahini and honey in a small bowl. Warm the mixture in the microwave for a few seconds, just to help it become a little less viscous, and easier to mix in. 

Add the tahini/honey mixture to the oat mixture along with the orange zest. Stir to combine everything very well, adding water a teaspoon or two at a time if needed to help bring it all together. 

Spread the mixture on a baking sheet. Bake for approximately 1 hour, stirring the mixture halfway through. Watch the granola closely towards the end of baking to ensure that it does not overcook. Bake until it is completely dried through. Let cool on baking sheet. Store in an airtight container. 

Chunky Mediterranean Eggplant Dip

Mediterranean food is probably my favorite thing to eat. It is so fresh and light and delicious. Now, I know that the word "Mediterranean" encompasses a huge diversity of food from many, many countries and regions, but I really do love it all. I have never been disappointed with something Mediterranean inspired. This dip caught my eye very quickly since it kind of combines two of my favorite things, hummus and baba ghanoush. 

Chickpeas and eggplant along with lemon, some spices and fresh herbs make this wonderful dip that I can easily just eat with a spoon. With a side of pita chips, or an assortment of vegetables this dip really does become the star. Nothing bland about this combination, it's perfect for pretty much anything. 

This is a pretty simple recipe, you really just throw everything in the food processor and let it do the work. The only prep work you really have to do is to broil or grill the eggplant until completely charred and black, and you can do this a day ahead if you want. I decided to cook my garlic this time, but the original recipe calls for raw garlic which is also good, so if you don't feel like getting another pan dirty you can just throw it in raw. Then just pulse away until you reach the consistency you want. It's as easy as that!

Chunky Mediterranean Eggplant Dip
Adapted from From The Land We Live On
Ingredients

  • 1 large (or two small-ish) eggplants (about 1 lb)
  • 1-2 cloves of garlic
  • 4 tablespoons finely diced onion (or a small shallot)
  • 3/4 teaspoon sea salt
  • 1/8-1/4 teaspoon cayenne pepper
  • 1 1/2 teaspoon. za’atar + more for garnish
  • 1-2 tablespoon freshly squeeze lemon juice
  • 2 tablespoons extra virgin olive oil + more for finishing
  • 2 tablespoons tahini
  • 1 teaspoon honey
  • 2 cups (or 1 can) of cooked chickpeas
  • 1/4 cup chopped flat parsley
  • 1/4 cup coarsely chopped cilantro + more for garnish
  • 2 tablespoons mint leaves

Directions
Turn on the broiler, poke some holes in the eggplant, and broil for about 20 – 30 minutes, rotating every 5 – 10 minutes, until the eggplant collapses and is charred on all sides. Remove, and let it cool. Once cool to touch, peel and roughly chop it.

Place oil in a small frying pan. Add the garlic and cook over medium-low heat until just starting to brown.

Combine the garlic, shallot, salt, pepper, za’atar, lemon juice, tahini, and honey in your food processor and pulse until well combined.

Add eggplant, chickpeas, and herbs to the food processor and pulse several times, until combined, yet still chunky. This dip is best with some texture, but pulse until it reaches your desired consistency.

Transfer the dip to a bowl, drizzle with extra olive oil, sprinkle with za’atar (I also used a little sumac), garnish with some more herbs, and serve with veggies, crackers, or pita chips.

Warm Brown Rice, Sweet Potato and Roasted Cabbage Salad with Tahini Yogurt Dressing

This is one of those meals that I wasn't really planning on being anything extra special or turning out as well as it did. That is one of the things I love so much about cooking, coming up with new combinations that surprise me with how good they are. Taking a couple of ingredients that I have never really put together and creating a whole new dish out of them that just works, at least for me anyways!

The other night I just happened to have a few leftovers and random ingredients hanging out in my fridge and thought I better use them up or freeze them before they went bad. I had a general idea about what I was going to do with them, but it sort of evolved as I went along and turned into this wonderfully warm and filling salad, perfect on a rainy and chilly spring night. Sweet and creamy baked sweet potato combined with chewy brown rice, and roasted cabbage, topped with pecans for nuttiness and some dried cranberries for sweetness. A quick dressing of tahini and yogurt finishes the whole thing off and brings it all together. 

I decided to use zaatar for flavoring this salad. I've really been liking zaatar recently. If you don't know what zaatar is, it is a really nice mixture of dried herbs (dried thyme mostly I think), sesame seeds and sumac that is used in the Middle East. If you haven't tried it before I highly recommend it. But this is not a recipe that is set in stone so if you don't have any zaatar go ahead and use something else, you're favorite herbs or spices, whatever you have on hand. I also thought this would be good with a Mexican twist, using chili powder and cumin and throwing in some fresh cilantro, yum! Switching out different dried fruits and different nuts would also be be fun to play with. Cooking is just a great way to let your imagination go wild, so go ahead and have some fun!

Warm Brown Rice, Sweet Potato and Roasted Cabbage Salad with Tahini Yogurt Dressing

Ingredients 

  • 1 medium sweet potato
  • 1/4 head cabbage, sliced thin
  • 1/2 medium onion, sliced thin
  • 1-2 cloves garlic, minced
  • 1/2 cup brown rice (or 1-1 1/2 cups cooked brown rice)
  • 2 tablespoons Zaatar spice mix
  • Cayenne pepper, to taste
  • Plain yogurt
  • Tahini

Directions

Heat oven to 375 degrees. Place sweet potato on a baking sheet and baked until tender, 1 hour to 1 hour 15 minutes, depending on the size of the sweet potato. Set aside until cool enough to handle. 

Thinly slice the cabbage. toss with a little olive oil and some salt. Place on a baking sheet and broil until starting to wilt and char, stirring occasionally to evenly cook. This can take anywhere from 10-30 minutes depending on how charred you like your cabbage, and how hot your oven gets. 

While cooking the potato and cabbage, sauté sliced onions in a pan over medium to low heat until very soft and tender. When onions are caramelized to your liking, add the garlic and cook until fragrant. 

Cook the brown rice according to package instructions. Or even better, if you have some leftover rice use that in instead. Add the cabbage and brown rice to the onions and garlic mixture. 

Cut the cooled sweet potato into bite sized chunks. Add to the sauté pan along with the zaatar and cayenne. Give the whole thing a nice stir, adding some water to the pan if needed. Drizzle tahini over the whole mixture to taste and add a couple spoonfuls of yogurt. Stir again to combine well. Taste and season with salt if needed. 

Spoon salad into bowls and top with pecans and dried cranberries.