Lavender Cupcakes with Blueberry Jam and Lemon Buttercream

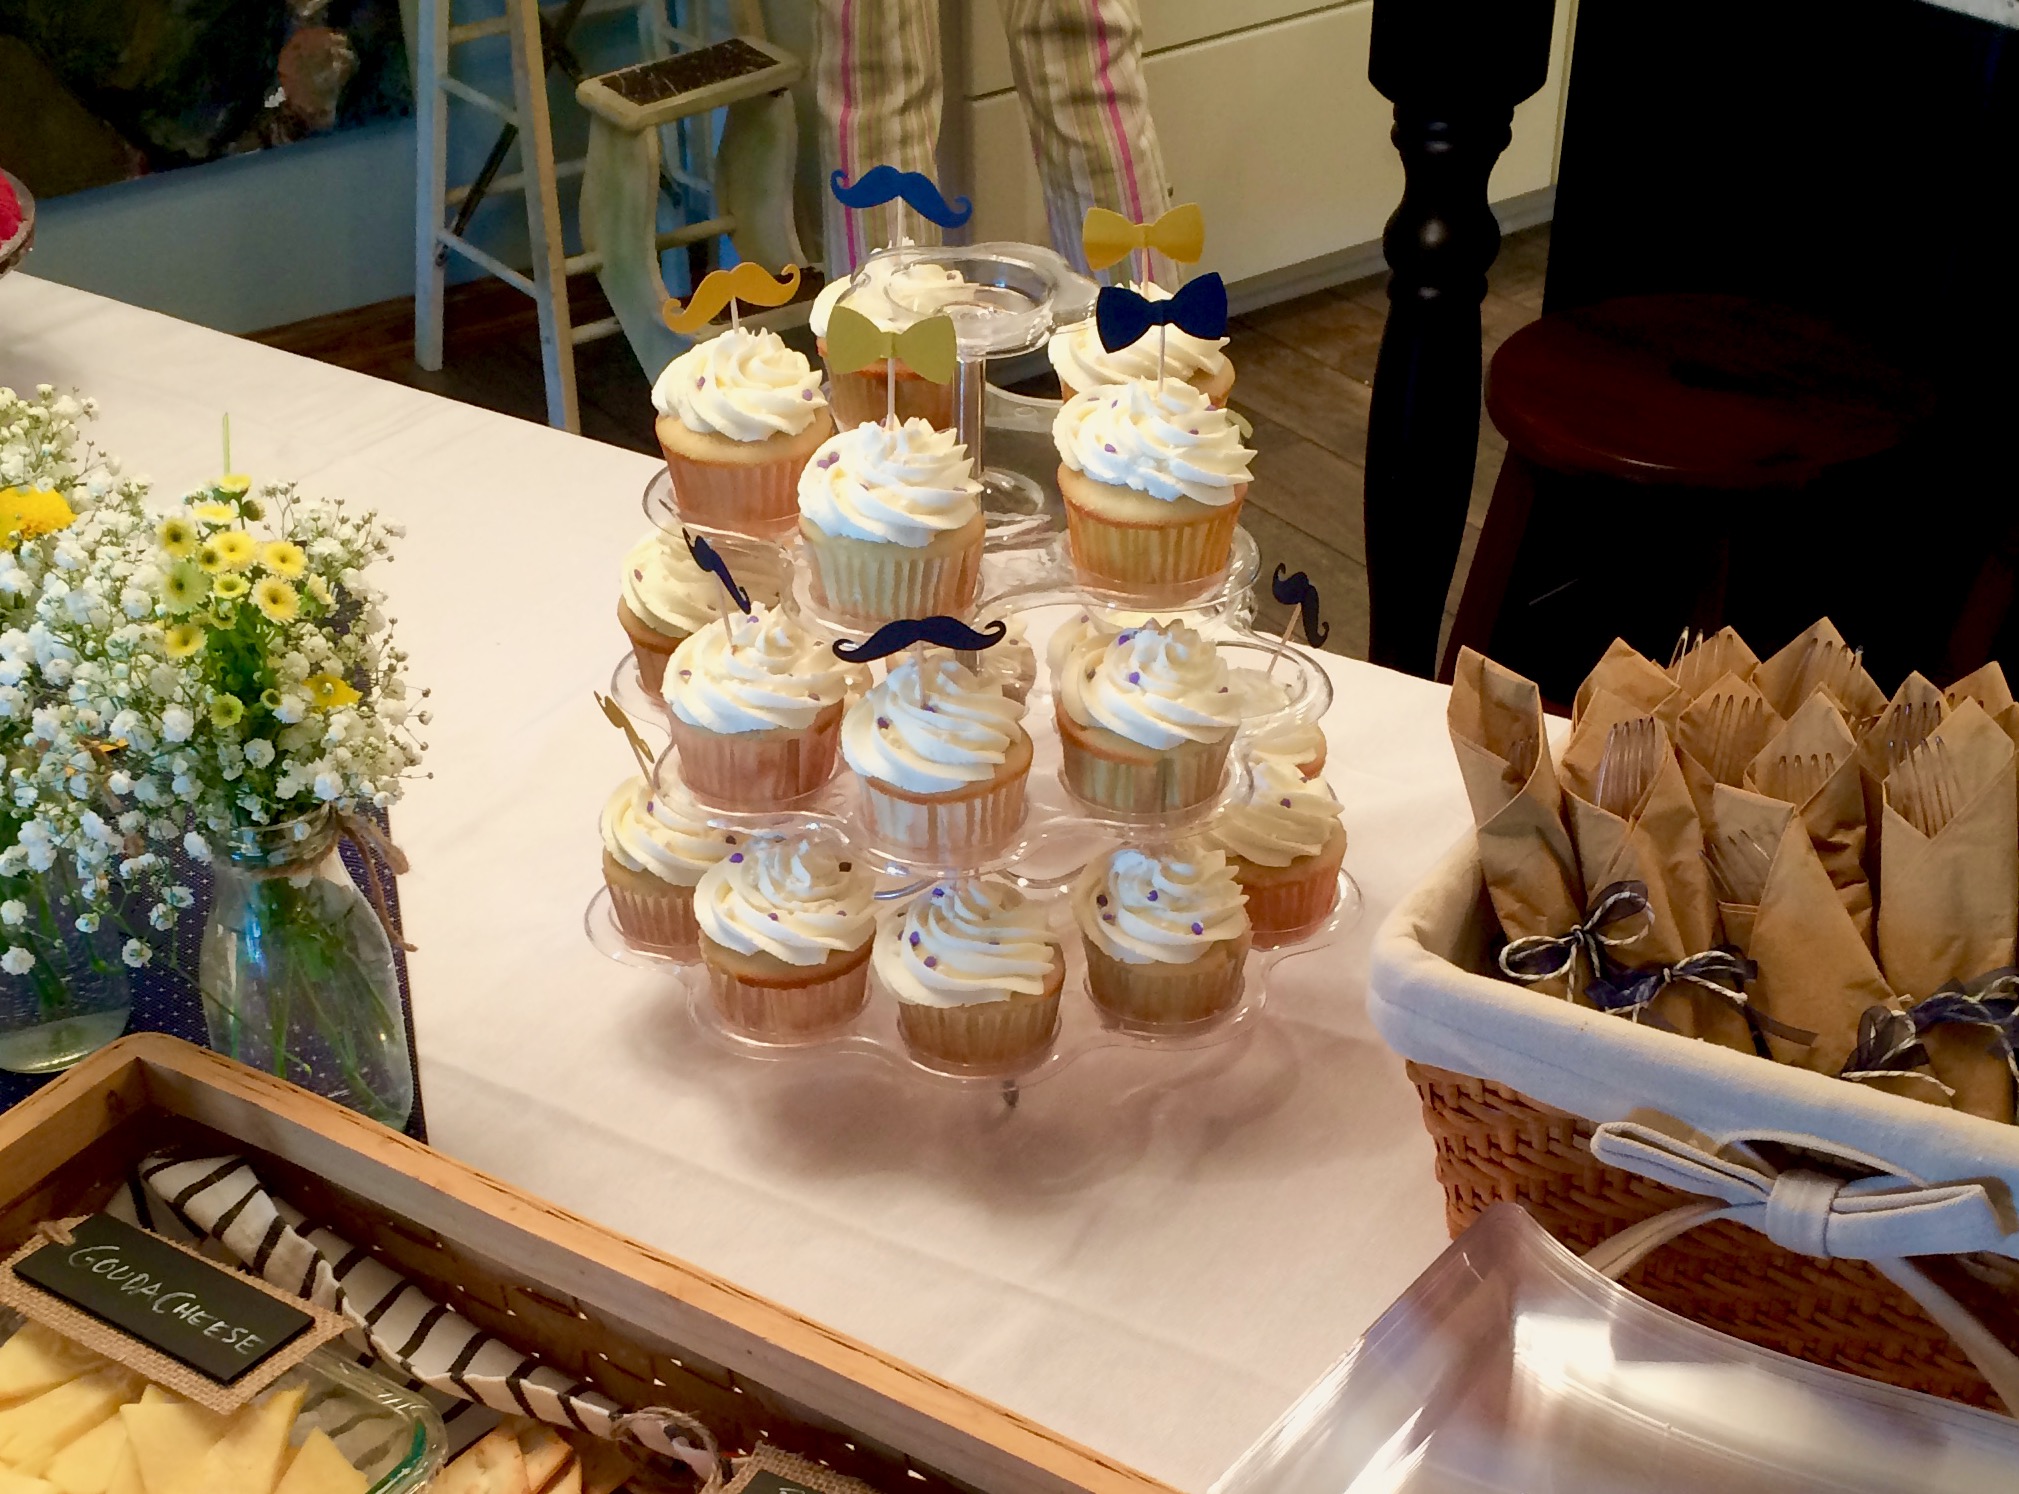
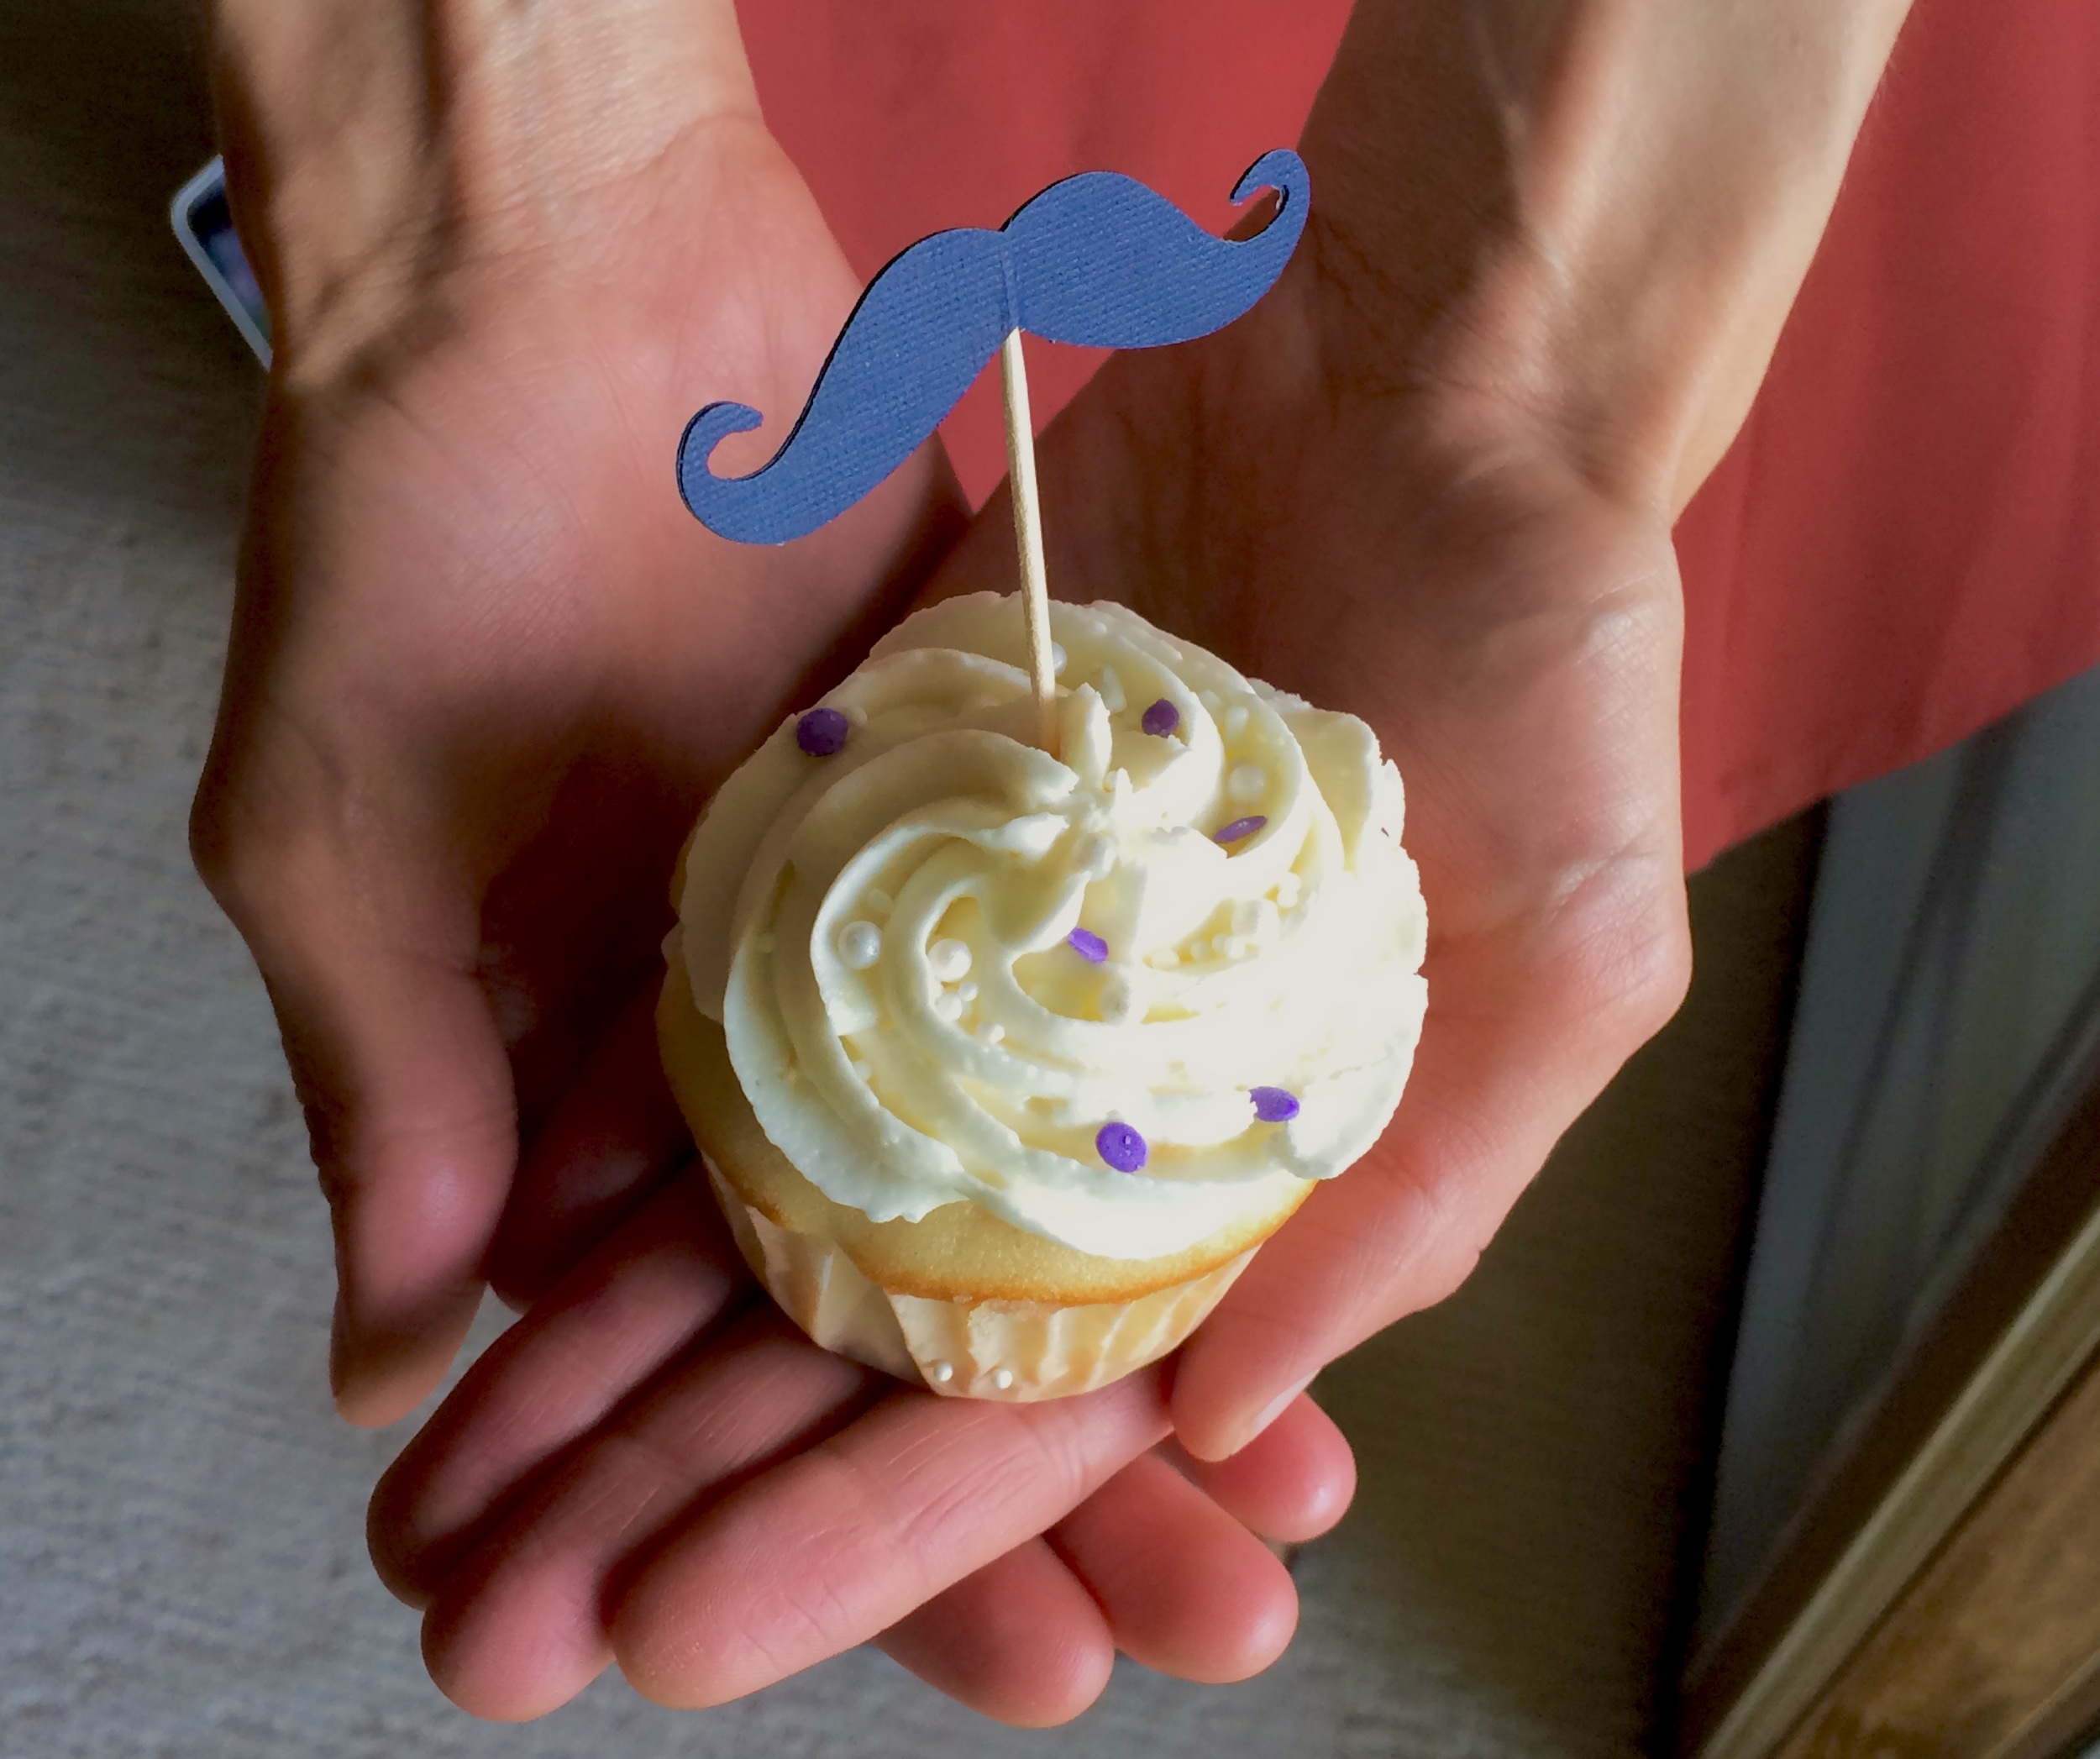
Last week one of my cousins had a baby shower, and for this event I was asked if I would be willing to make cupcakes as one of the desserts. Always one of my favorite things to make, of course I said yes! I was so excited to have a reason to make cake, and also excited when I found out that creative liberties were being handed to me. The mother-to-be's sister, another one of my cousins, said that she didn't care what kind of cupcakes they were. All she wanted to be able to do was finish them off with some mustache cupcake toppers to match the shower theme, easy enough!

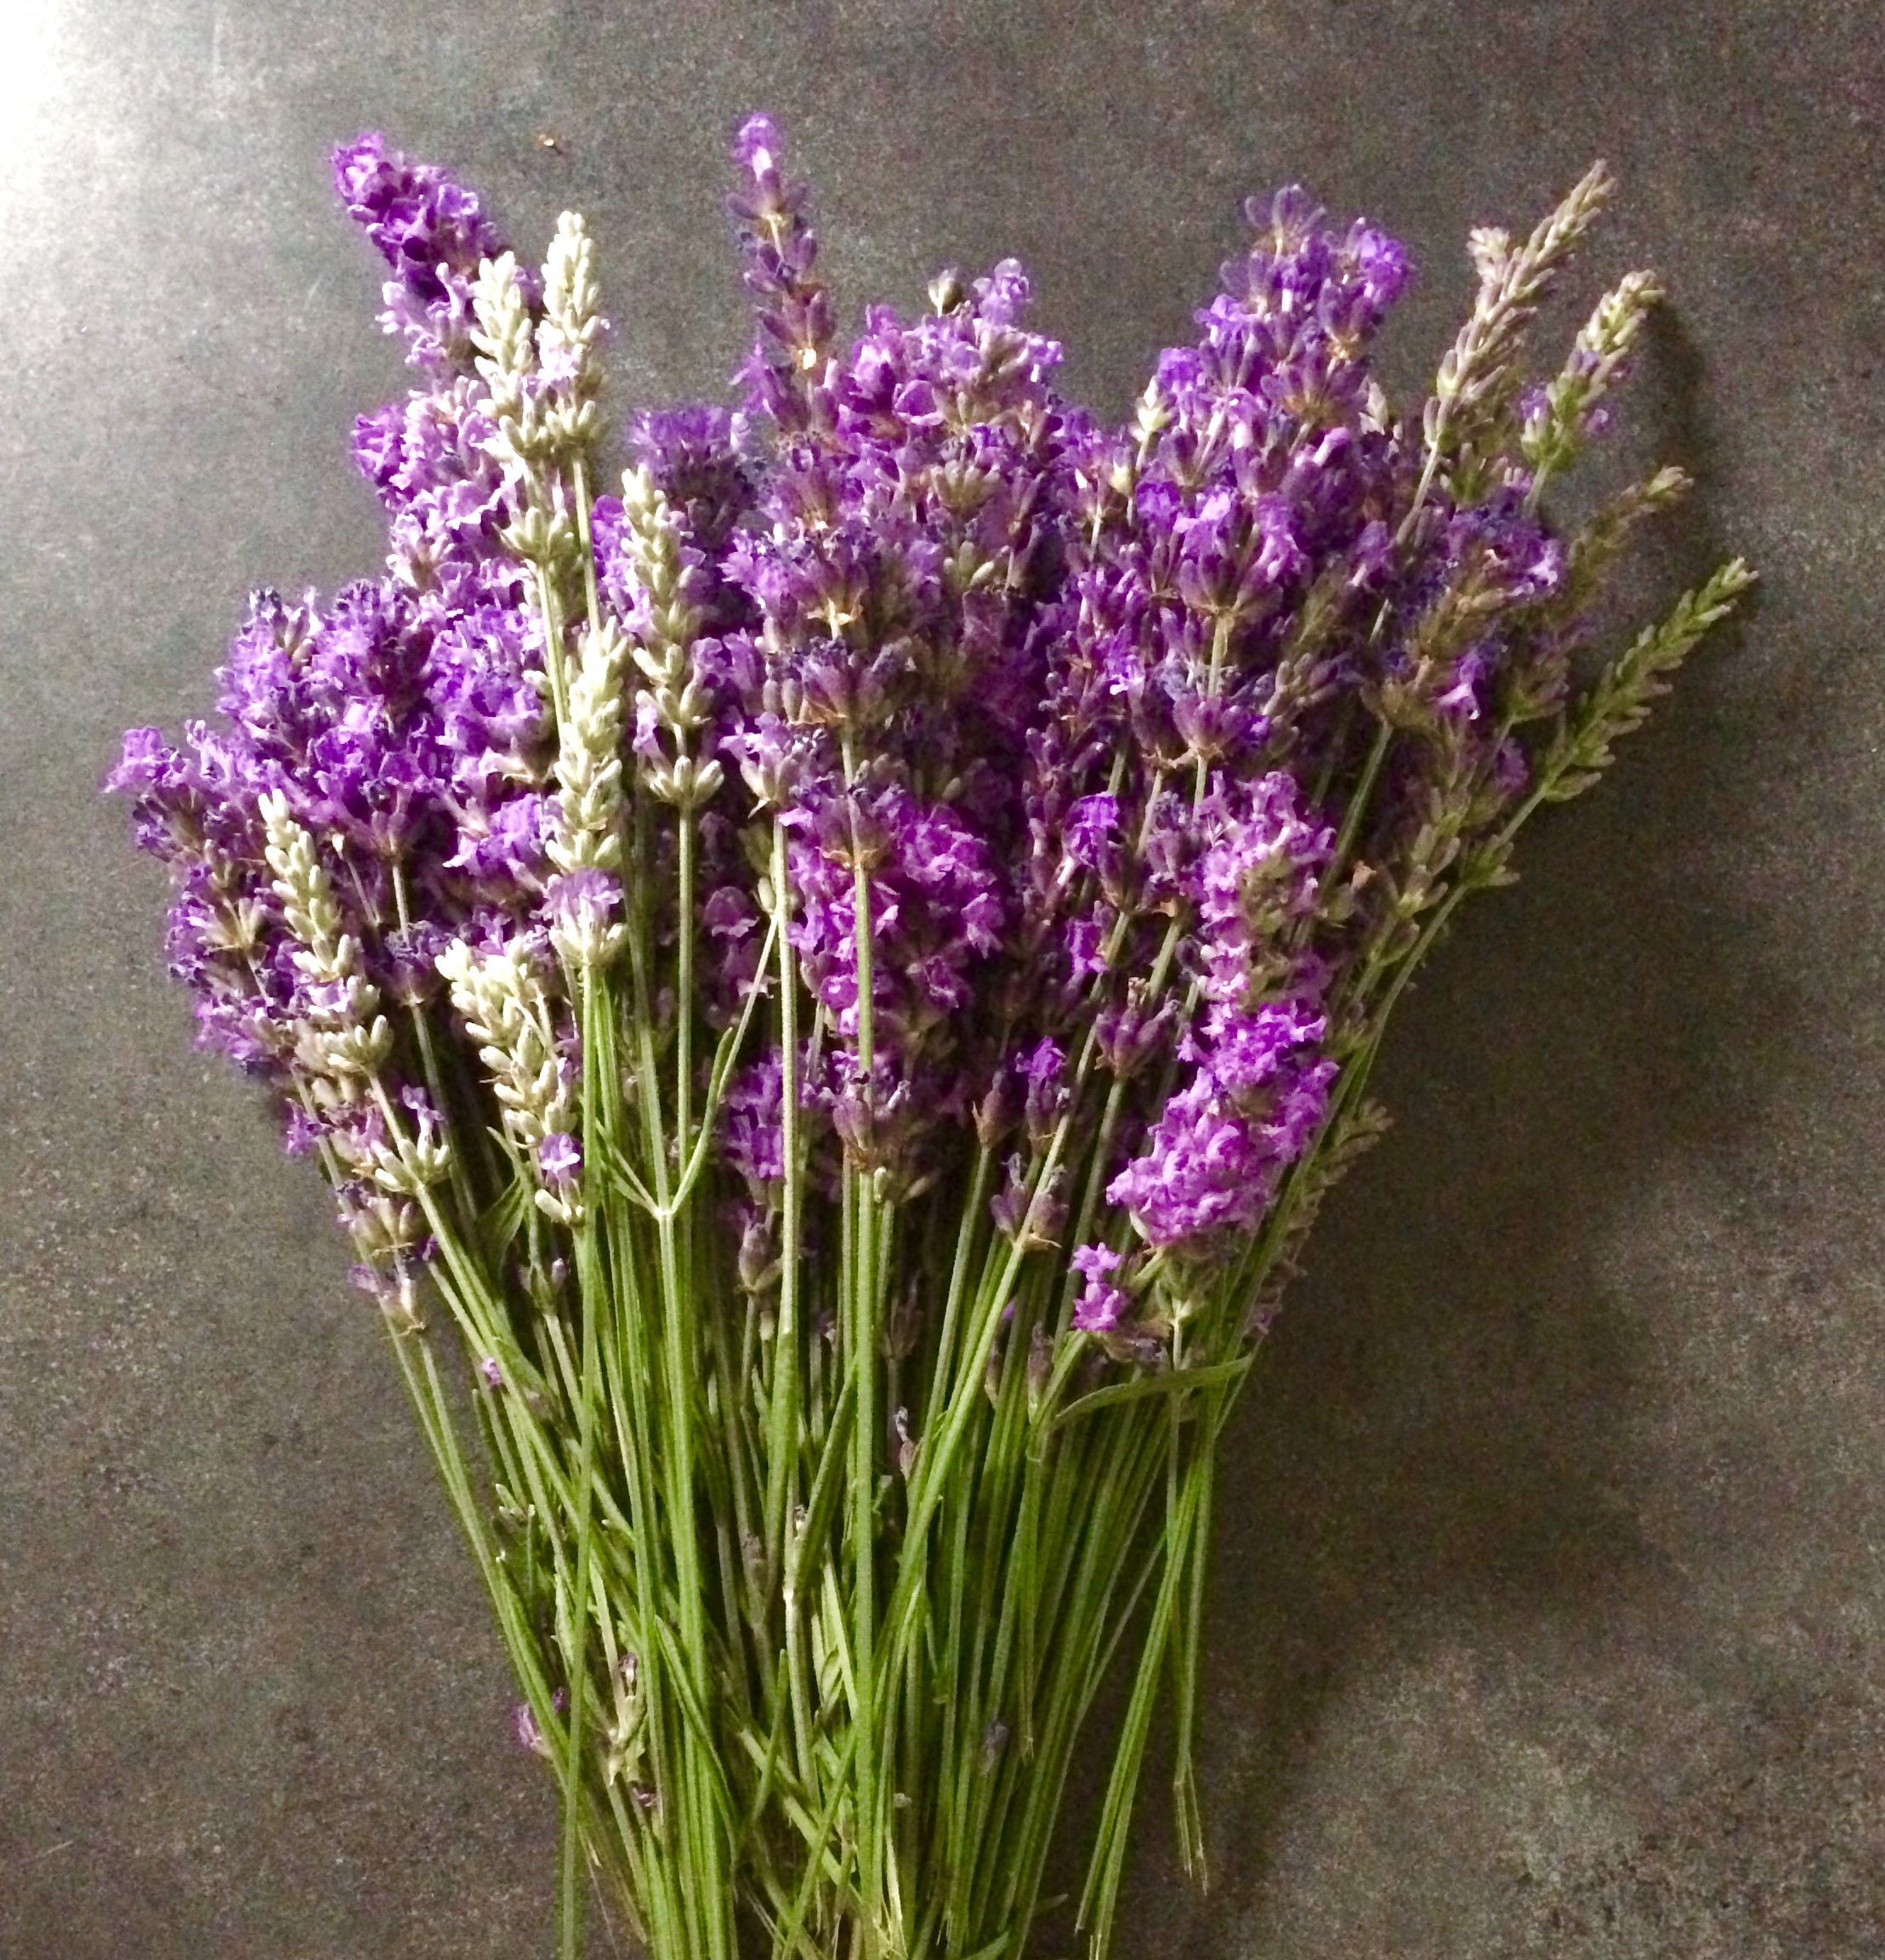
After brainstorming some ideas with Lara we came up with a game plan. I wanted to do lavender cupcakes because the lavender just popped out the last few weeks and I'm loving it! Delicious and seasonal. We thought lemon sounded like a nice combination with the lavender so lemon buttercream was decided for the frosting, and to finish them off with something a little extra special we decided to fill them with a little blackberry jam. Lavender, lemon and blackberry, how could it be bad? 

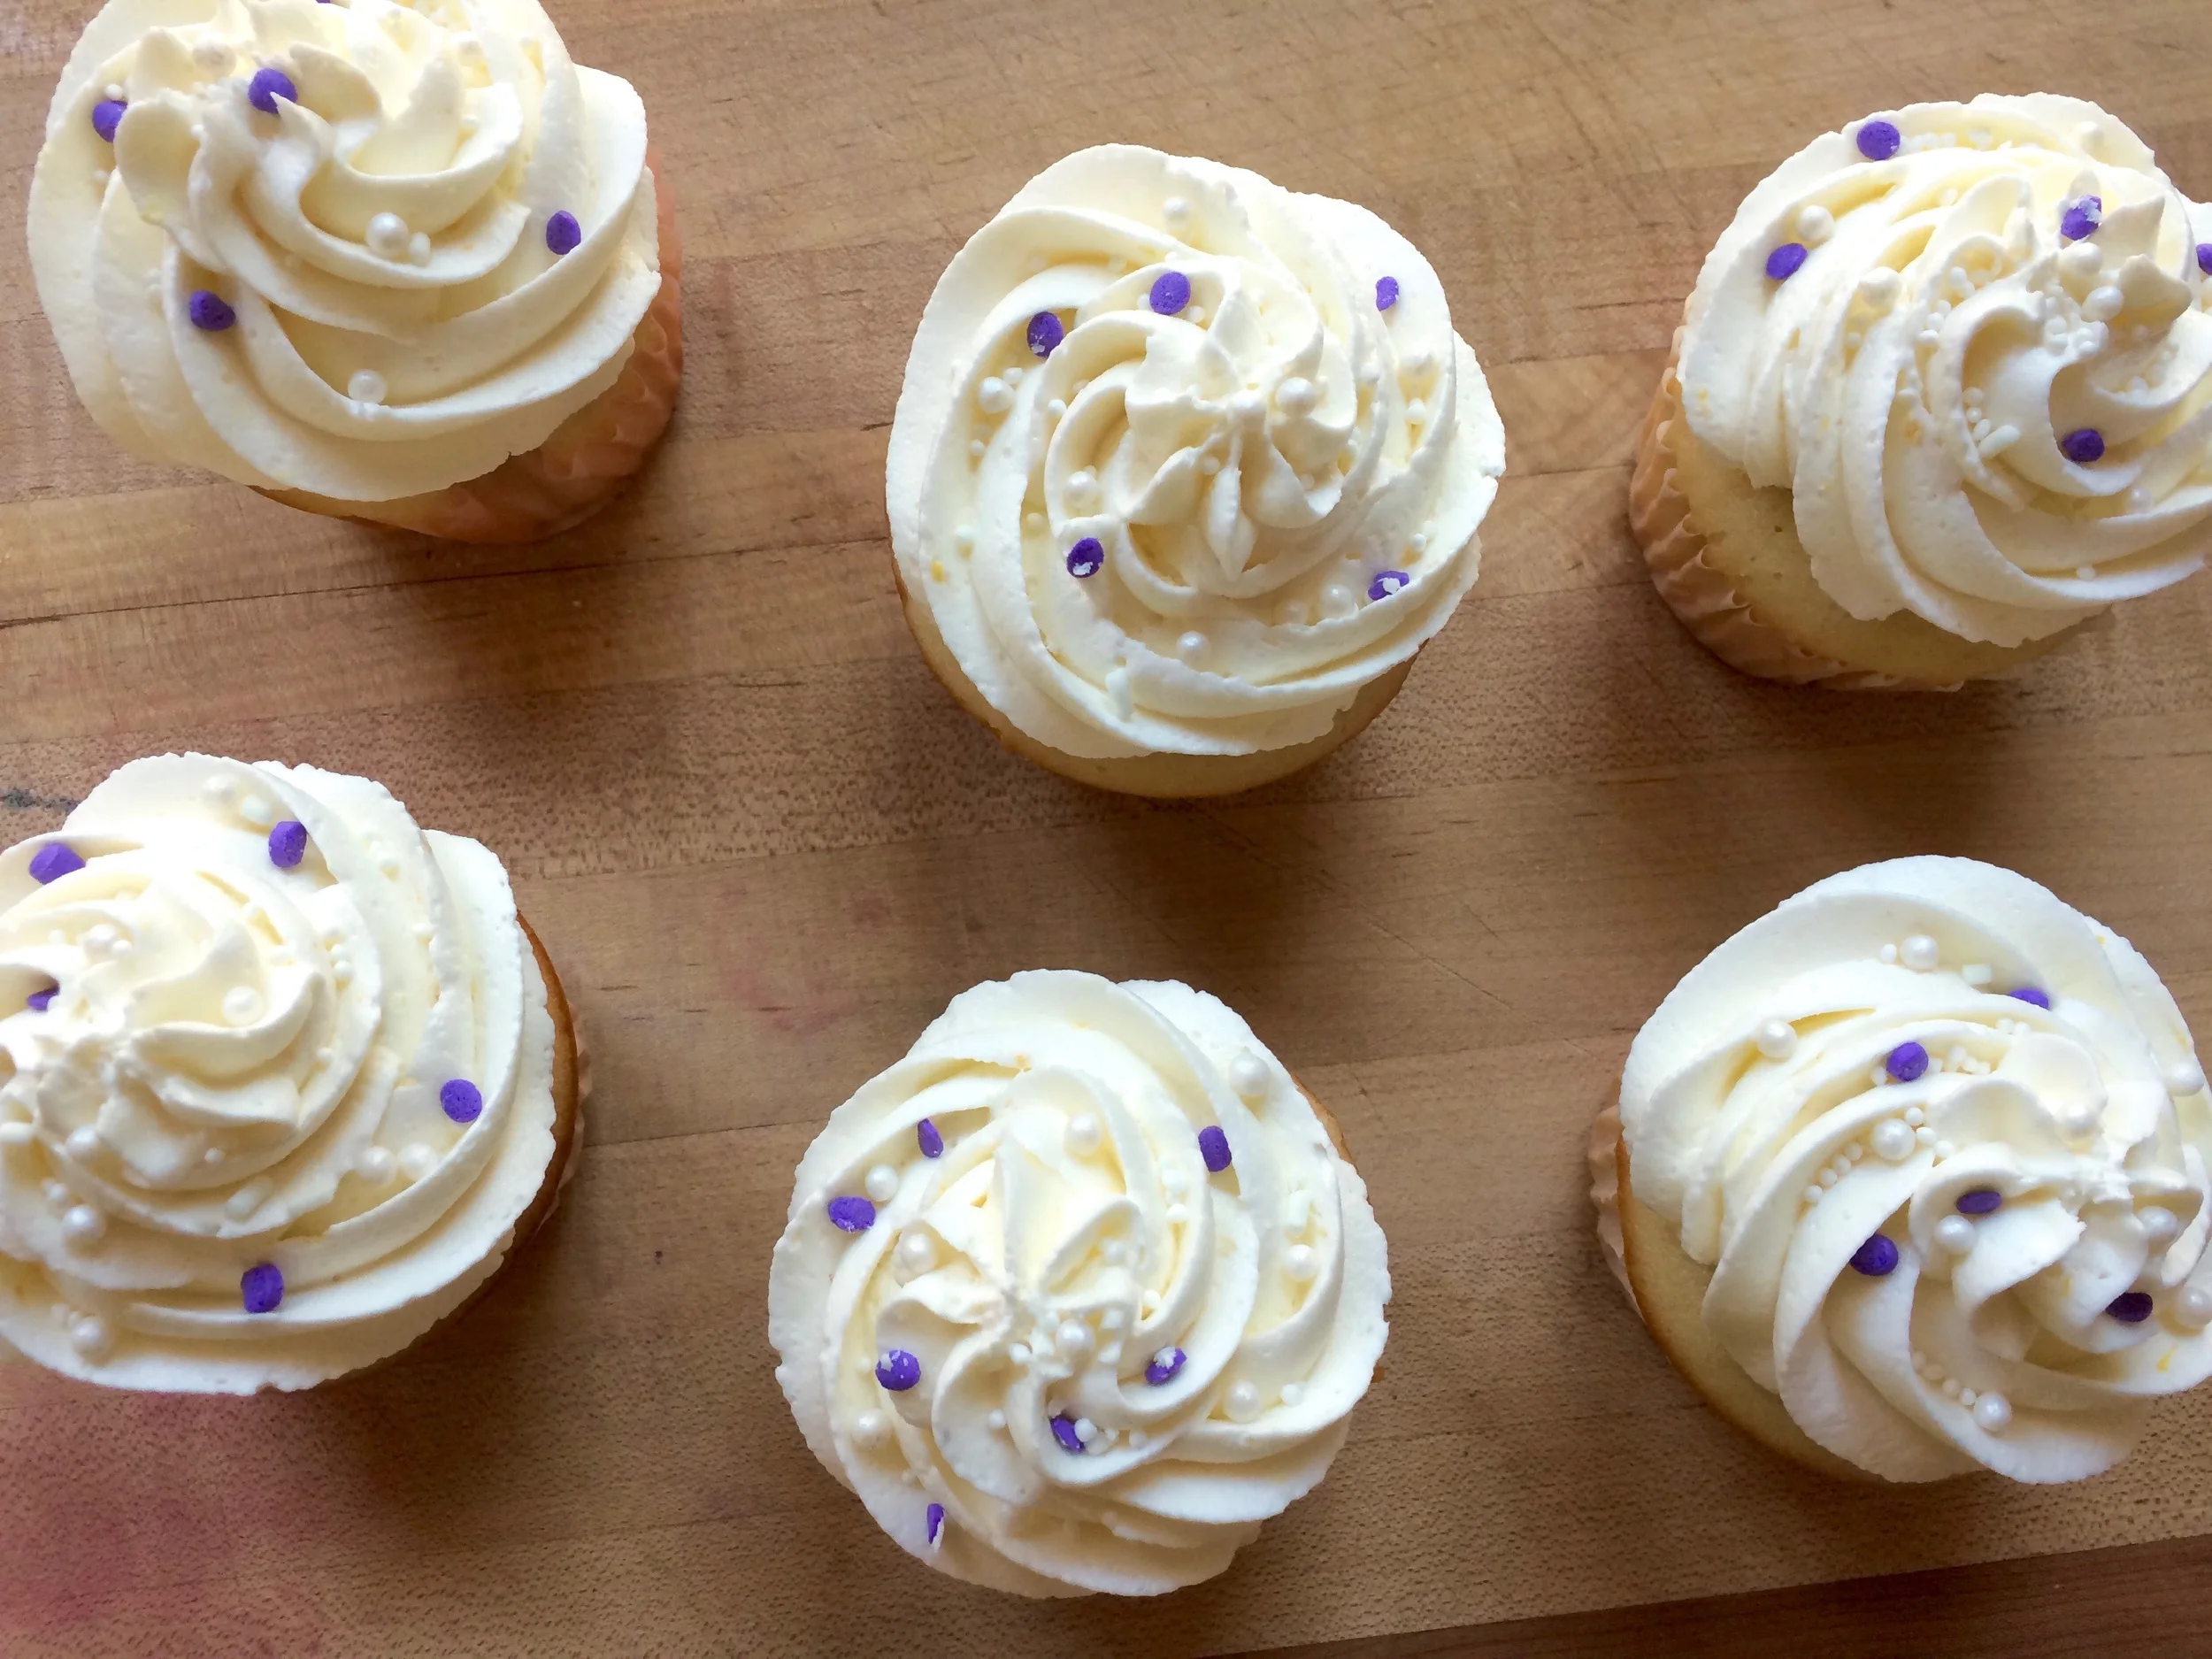
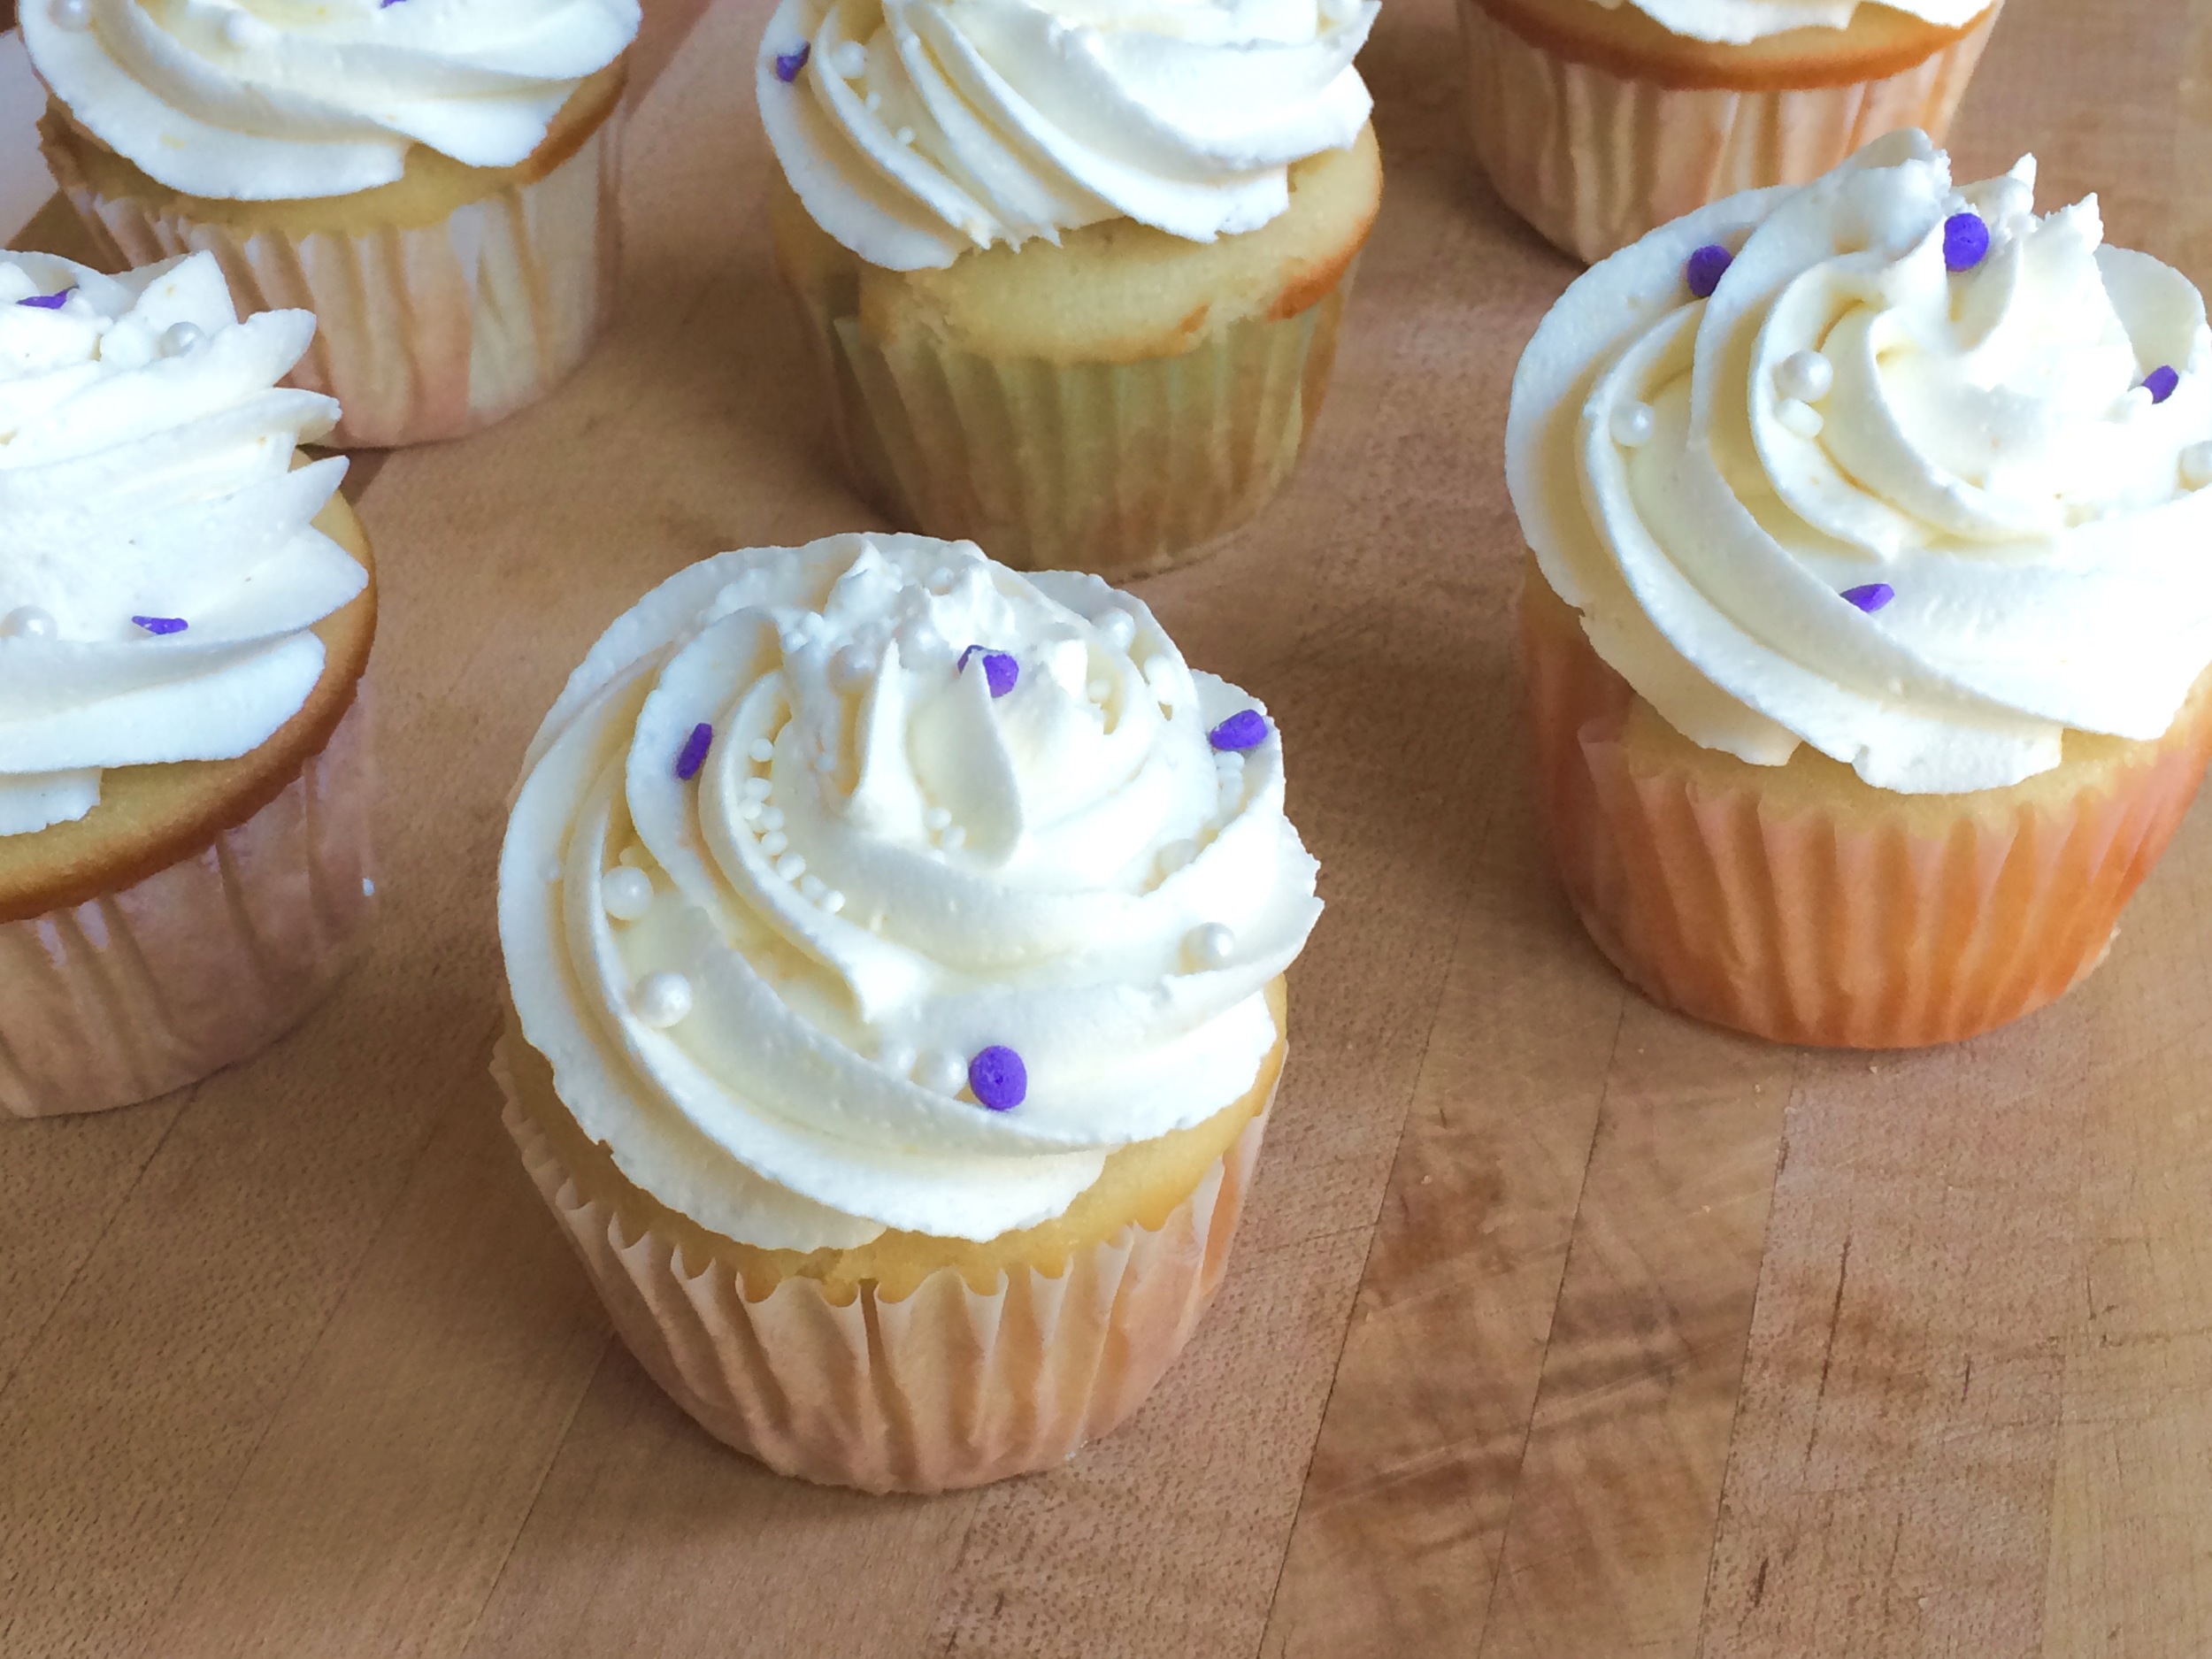
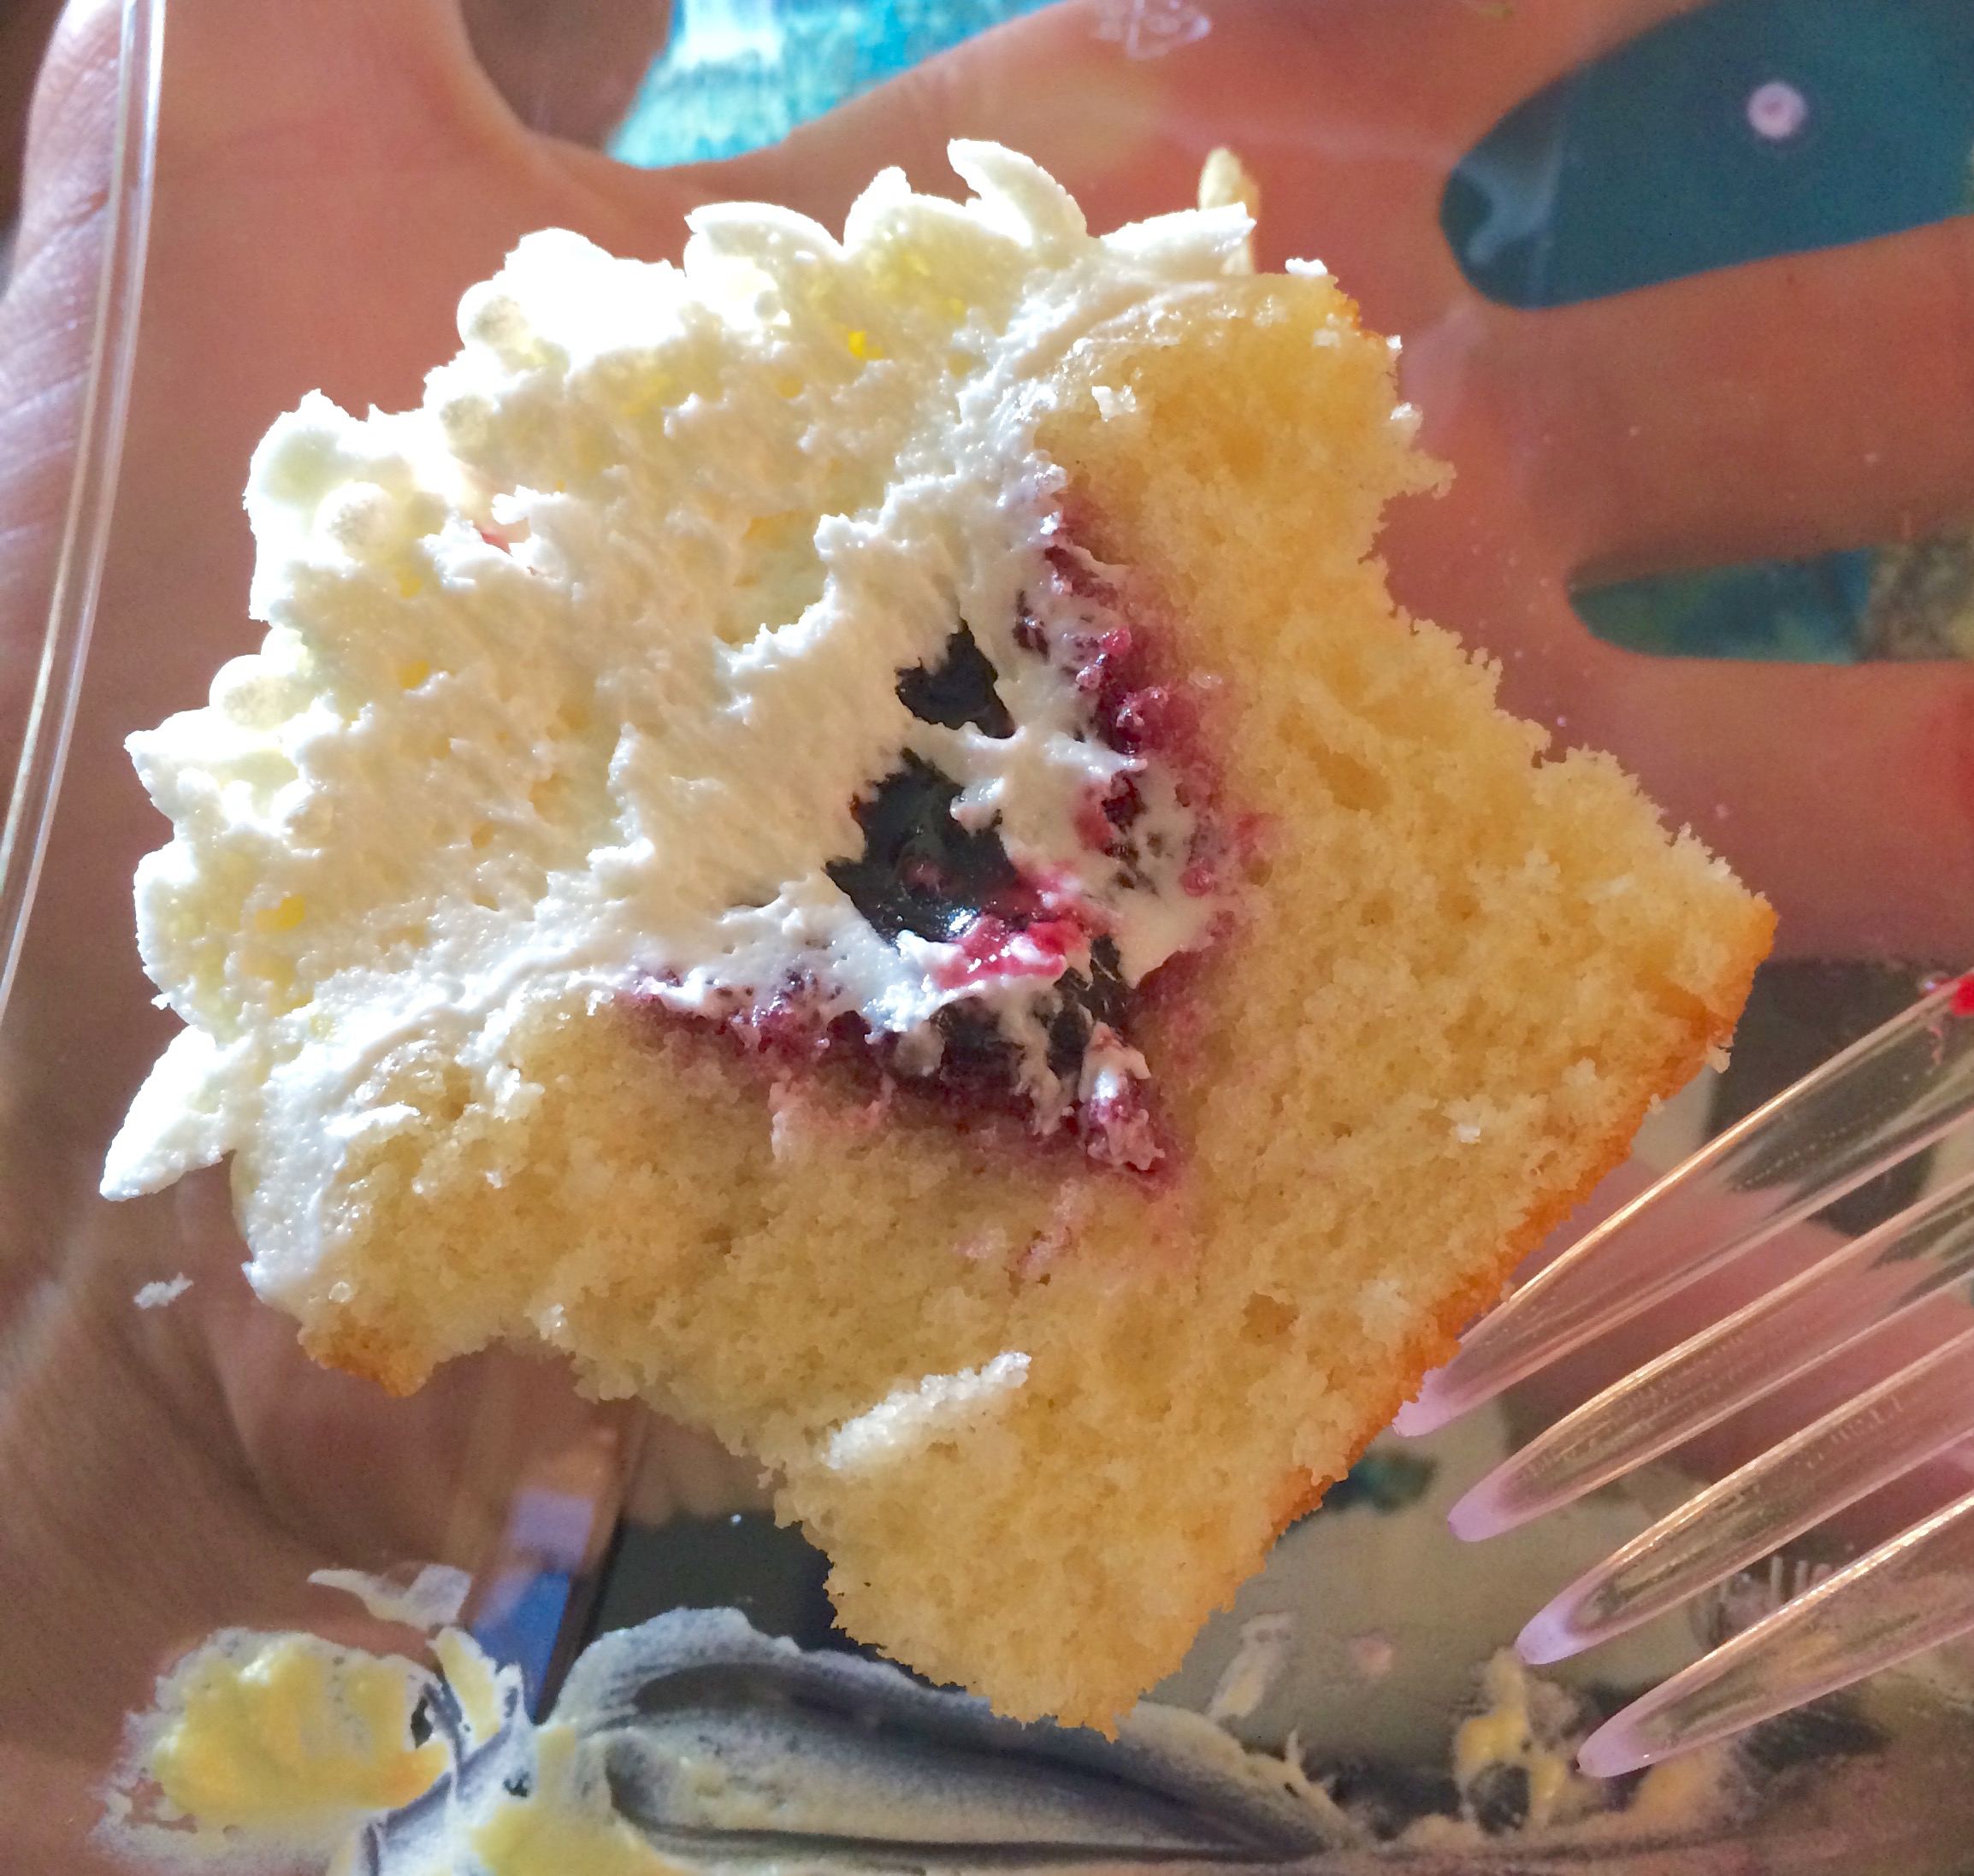
To answer the above question; it couldn't be bad, and it wasn't! If fact, this may be my favorite cupcake flavor combination yet. They turned out fabulously, the lavender flavor came through very mildly which is what I wanted - I didn't want a cupcake that smelled or tasted like perfume or potpourri. The buttercream was perfectly tart and sweet from the lemon, and the blueberry filling really put it all over the top. Could you skip it, sure, but I don't think they'll be as good!! :) 


Lavender Cupcakes with Blueberry Jam
From Delectably Mine
Ingredients

  • 3/4 cup (6 ounces) milk
  • 1-2 tablespoons fresh lavender flowers
  • 2 1/4 cups (10 1/2 ounces) all purpose flour
  • 1 1/3 cups (9 ounces) granulated sugar
  • 1 7/8 teaspoons baking powder
  • 3/4 teaspoon kosher salt
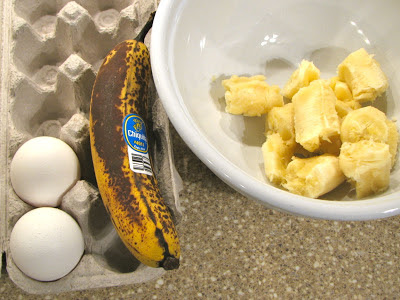
  • 3/4 cup (1 1/2 sticks) butter, softened, cut into small cubes
  • 3 eggs
  • 1 teaspoon vanilla extract
  • Blueberry jam, for filling

Directions
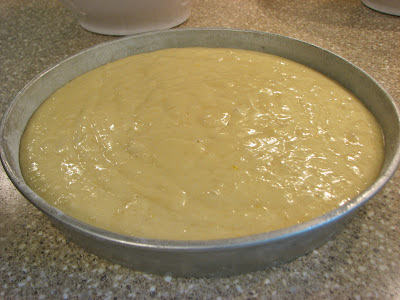
Preheat the oven to 350 degrees F and line cupcake pan(s) with liners.

Place the milk in a microwave safe bowl and microwave for 1-2 minutes until simmering. Remove from microwave and add the lavender flowers to the milk, stirring to combine. Let milk sit and cool for about 45 minutes. 

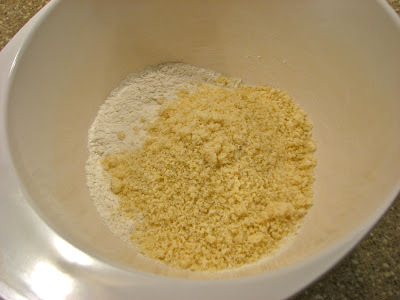
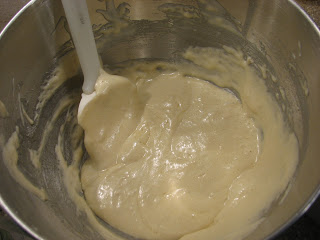
Meanwhile, place the flour, sugar, baking powder, and salt in a mixing bowl and stir to combine.

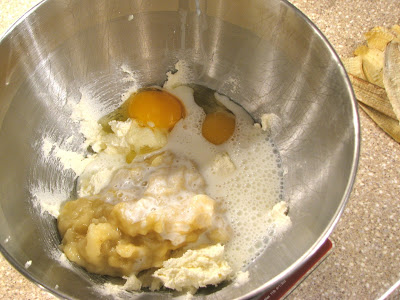
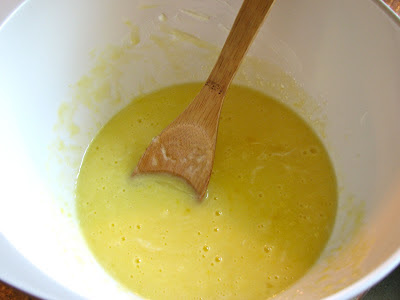
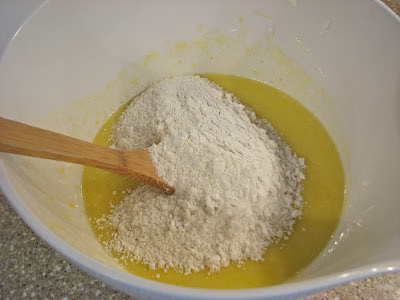
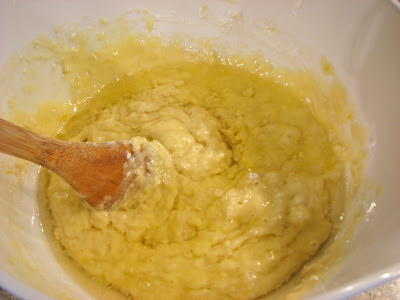
Add the butter and mix on low speed, until mixture resembles coarse crumbs (2-3 minutes). Add the eggs, one at a time, followed by the vanilla, and scrape the bottom of the bowl to make sure all the ingredients are well-combined. 

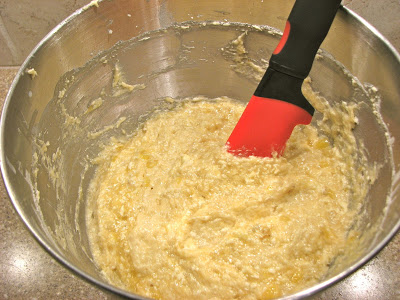
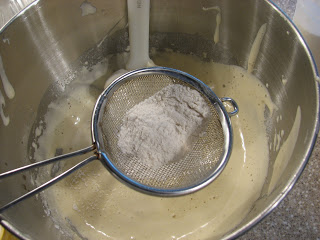
Once the milk has cooled to around room temperature, use a fine mesh strainer to remove the flowers. Add half of the strained milk and beat on medium speed for 1½ minutes, scrape the bottom and sides of the bowl, then add the remaining milk, and beat for another 30 seconds.

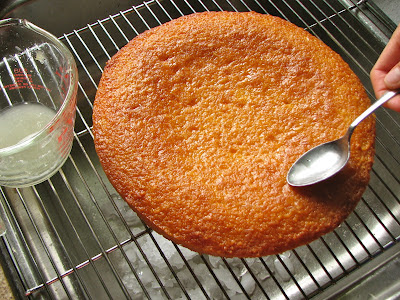
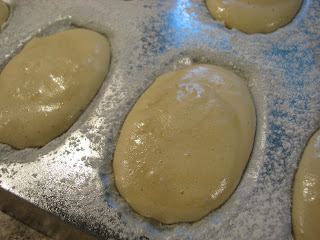
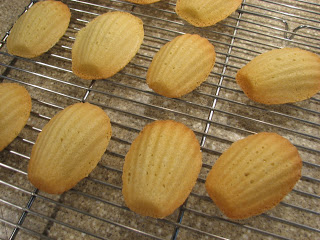
Fill prepared muffin pans ⅔ full with batter, and bake for 18-20 minutes, or until a tester inserted in the center of the cupcake comes out with a few moist crumbs. Let cool in pans for a couple of minutes, than transfer cupcakes to a wire rack to cool.

Once cool, take a sharp knife and cut out a cone shaped wedge of cake from the top of each cupcake forming a little well. Place a spoonful of blueberry jam into each well. Frost with lemon buttercream (recipe below). 

Yields: 18 cupcakes

Lemon Buttercream
From Delectably Mine
Ingredients

  • 2 1/4 sticks (10 ounces) unsalted butter, at room temperature
  • 5 cups (20 ounces) powdered sugar
  • pinch salt
  • 1/2 lemon, zested
  • 2 tablespoons fresh lemon juice

Directions
Place the butter in the bowl of an electric mixer fitted with the paddle attachment. Beat on medium-high speed until smooth, about 1 minute. Add the confectioners’ sugar, salt and lemon zest to the bowl and mix on medium-low speed just until incorporated. Continue to beat on medium-high speed until smooth, about 1-2 minutes. Mix in the lemon juice on low speed just until incorporated. Increase the mixer speed and whip on high speed until light and fluffy, scraping down the bowl as needed, about 4-5 minutes. 

* Note: I wanted a little more stable frosting since it was hot out. After a quick internet search, seemed like a lot of people use a 1:2 ratio of fat to sugar so that's what we did. Worked great, a nice stiff frosting that held up well. The final frosting is very sweet this way, so if it's not as hot I would probably not use this high of a ratio of sugar to butter, but it definitely worked great for this situation!

Gramercy Tavern’s Gingerbread

We had our Christmas party for my mom's side of the family yesterday. It was a wonderful time of food, conversation and festivities! I had such a fun time seeing everyone and catching up on what is going on in everyone's lives. Of course I offered to supply a few dishes to the lunch menu along with a few other family members. Everything turned out deliciously from the roasted beef tenderloin provided by my grandma to the salads and desserts brought by everyone else. My contribution to the dessert table this year was a rich and dark gingerbread cake that I had spotted on Smitten Kitchen some time ago. It had intrigued me, but until now I had never had the opportunity to make it. Gingerbread is not really something you can make year round so I was excited to have the opportunity to try it out. 

I ended up loving the cake. It really does pack a punch of flavor thanks to the oatmeal stout, the dark molasses, and the 2 tablespoons of ground ginger. It is an intense cake, definitely not for the faint at heart. A scoop of ice cream or a dollop of freshly whipped cream are the perfect accompaniment. I think a simple lemon glaze or some lemon curd would also be wonderful options. If you're looking for something different from the typical sugar cookies or chocolate cake this Christmas, give this cake a try, it will be difficult to forget. 

Other than needing to go out and buy a few extra ingredients to make this cake (the stout and the dark molasses) there was nothing difficult about this cake. I mixed it all together by hand, didn't even need a mixer thanks to the use of oil. It came together easily and baked up beautifully, perfectly done at 50 minutes, exactly as the recipe said. 

From what I read about this cake, it is very prone to stick to the pan so I heeded all the advice I read and made sure to butter and flour my bundt pan very, very throughly. It seemed to work as I didn't have really any sticking at all. However, my bundt pan is pretty new and releases cakes easily. My old bundt pan was notorious for having cakes stick and come out in two or more pieces, not so pretty. But regardless of how nice your pan is, I'd advise making sure you spend a little extra time greasing and flouring it up before pouring the batter in. It would be so disappointing to have this cake fall apart on it's way out of the pan. 

Gramercy Tavern's Gingerbread

From 

Smitten Kitchen

Ingredients

  • 1 cup oatmeal stout or Guinness Stout
  • 1 cup dark molasses (NOT blackstrap)
  • 1/2 teaspoon baking soda
  • 2 cups all-purpose flour
  • 1 1/2 teaspoons baking powder
  • 2 tablespoons ground ginger
  • 1 teaspoon ground cinnamon
  • 1/4 teaspoon ground cloves
  • 1/4 teaspoon freshly grated nutmeg
  • Pinch of ground cardamom
  • 3 large eggs
  • 1 cup packed dark brown sugar
  • 1 cup granulated sugar
  • 3/4 cup vegetable oil
  • Confectioners sugar for dusting

Directions

Preheat oven to 350°F. Very, very, generously butter a bundt pan and dust with flour, knocking out excess. This cake will stick badly if pan is not thoroughly greased. 

Bring stout and molasses to a boil in a large saucepan and remove from heat. Whisk in baking soda, then cool to room temperature.

Sift together flour, baking powder, and spices in a large bowl. Whisk together eggs and sugars. Whisk in oil, then molasses mixture. Add to flour mixture and whisk until just combined.

Pour batter into bundt pan and rap pan sharply on counter to eliminate air bubbles. Bake in middle of oven until a tester comes out with just a few moist crumbs adhering, about 50 minutes. Cool cake in pan on a rack 5 minutes. Turn out onto rack and cool completely.

Serve cake, dusted with confectioners sugar, with whipped cream or ice cream.

Do ahead: I'm told this gingerbread is even better if made a day ahead. I made mine 2 days ahead and it was fantastic. I didn't try it freshly baked, but it didn't appear to suffer at all in the 2 day wait. 

Thomas Train 2nd Birthday Cupcakes

Just a couple of weeks ago my nephew turned 2 years old. It's amazing how fast he's grown. (Check out his first birthday here). All of a sudden it seems like he is talking nonstop and running around everywhere, it's so much fun, and super cute! My sister-in-law Lindsey once again asked Lara and I if we would be willing to make some cupcakes for his birthday party. Of course I said yes! It's only one of my all time favorite reasons to bake. I love baking cakes and cupcakes for birthdays and other special occasions. They are so fun to make, and can be so festive and celebratory. 

Since the theme of the birthday party was going to be Thomas the Tank Engine she asked that we just make a couple dozen cupcakes of any flavor and frost them simply with red and blue frosting to match the theme. This was simple enough to do of course. I just went to my trusty Martha cookbook,

Martha Stewart's Baking Handbook

 and picked out her yellow and a chocolate cupcake recipes and whipped them together. Simple and delicious! Lara frosted them in the Thomas blue and red and then Linsey finished them off with some super cute Thomas flags. I think they turned out adorable, and at the party Lindsey had them arranged as the cars of a Thomas train, super cute. It was a wonderful party and a great way to celebrate Tyce's second birthday!

Yellow Butter Cupcakes

Ingredients

  • 1 stick butter, at room temperature
  • 3/4 cup all-purpose flour, plus more for dusting pans
  • 3/4 cups cake flour
  • 1 1/2 teaspoon baking powder
  • 1/4 teaspoon salt
  • 3/4 cup + 2 tablespoons sugar
  • 2 large eggs
  • 1 teaspoon vanilla extract
  • 1/2 cup plus 2 tablespoons milk

Directions

Preheat the oven to 350˚ F. Line cupcake pan with paper liners. In a medium bowl, combine the all-purpose flour, cake flour, baking powder, and salt; whisk together to blend well and set aside.

In the bowl of an electric mixer, combine the butter and sugar. Beat on medium-high speed until light and fluffy, about 4 minutes, scraping down the bowl as needed. Mix in the eggs one at a time, beating well after each addition. Blend in the vanilla. With the mixer on low speed, add in the dry ingredients in three additions, alternating with the milk. Beat each addition just until incorporated.

Spoon the batter into lined cupcake pan. Bake, rotating the pans halfway through baking, until the cakes are golden and a toothpick inserted in the center comes out clean, 17-18 minutes. Remove cupcakes from pan and cool on a wire rack. Let the cakes cool completely before frosting. 

Yields: 12-14 cupcakes

One Bowl Chocolate Cupcakes

Ingredients

  • 1 1/4 cups all-purpose flour
  • 1/2 cup plus 2 tablespoons (100g) dutch-process cocoa powder
  • 1 1/4 cups sugar
  • 1 1/4 teaspoons baking soda
  • 1/2 teaspoon plus 1/8 teaspoon baking powder
  • 1/2 teaspoon plus 1/8 teaspoon salt
  • 1 large eggs
  • 1/2 cup plus 2 tablespoons milk
  • 1/4 cup vegetable oil
  • 1/2 teaspoon pure vanilla extract
  • 1/2 cup plus 2 tablespoons warm water

Directions

Preheat oven to 350F and line or spray two standard 12-cup muffin pans. 

Sift into the mixer bowl: flour, cocoa powder, sugar, baking soda, baking powder and salt. Add the eggs, yolk, milk, oil, vanilla and warm water. 

Beat with a paddle attachment on low speed until smooth and combined, about 3 minutes; scrape down the sides of the bowl if needed.

Divide batter evenly among the muffin cups. Fill each muffin cup about 1/2 full. The batter is quite runny and if you overfill them they can make a mess as they rise in the oven. 

Bake, rotating pans halfway through the baking time, until a cake tester inserted in the center of a cupcake comes out clean, 18-20 minutes. Cool in the pan for a little bit and then transfer onto a wire rack or board to cool completely.

Yields: 14-16 cupcakes

Rhubarb Almond Crumb Cake

I have a weakness for anything cake. Cake is one of my absolute favorite things. All flavors, all occasions, breakfast, lunch, or dinner. It amazes me how many people tell me they don't like cake (traditional frosted birthday/wedding cake that is.) When people tell me this, I just assume they never have had good cake. It's true, a bad cake is just bad. Unfortunately, the majority of the cake most people eat is just plain, bad cake. But moving on, I am in the other camp on cake. I love it. I am especially a sucker for a good breakfast cake. They are so simple, easy and delicious.

In my opinion, breakfast cake is the perfect way to start a day. I found this rhubarb almond cake online a few months ago and have been wanting to make it ever since. It was the picture that got me, a tall, golden cake with a crunchy, crumbly topping. I love anything with streusel. Sometimes it can be dangerous to fall in love with a picture of a recipe, when your doesn't quite live up to the expectations you had visually. That's what happened with this cake. It didn't come out as tall as I was hoping, and the streusel topping kind of sunk, and melted into the cake. I usually like it better when streusel is almost a separate layer, all alone of top.

So I was unhappy with the look of this cake when I took it out of the oven. But have no fear, all of that changed when I finally dug in. This cake was light, yet substantial, with a wonderful tartness from the rhubarb. I cut up my rhubarb pretty small because I don't like chunks, and it kind of disappeared into the cake leaving behind the perfect amount of sourness to blend with the sweetness of the cake. And the disappointing streusel actually turned into a crunchy and sweet topping that was a perfect complement to the soft cake beneath it. This recipe taught me to not judge a cake by its cover. A plain looking cake can mask an absolutely delicious treat. The more I ate this cake the more I fell in love with it. Good thing there is plenty of rhubarb in the freezer...

Rhubarb Almond Crumb Cake
Slightly adapted from Food 52
Ingredients 
THE CRUMB

  • 2 tablespoons flour

  • 2 tablespoons slivered almonds

  • 2 tablespoons rolled oats

  • 1/4 cup brown sugar

  • 1/4 teaspoon salt

  • 2 tablespoons unsalted butter

THE CAKE

  • Butter for greasing the pan

  • 2 large eggs

  • 1 1/4 cup granulated sugar

  • 1/2 teaspoon salt

  • 1 teaspoon almond extract

  • 6 tablespoons unsalted butter, melted

  • 1 1/4 cup white whole wheat flour (or all-purpose)

  • 1 1/2 cup rhubarb, cut into 1/2-inch pieces

Directions
Heat the oven to 350°F. Butter the bottom and sides of an 8-inch, deep, fluted tart pan or an 8-inch round cake pan.

For the crumb, combine the dry ingredients in a small bowl. Using a fork or your fingers, gently work in the butter until pea-sized lumps are formed.

Combine the eggs, sugar, salt, and almond extract in a large bowl. Beat on high until the mixture triples in volume, about five minutes. Fold in the melted butter, flour, and rhubarb. Evenly spread the thick batter into the prepared pan. Sprinkle the crumb topping evenly over the top.

Bake for 45 to 50 minutes, until the topping is deeply golden and a toothpick inserted into the center comes out clean. Remove the cake from the pan when it’s completely cool.

Buttermilk Banana Bread

One of my biggest pet peeves is throwing leftover ingredients away because I don't know what to do with them. This happens to me every once in a while, and it really bugs me. There are a few repeat offenders that I deal with more often than others. Two come to mind right away, cream cheese and buttermilk. Both are ingredients that I absolutely love, but often recipes call for only a small amount of them, so then I'm left with the rest. Since both cream cheese and buttermilk can be used in so many different ways, throwing them away is a shame. A couple weeks ago I made a red velvet cake for a potluck and was left with a half used container of buttermilk that I vowed would not go to waste. I searched through my recipes to find some way to use it. This recipe popped out at me and sounded perfect. I love banana bread, but had never it with buttermilk, it sounded like a winner to me. This recipe turned out very nicely, it was buttery and tender with a slight tang from the buttermilk, a wonderful combination. Never again should I throw away a half used container of buttermilk!

 Creaming the butter and sugar

 Bananas, the star of the show

 Mash up the bananas

 Add the eggs, bananas and buttermilk

Mix!

Golden brown and beautiful

Perfect for breakfast with some butter or peanut butter

Buttermilk Banana Bread
From: Two Peas and Their Pod
Ingredients

  • 1/2 cup unsalted butter, softened
  • 1 cup granulated sugar
  • 2 large eggs
  • 1 cup mashed bananas (3 medium sized bananas)
  • 4 tablespoons buttermilk
  • 1/2 teaspoon vanilla extract
  • 1 3/4 cups all-purpose flour
  • 1 teaspoon baking powder
  • 1/4 teaspoon salt
  • 1/8 teaspoon baking soda

Directions
Grease and flour 1 large loaf pan. Set pans aside.

In the bowl of a stand mixer, cream butter and sugar together. Add eggs, mashed bananas, buttermilk, and vanilla until the batter is well mixed.

Add in the flour, baking powder, salt and soda. Mix until well combined. Divide batter into greased and floured pans and bake at 350 degrees for 50-55 minutes or until a toothpick comes out clean.

Let bread cool on a wire rack for 15 minutes. Loosen the bread with a knife and carefully remove from pan. Finish cooling on rack. Slice and serve once cooled.

Pink Cake Pops

At the end of this past summer, a friend an neighbor of mine approached Lara and I and asked us if we would be willing to make her cake pops for her wedding which was going to be in October. We said yes and were very excited to help her our. After making cupcakes for my cousin's wedding in May I felt prepared to try something new for another wedding. There was only one slight problem with all of this though, I had never made cake pops before. I wasn't too worried about it, I knew I could figure it out, but there was still some apprehension about the whole process. After doing a test run in August on cake pop making, I felt ready to go and just had to wait until October. In the end the whole process went very smoothly, and the cake pops turned out great. Congratulations Stacey!

In case you don't know, cake pops are basically cake that you destroy and then mush up with frosting, form into balls, place on a stick and dip into chocolate. It's not a complicated process, but it is time consuming and somewhat labor intense, well at least when you are making over 200 at one time it is! The nice thing about cake pops is that they keep very well for at least a week or two meaning you can make them ahead and not worry too much about them losing quality. Because they are full of frosting they are super moist, and once you dip them in the chocolate this moistness kind of gets sealed in, they don't dry out or loose flavor very quickly. This was nice for me because I didn't have to make them all in the one or two nights before the wedding, I actually started about two weeks before the wedding and was done several days before they were needed. This took some stress off of me which was very nice.

When it was all said and done I think I ended up with about 220 cake pops. There was a little bit of a learning curve with how to dip them in the chocolate, my first few weren't so pretty, but by the end I was a pro at it. Stacey wanted white cake with pink white chocolate and pink sanding sugar, all of which I ordered online. I really had no idea how much of the chocolate or the sugar I would need. In the end I used about 6 pounds of the white chocolate and 2 pounds of sanding sugar total, and this was for cake pops that were 30 grams each.

To be honest, I never could have done this all alone. Having a built in baking partner at home was a must for this project. Trying to study the anatomy of the head and neck and make 200 cake pops all alone would have been difficult. But with a partner, it wasn't so bad at all! Thanks Lara, we make a good team!

After dipping, letting the chocolate dry

All lined up, ready to wrap

200 cake pops later

Cake pops, the perfect wedding favor

Simple White Cake
Adapted from Annie Eats
Ingredients

  • 1 cup whole milk, divided
  • 6 large egg whites
  • 1 tbsp. vanilla extract
  • 2¾ cups (11 oz.) cake flour, sifted
  • 1½ cups (10.5 oz) sugar
  • 1 tbsp. plus 1 tsp. baking powder
  • ¾ tsp. salt
  • 12 tbsp. (¾ cup) butter, at room temperature

Directions
Preheat the oven to 350˚ F. In a liquid measuring cup, combine ¼ cup of the whole milk, egg whites,  and vanilla extract. Whisk to blend. In the bowl of an electric mixer, combine the cake flour, sugar, baking powder, and salt. Mix briefly on low speed to combine, about 30 seconds.

Add in the butter and mix on low speed until the mixture resembles wet sand, about 30 seconds. Mix in the remaining ¾ cup of milk, then increase the speed to medium and beat for about 90 seconds more. 

With the mixture on low speed, add the egg white mixture in three additions, mixing for about 20 seconds after each addition. Scrape down the bowl as needed.

Pour the batter into a greased 9x13-inch pan. Bake, rotating the pan halfway through, until a toothpick inserted in the center comes out clean, about 20 minutes.

French Style Lemon Yogurt Cake

A few weeks ago I read the book A Homemade Life by Molly Wizenberg. It was one of those books that, though I enjoyed it while reading it, it wasn't until I had finished the book and was thinking back to it that I realized how well I actually liked it. Each of the short chapters in this book shares a small moment in Molly's life that in some way relates back to the recipe that is printed at the end of every chapter. Of all of the recipes in this book the one that stood out the most to me was her French style lemon yogurt cake. I am a sucker for any type of cake, and this simple recipe looked easy and wonderful, it was at the top of my list.

I was right about this one. Sometimes a recipe comes along that you know you will make again and again. This is one of those recipes. In the past week I've already made it twice, and am excited to whip it together again soon!

As I said, this is a very simple recipe. No need for any fancy equipment or special ingredients. I did use a blender to make some coarse almond flour, but the original recipe calls for 1 1/2 cups of flour instead of the 1 cup of flour and 1/2 a cup of ground almonds. So if you don't feel like grinding up any almonds, don't! But since I had some almonds in the pantry, and Molly suggested trying this substitution, I decided to give it a try.

The first time I made this cake I turned it into an almond cake. I didn't have any lemons, and I don't love lemon flavoring in my baked goods, so I decided to substitute with 1/2 a teaspoon of almond extract. It was absolutely delicious! With some raspberries on top and a little whipped cream you have the most delicious, light and summery dessert.

For the second go at the cake I decided to make it as written and add in the lemon flavor. This cake also turned out delicious; sweet and tart and very lemony. The lemon syrup and glaze added moisture and sweetness, a lovely way to top it all off. I paired this variation with some vanilla bean ice cream and it was absolutely wonderful. I probably still prefer the almond version to the lemon one, but both were yummy and worth making again.

Both cakes had a slight problem with falling during the end of baking. It didn't affect the taste at all, but meant the loss of the beautiful domed top I was going for. I hope to be able to make this cake again without it falling. But either way, I know it will be delicious. I have lots of ideas of different versions of this cake I want to try, so it may make another appearance on this blog sometime soon.

 A quick buzz in the blender turns

blanched almonds into almond flour

 Mix the almond flour into the regular flour, 

powder, and salt

 In another bowl combine the eggs, yogurt, 

and sugar

 Mix together well 

 Add the dry ingredients

 Finally, add the oil

 Pour into prepared 9-inch pan, and bake

 Once baked, cover the cake with 

lemon syrup

 Finish off with a drizzle of lemon icing

 Cake with the book

 Cut a nice big slice

Dig in

French Style Lemon Yogurt Cake
From: A Homemade Life by Molly Wizenberg
Ingredients
For the Cake

  • 1 cups all-purpose flour
  • 1/2 cup finely ground blanched almonds
  • 2 teaspoons baking powder
  • pinch of salt
  • 2 teaspoons grated lemon zest
  • 1/2 cup plain whole-milk yogurt (not low-fat or non-fat)
  • 1 cup sugar
  • 3 large eggs
  • 1/2 cup vegetable oil, such as canola

For the Syrup:

  • 1/4 cup powdered sugar, sifted
  • 1/4 cup lemon juice

For the Icing:

  • 1 cup powdered sugar, sifted
  • 3 tablespoons lemon juice

Directions
Preheat the oven to 350 degrees. Line the bottom of a 9-inch round cake pan with parchment paper and then grease the pan and the parchment with butter or cooking spray.

In a medium bowl whisk together the flour, almonds, baking powder and salt. Add the lemon zest and mix thoroughly.

In a large bowl, combine the yogurt, sugar and eggs, and mix well. Add the flour mixture to the yogurt mixture and stir until just combined. Add the oil and stir well until it comes together into a smooth yellow batter. Pour the batter into the prepared cake pan.

Bake the cake for 25 to 35 minutes until a toothpick or cake tester comes out clean. Do not over bake.

Cool the cake in the pan on a wire rack for 15 minutes. Then invert the cake unto a large plate, remove the parchment paper and invert the cake back onto the wire rack so it sits upright.

In a small bowl, whisk together the powdered sugar and lemon juice for the syrup. Place the cake on the wire rack over a rimmed baking sheet or over the sink and slowly spoon the syrup atop the warm cake. Some of the syrup will run down the sides of the cake. Then cool the cake completely.

In a small bowl, combine the powdered sugar and lemon juice for the icing. Whisk well to completely dissolve the sugar. Spoon or drizzle the icing over the cooled cake. 

Vanilla Madeleines

Until not that long ago, I'd never heard of a madeleine, but once I saw them and learned what they were I knew I had to try them. If you know me at all then you know that I love cake, it is probably my all time favorite dessert (although that's a very difficult thing to pick), so I knew I would love madeleines, how could I not? In case you are wondering, madeleines are little mini sponge cakes that are baked in special shell shaped molds. Because I didn't own a madeleine pan, I was never abel to give them a try, but thankfully this Christmas I received a madeleine pan from my sister-in-law (thanks Lindsey)!

After receiving my madeleine pan, I went online and just picked a recipe. I just wanted something plain and simple for my first try. This recipe sounded promising, no special add ins or funky ingredients, so I whipped it together in just a few minutes. They really were simple to make, and were ready to eat in less than half an hour, that's a win in my book.

So the verdict? I really do love madeleines, I knew I would but now it's official! They are light and fresh, a bite size cake, the perfect way to satisfy my cake craving without the labor involved in making an entire cake. I don't know how my madeleines compare with a 'true' madeleine but I don't really care. They were delicious which is all that really matters. Now I can't wait to try lots of different variations, this is only the beginning.

The new pan

Beating together the eggs and sugar 

Sift in the flour

Fold in the butter and zest

Fill the molds up

All done!

Sugared and ready to eat

Vanilla Madeleines
Adapted from All Recipes
Ingredients

  • 2 eggs
  • 3/4 teaspoon vanilla extract
  • 1/8 teaspoon salt
  • 1/3 cup white sugar
  • 1/2 cup all-purpose flour
  • 1 tablespoon lemon or orange zest (optional)
  • 1/4 cup butter
  • Powdered sugar for dusting

Directions
Preheat oven to 375 degrees. Butter and flour madeleine molds; set aside.

Melt butter and let cool to room temperature. In a small mixing bowl, beat eggs, vanilla and salt at high speed until light. Beating constantly, gradually add sugar; and continue beating at high speed until mixture is thick and pale and ribbons form in bowl when beaters are lifted, 5 to 10 minutes.

Sift flour into egg mixture 1/3 at a time, gently folding after each addition. Add zest and pour melted butter around edge of batter. Quickly but gently fold butter into batter. Spoon batter into molds; it will mound slightly above tops.

Bake 8-10 minutes, or until cakes are golden and the tops spring back when gently pressed with your fingertip.

Use the tip of the knife to loosen madeleines from pan; invert onto rack. Immediately sprinkle warm cookies with powdered sugar. Madeleines are best eaten the day they're baked. Leftover madeleines are wonderful when dunked into coffee or tea. 

Yields 16-18 madeleines